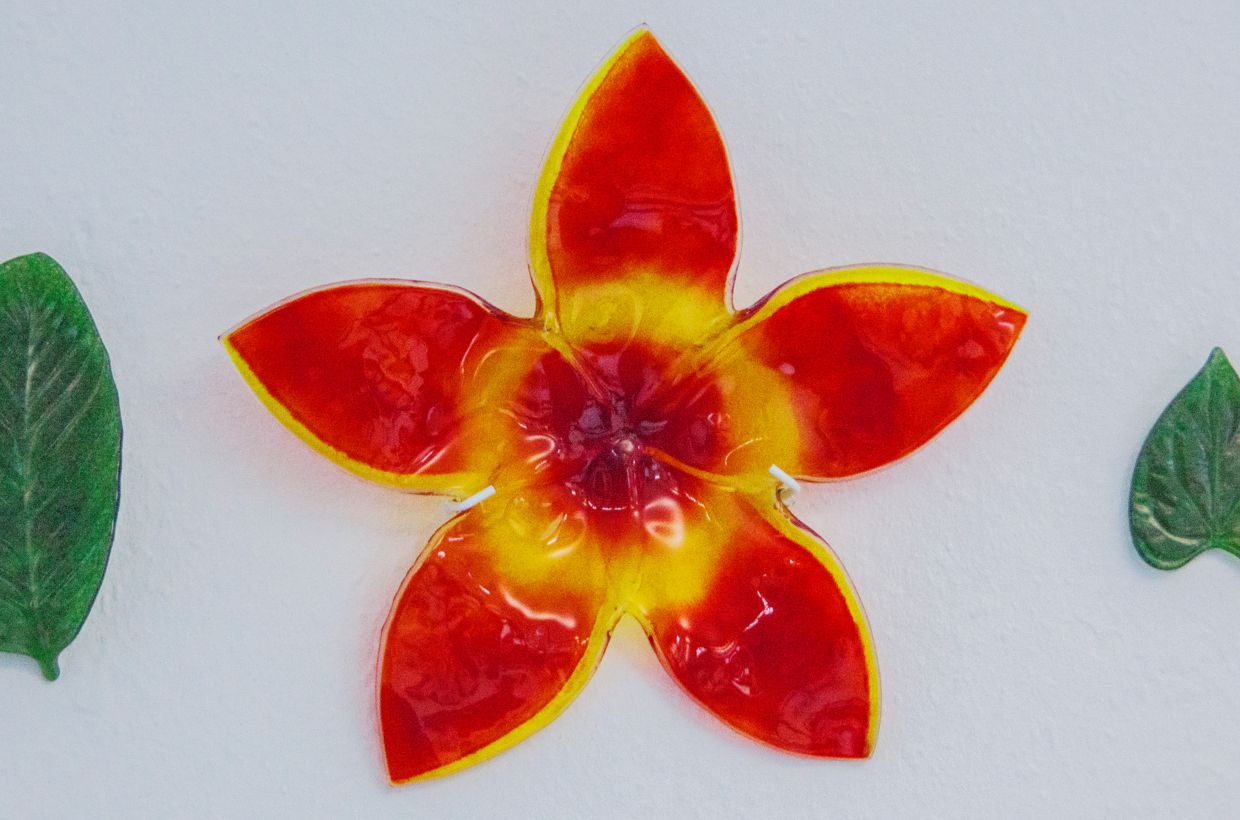
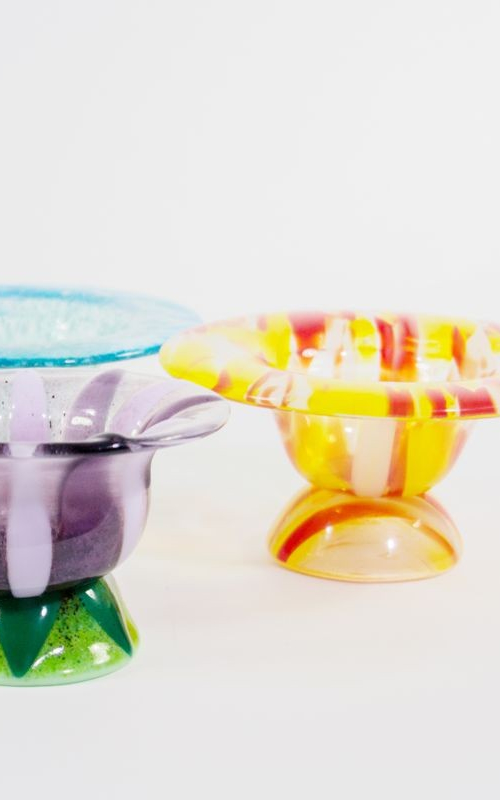
Step 1
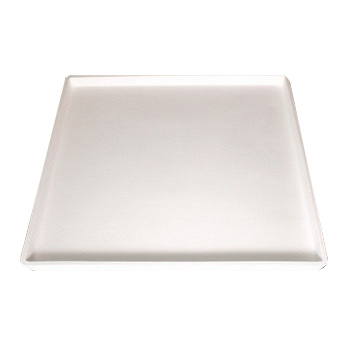
Take the mold, coat all internal edges with shelf primer and let them dry. Then place a suitably cut piece of fiber paper in the mold.
Step 2
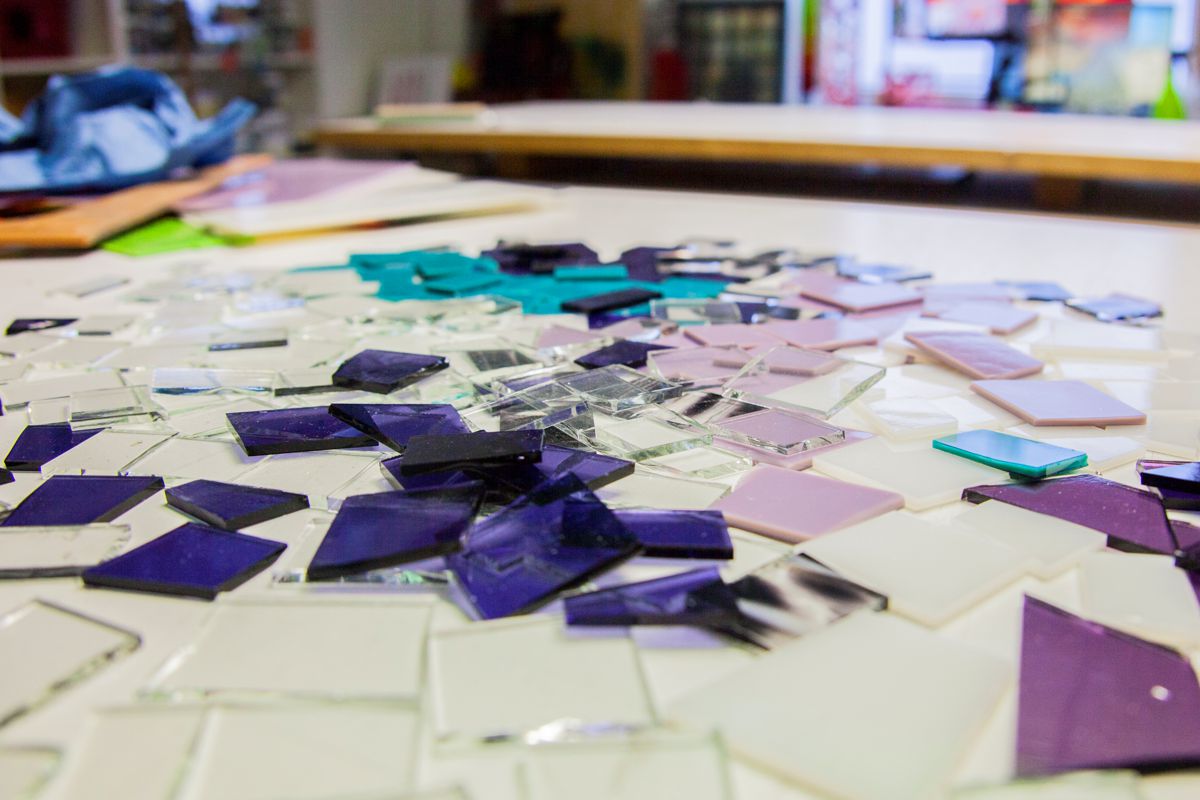
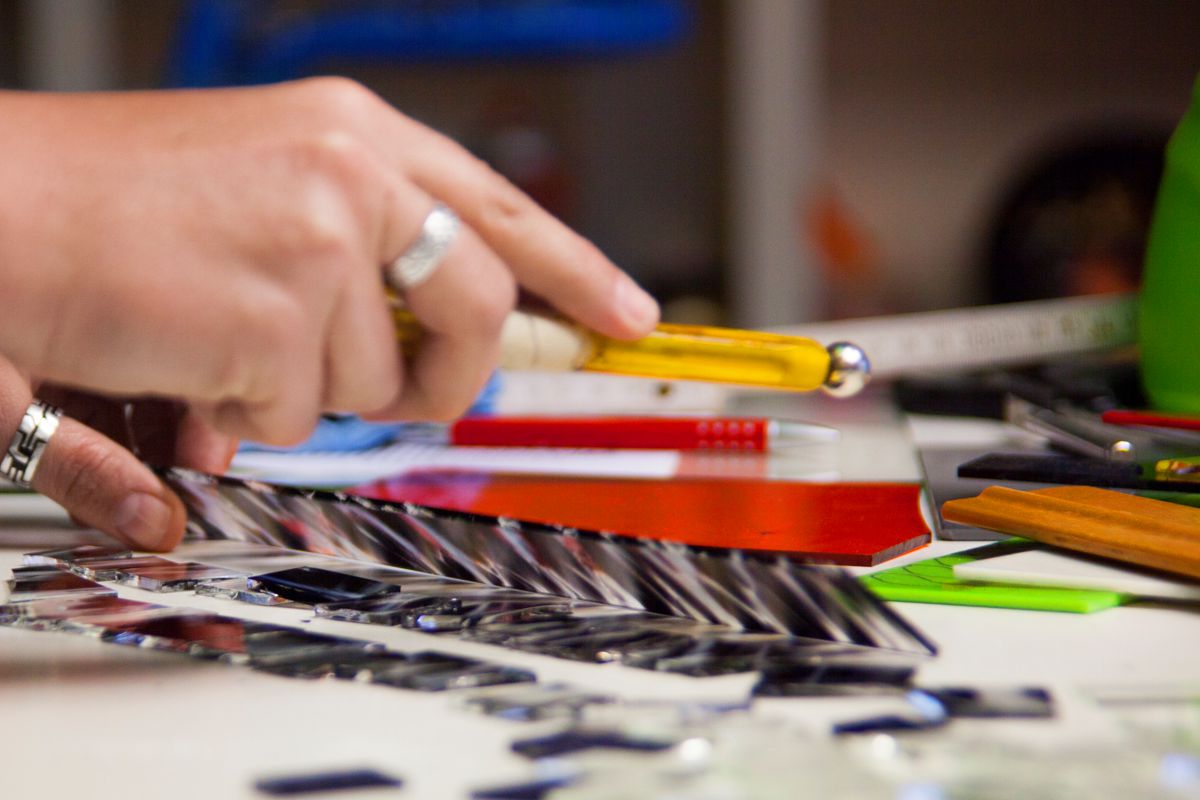
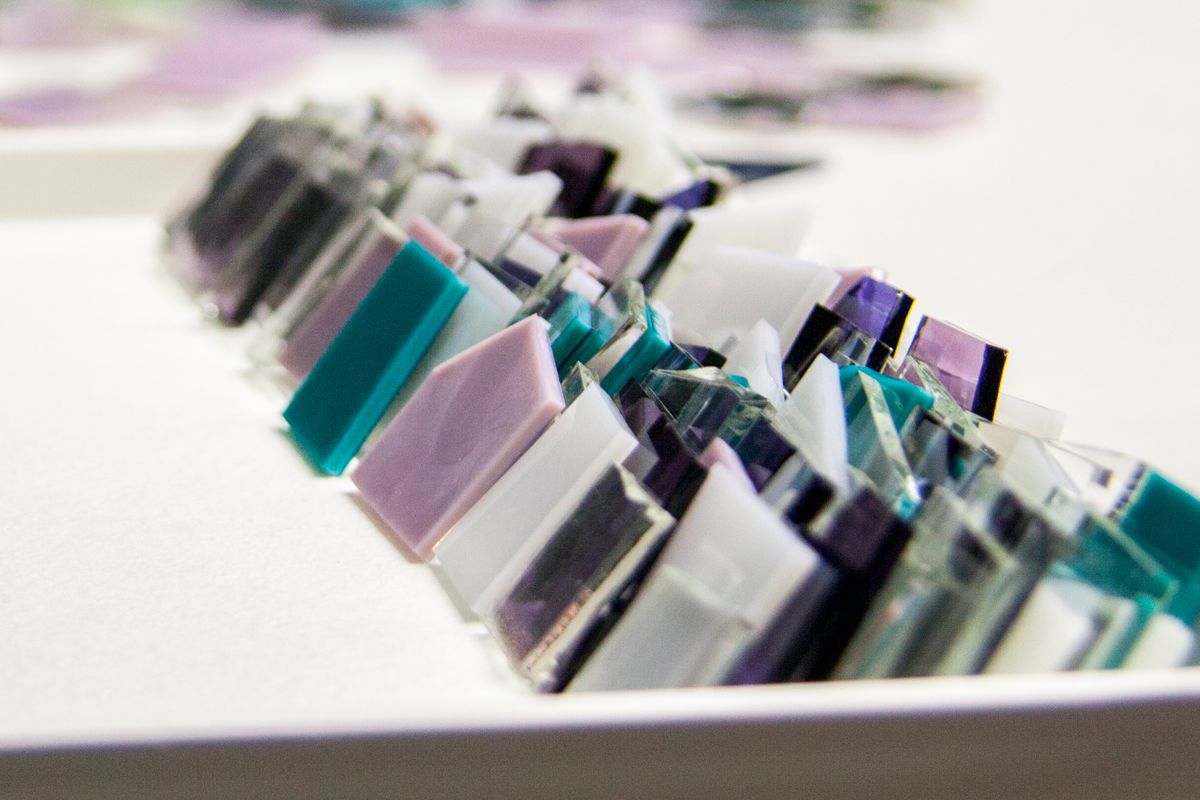
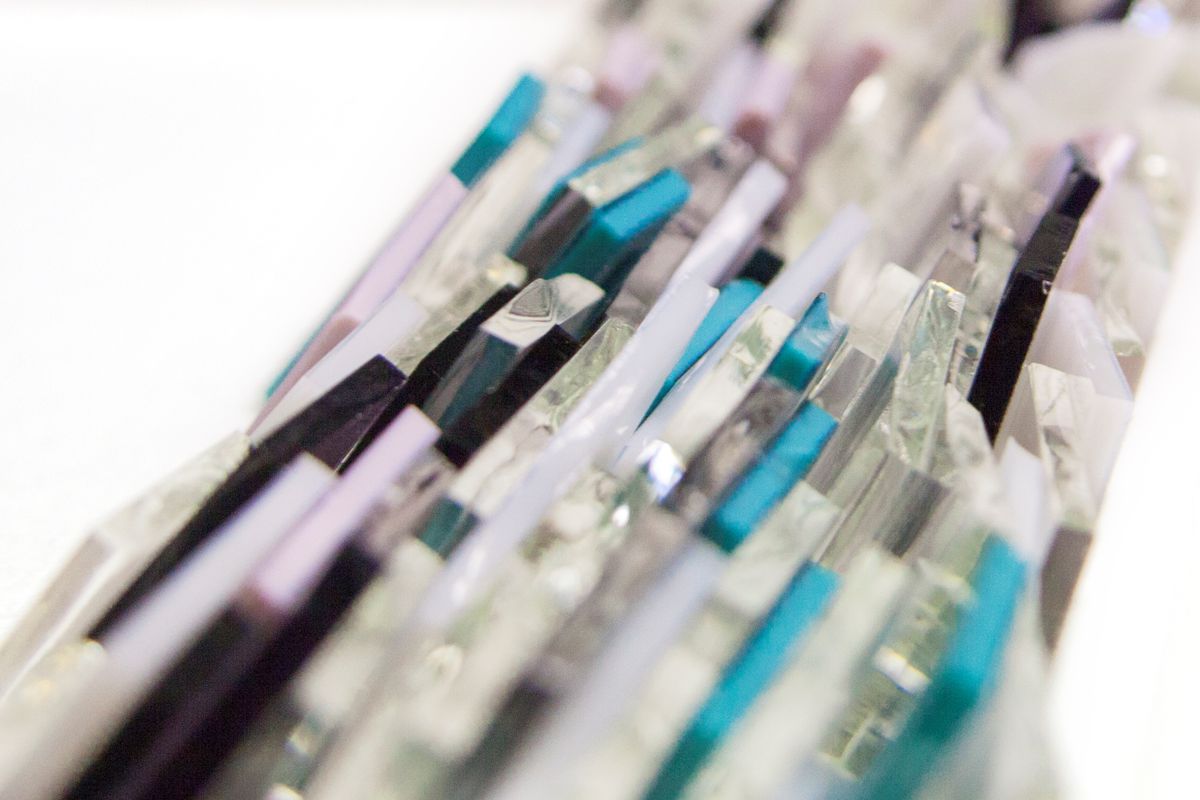
With a ZAGG-ZAGG mosaic plier or a NIKKEN glass cutter you can easily get your clear glass pieces / broken glass shards to the desired size. Larger clear fragments result in a more transparent glass object, smaller and opaque ones in a denser one. Combine transparent and opaque fragments to create spatial effects.
Step 3
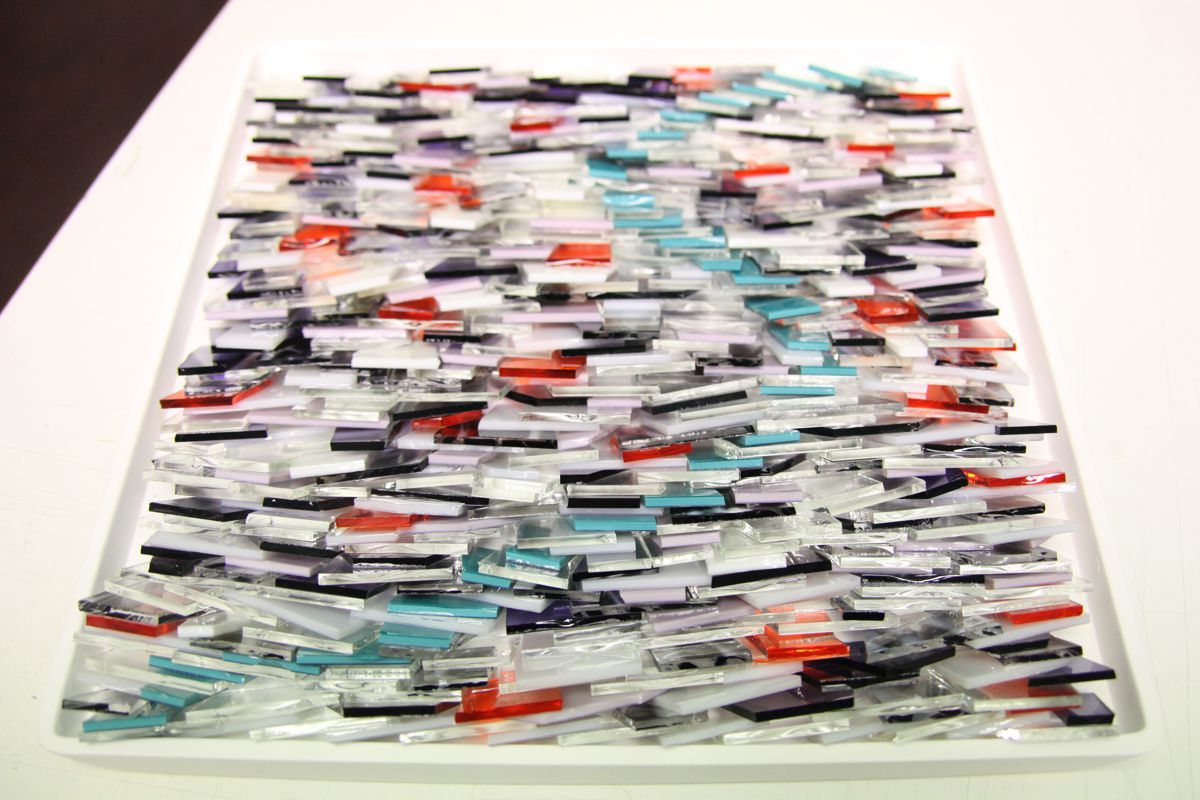
Place all the glass pieces in the mold and make sure that the glass is evenly distributed. When all the pieces are in place, put the mold in the kiln. If you place the mold on small supports, it heats up more evenly.
Firing cycle*
1) 180min - 500°C - 0min
2) skip - 650°C - 30min
3) skip - 790°C - 30min
4) skip - 540°C - 120min
5) 240 min - 430°C - 15min
6) 120min - 375°C - 0min
7) End
Step 4
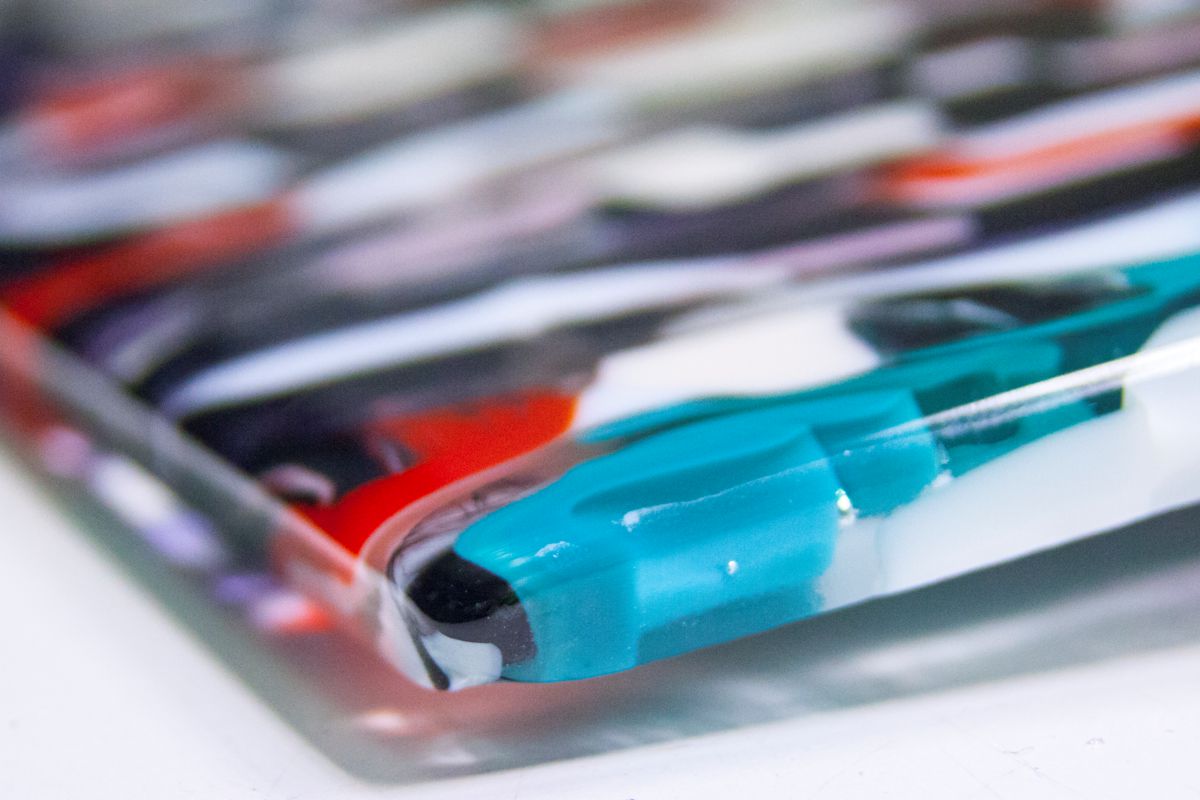
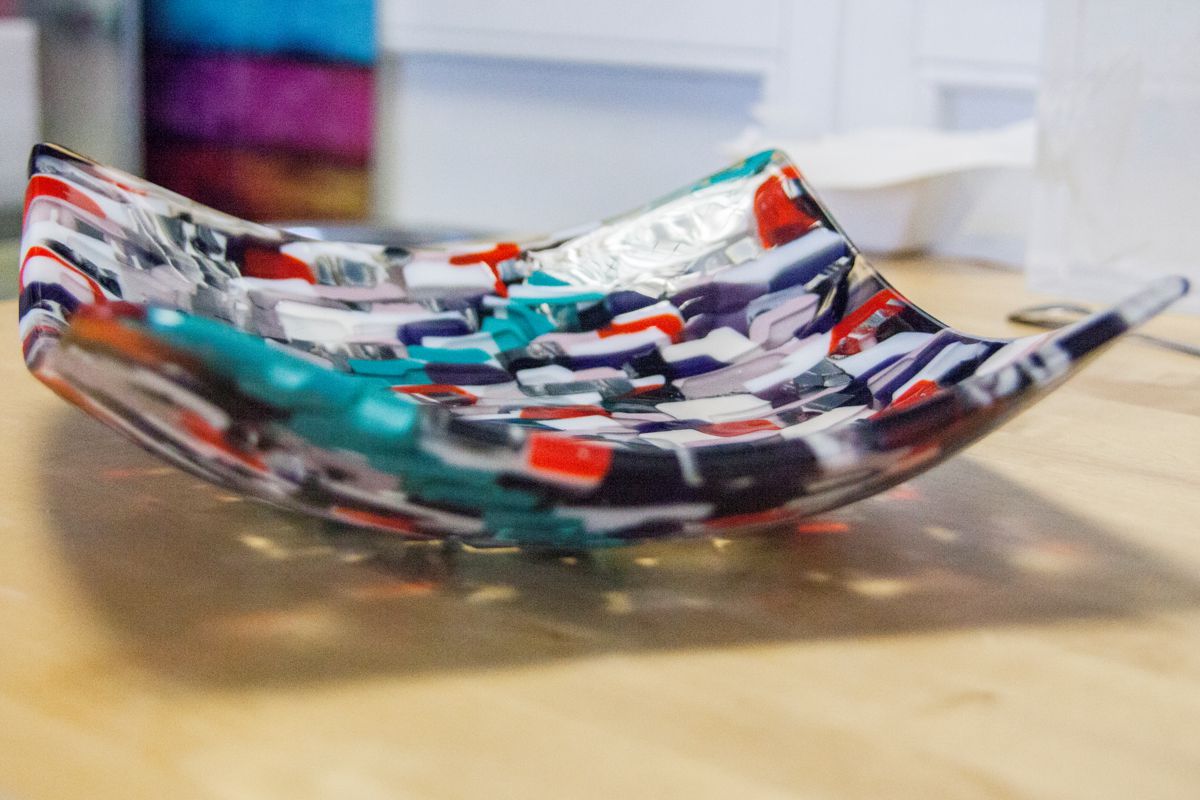
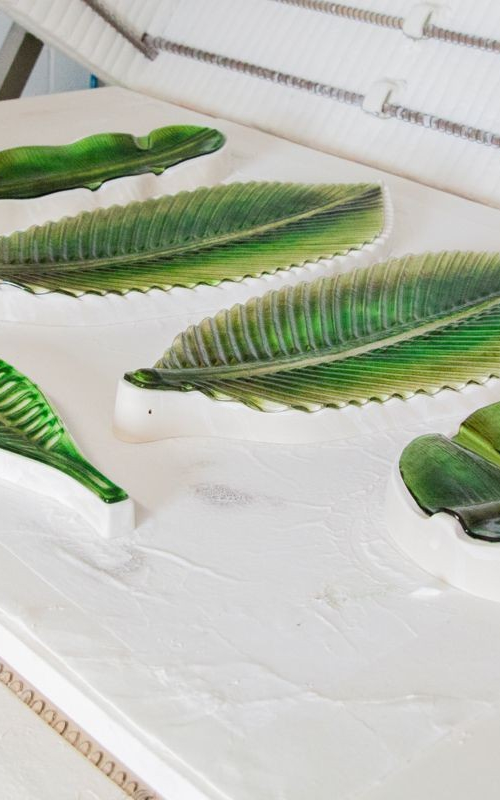
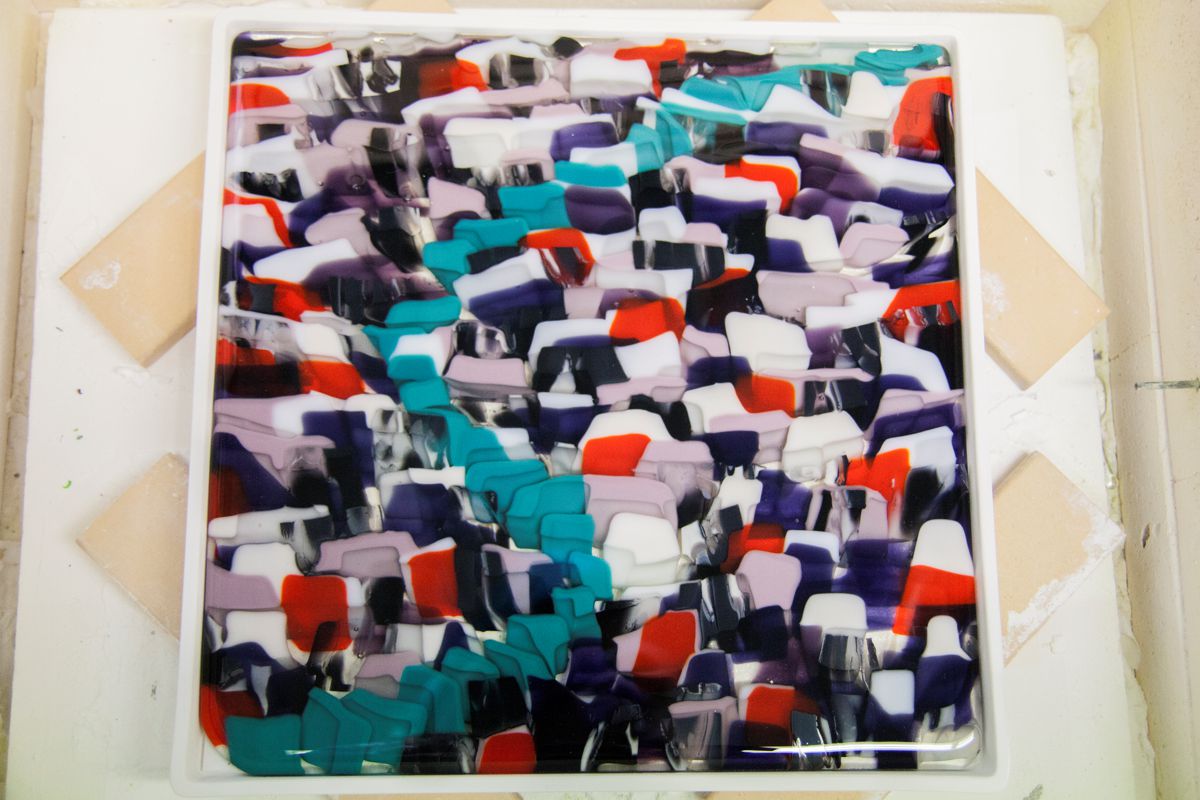
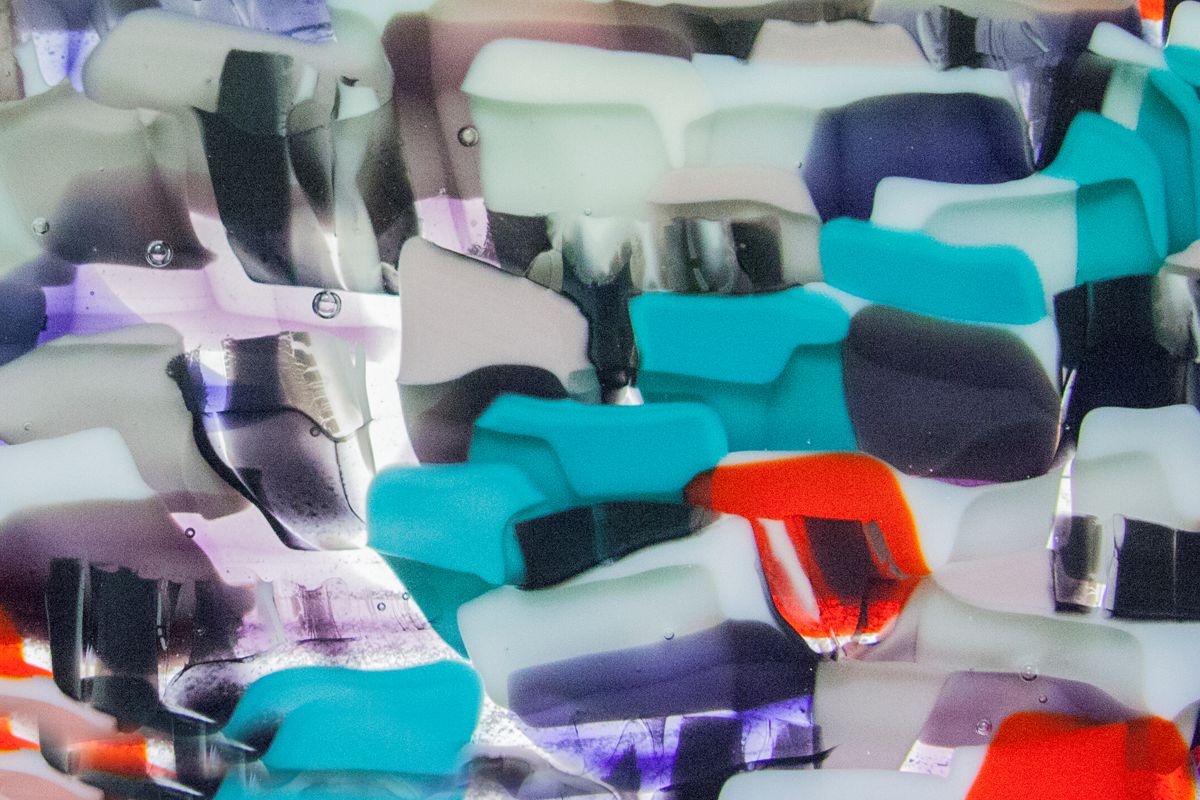
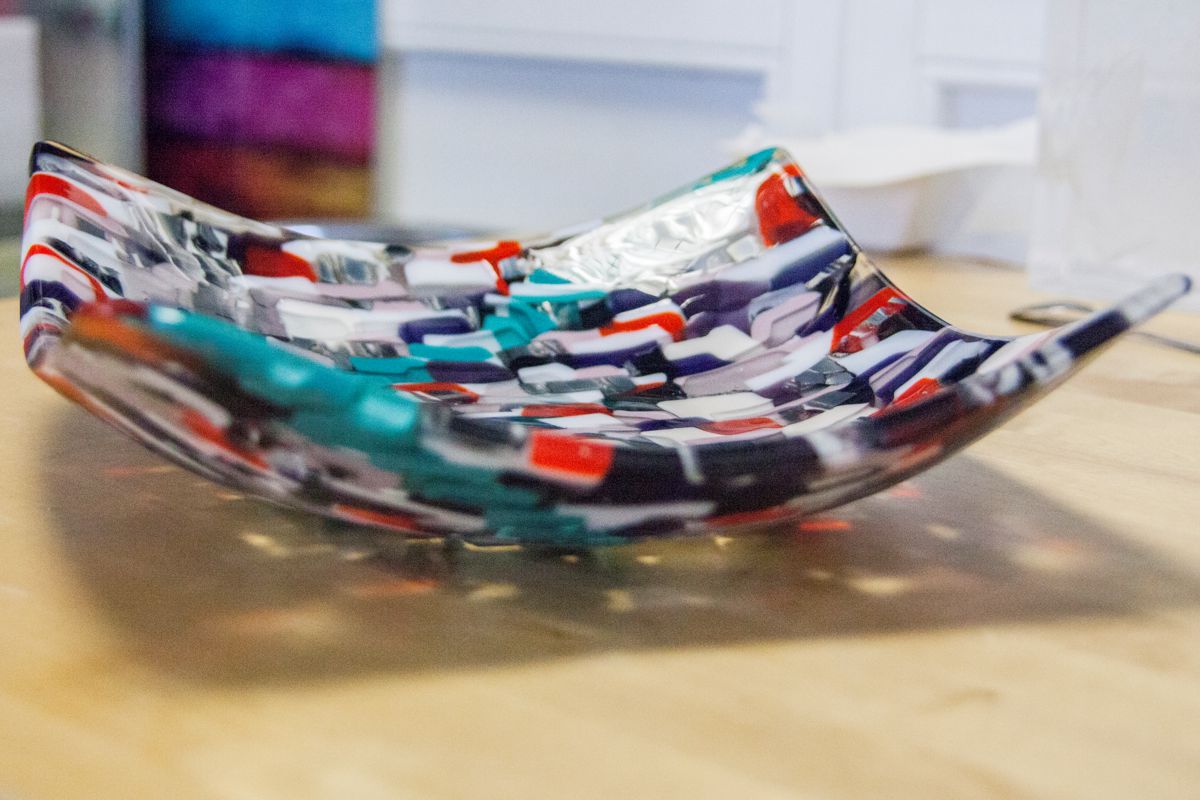
After cooling down, take the fusing object out of the kiln. The fragments melted together to form a uniform surface. Now you can slump the glass.
Firing cycle*
1) 240 min - 500°C - 0min
2) skip - 650°C - 30 min
3) skip - 510°C - 120 min
4) 240 min - 430°C - 15 min
5) 120 min -375°C - 0min
6) End
* All information without guarantuee / fusing temperatures must be adapted to the respective kiln
