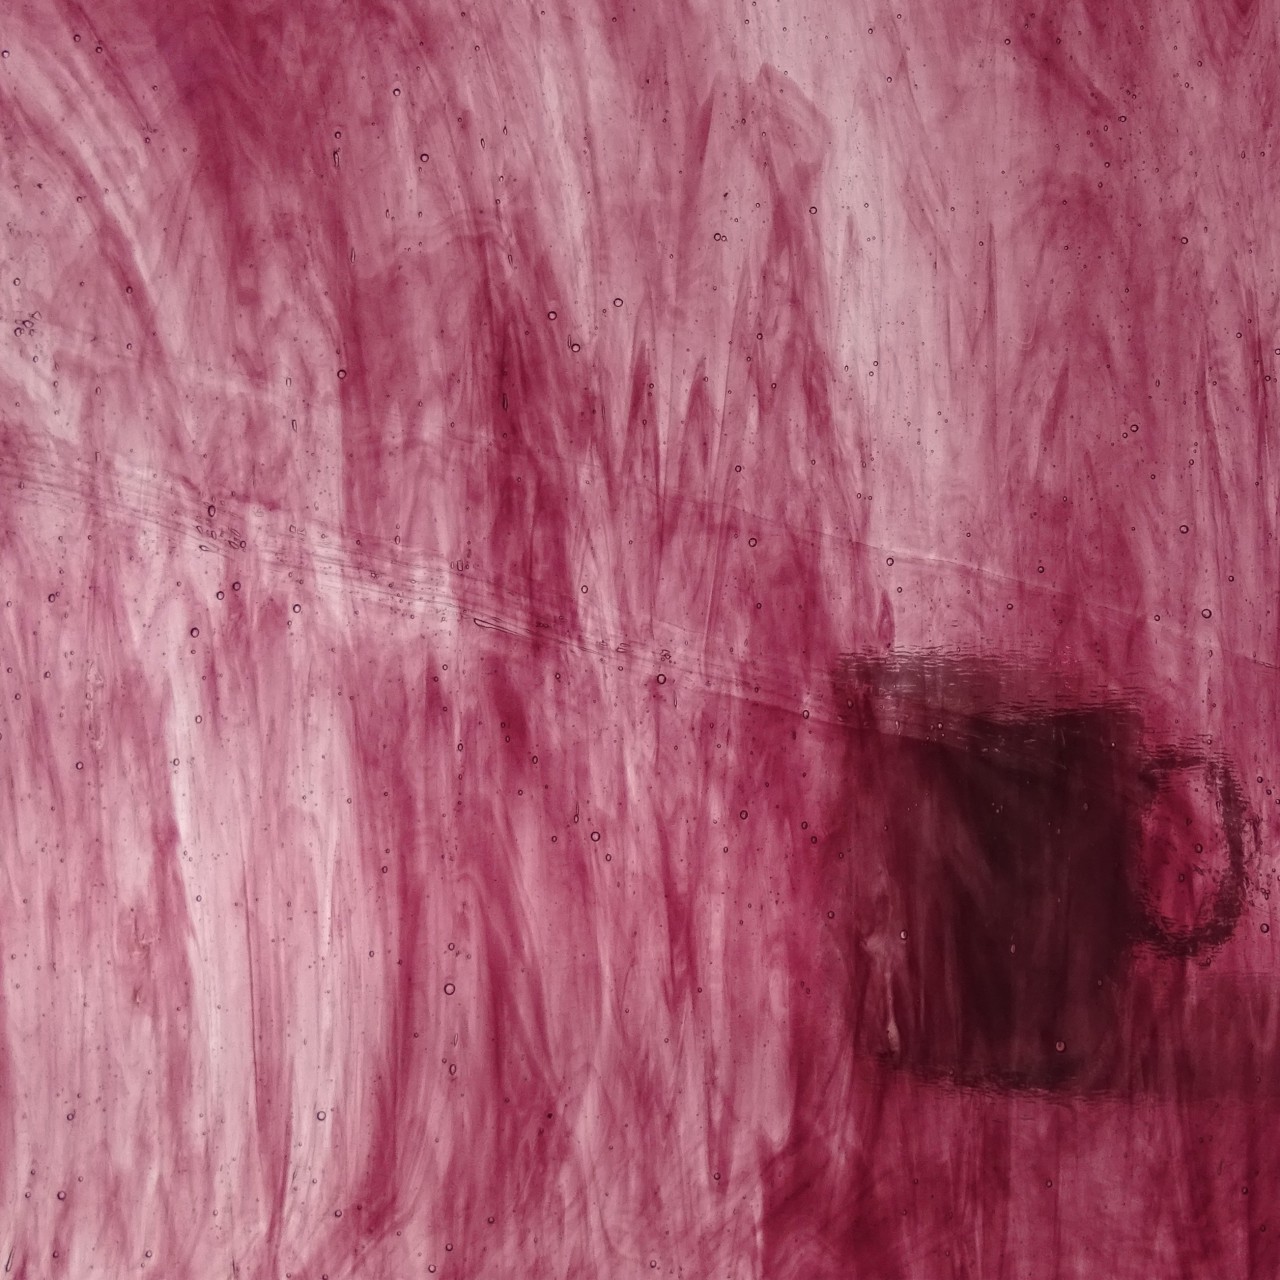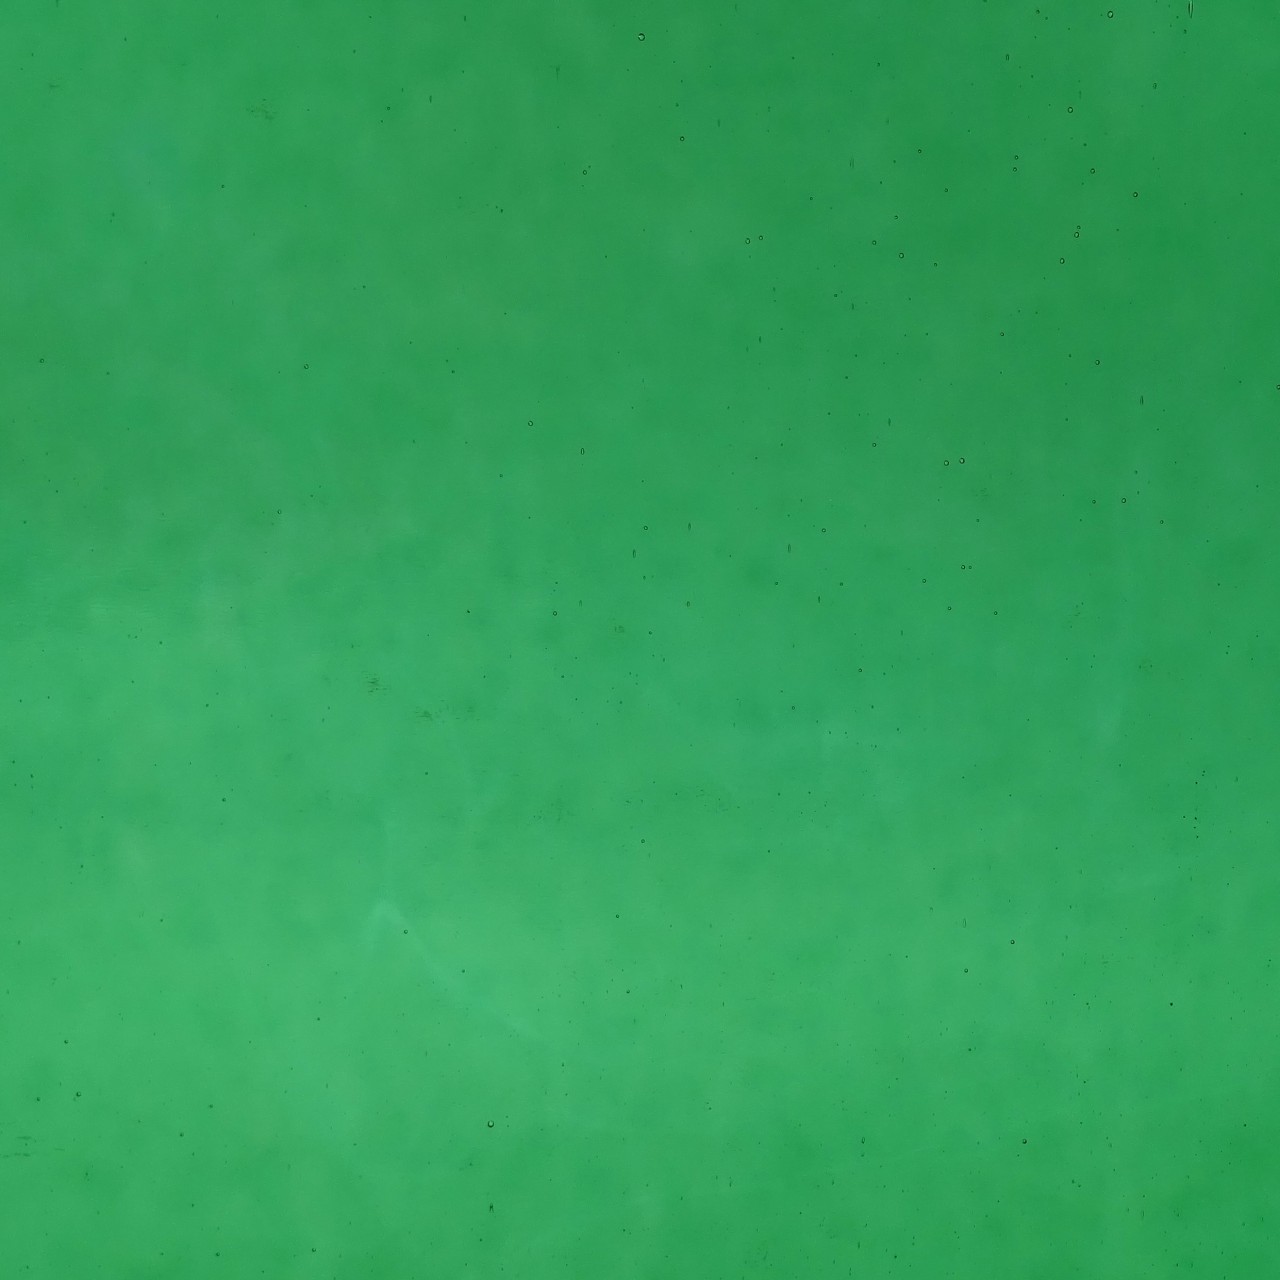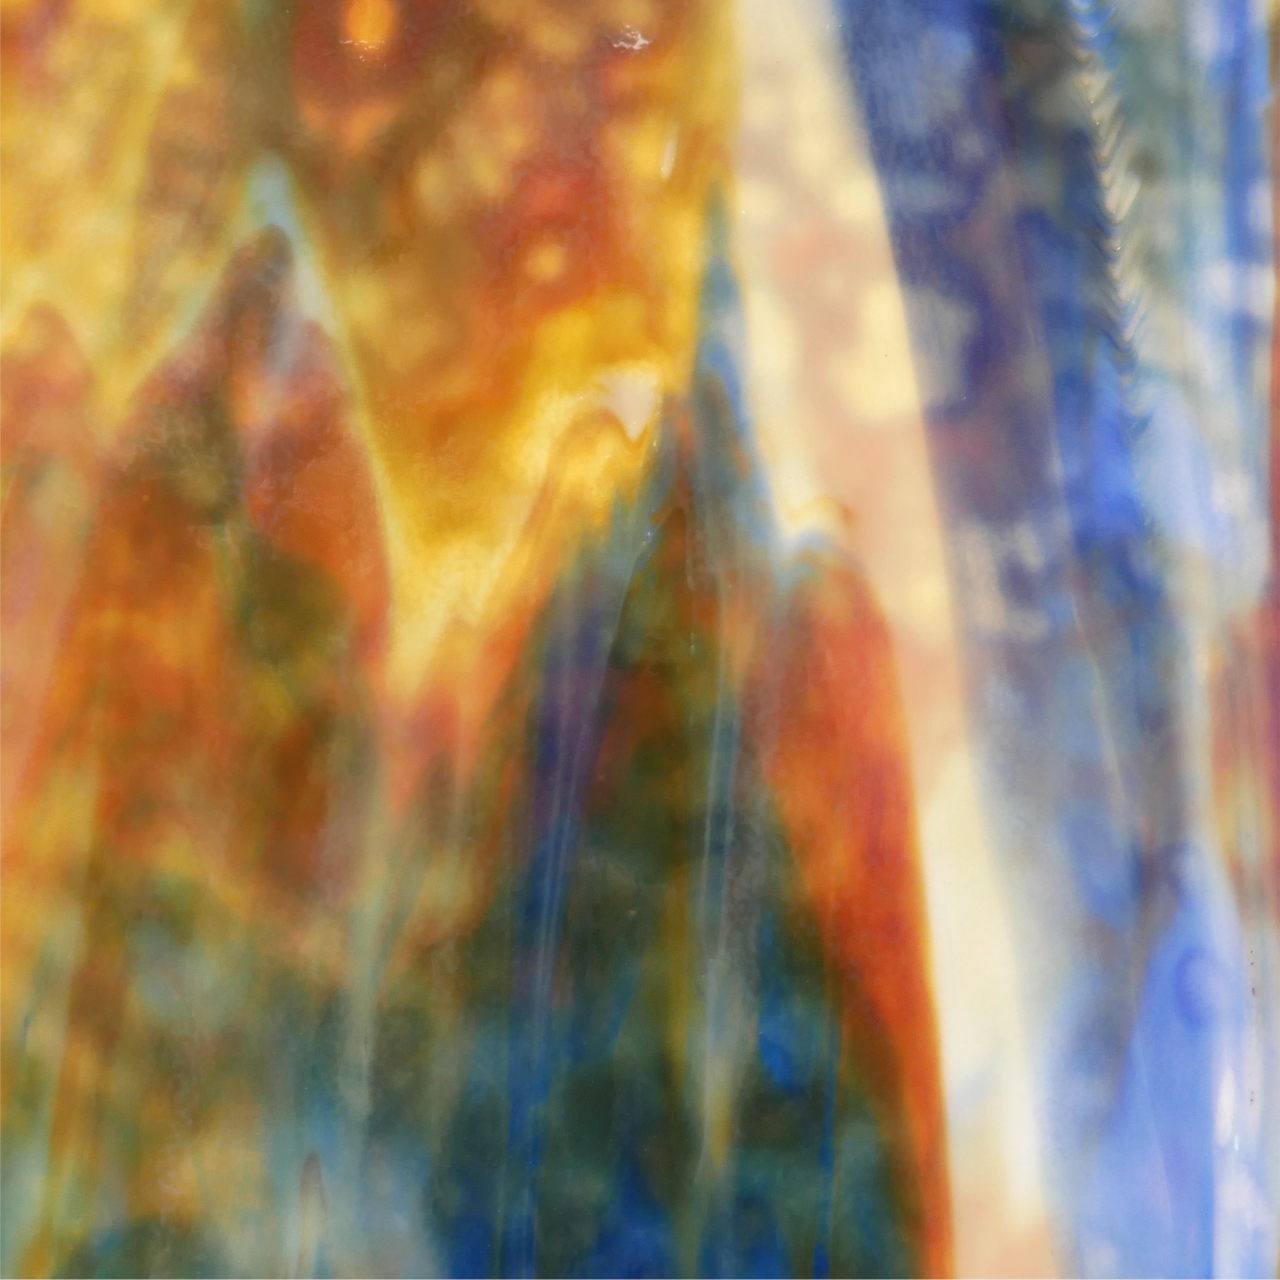
- 9700414 OCEANSIDE Spectrum OA 355-1s-F
- 8030000 Float glass 3mm 75x160cm
- 3593705 Circles for Floatglass, 16mm 0026
- 3593730 Circles for Floatglass, 8mm 3122 LF
- 3592999 OPTUL FLOAT Stringer mixed 250g
- 3596000 Plastic jar sifter for 50 g VE:10 pcs
- 3562800 Bullseye GlasTac 113ml
- 3550800 Fiber paper BULLSEYE ThinFire 52x52 cm
Step 1
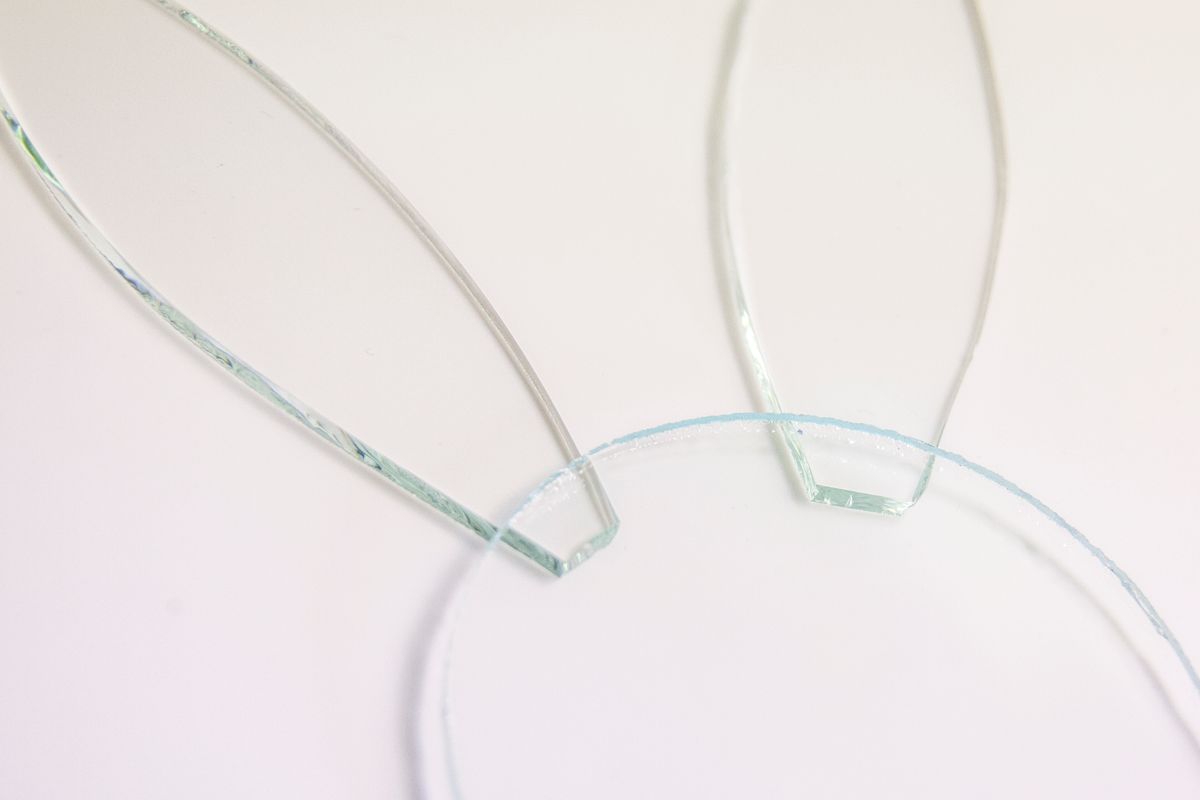
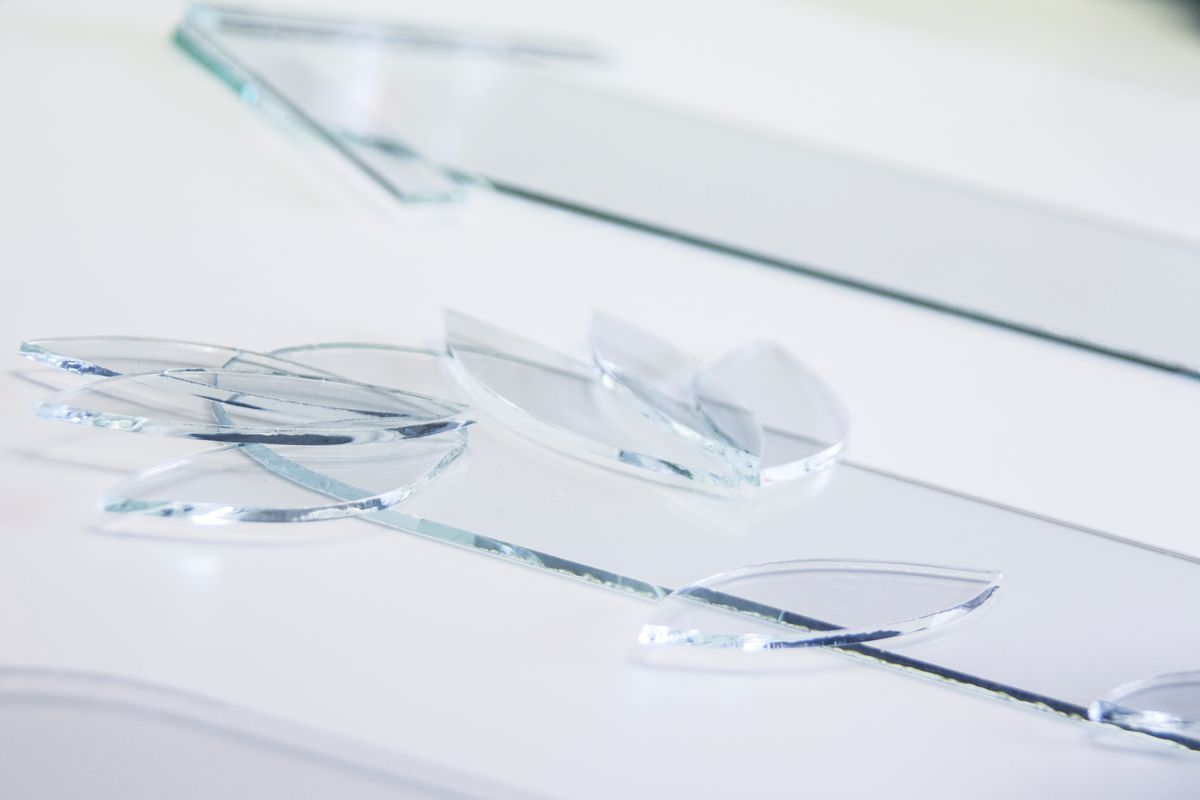
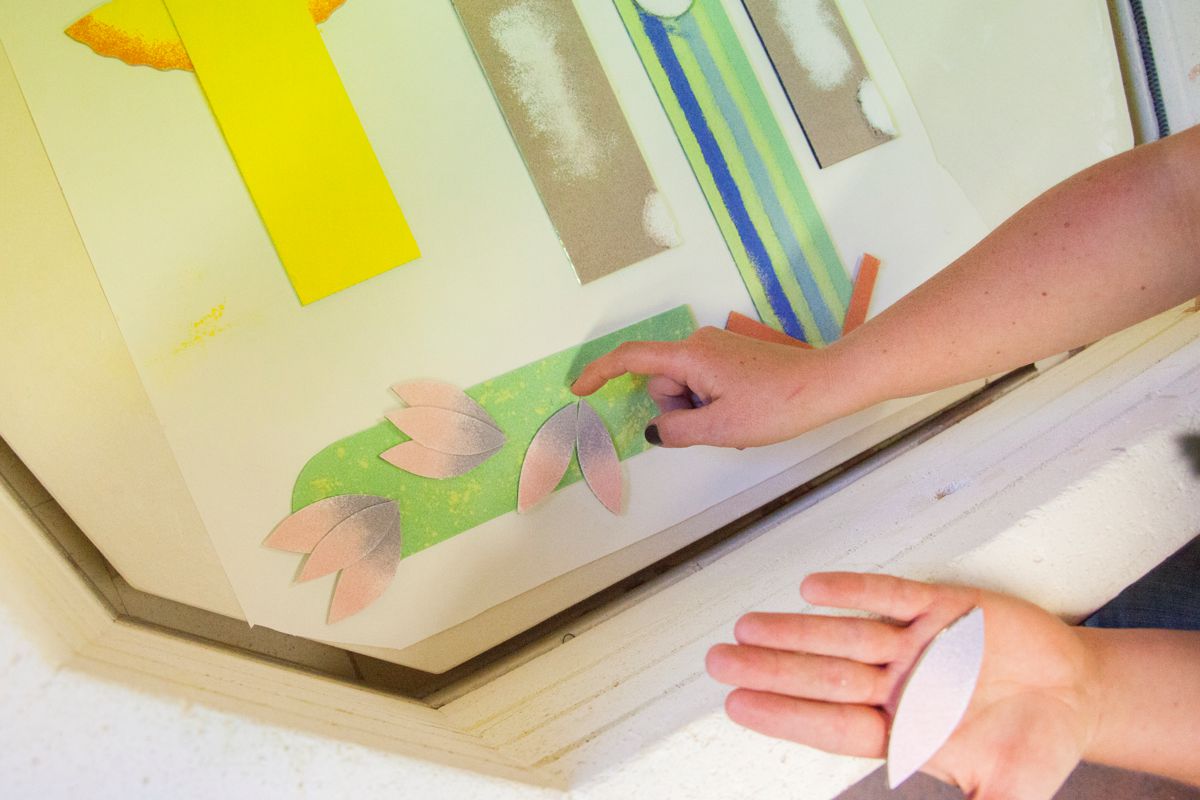
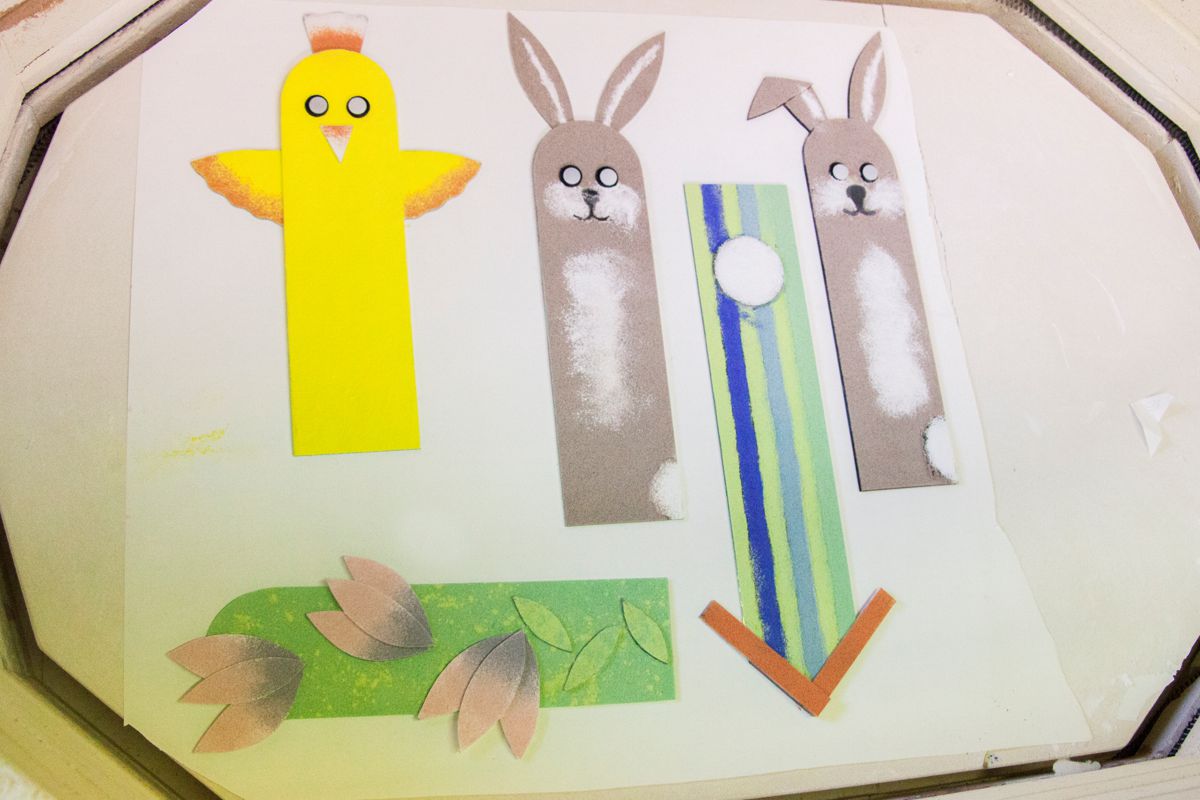
Transfer the individual figures to the 3mm float glass. Cut out the shapes and put them together to fit. The different overlaps give you additional great effects when melting later.
Tip:
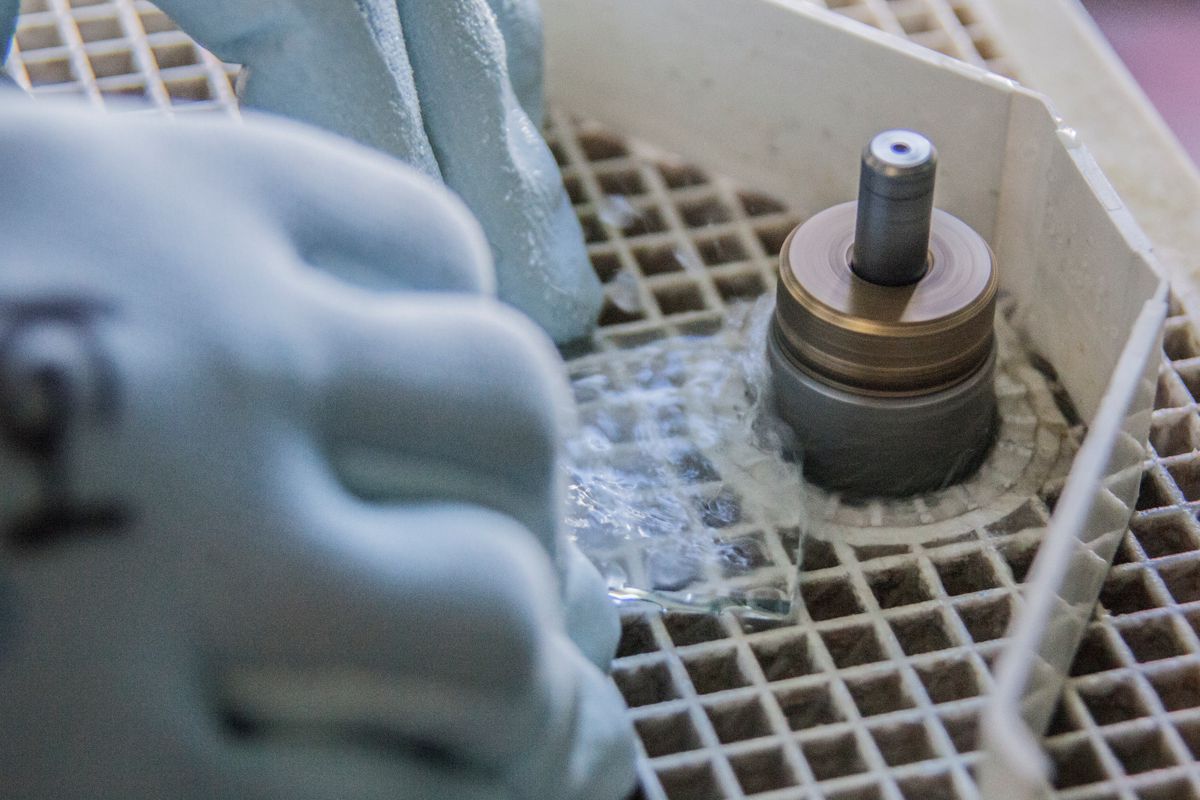
If necessary, you can regrind individual parts, e.g. with a Kristall 2000.S.
Step 2
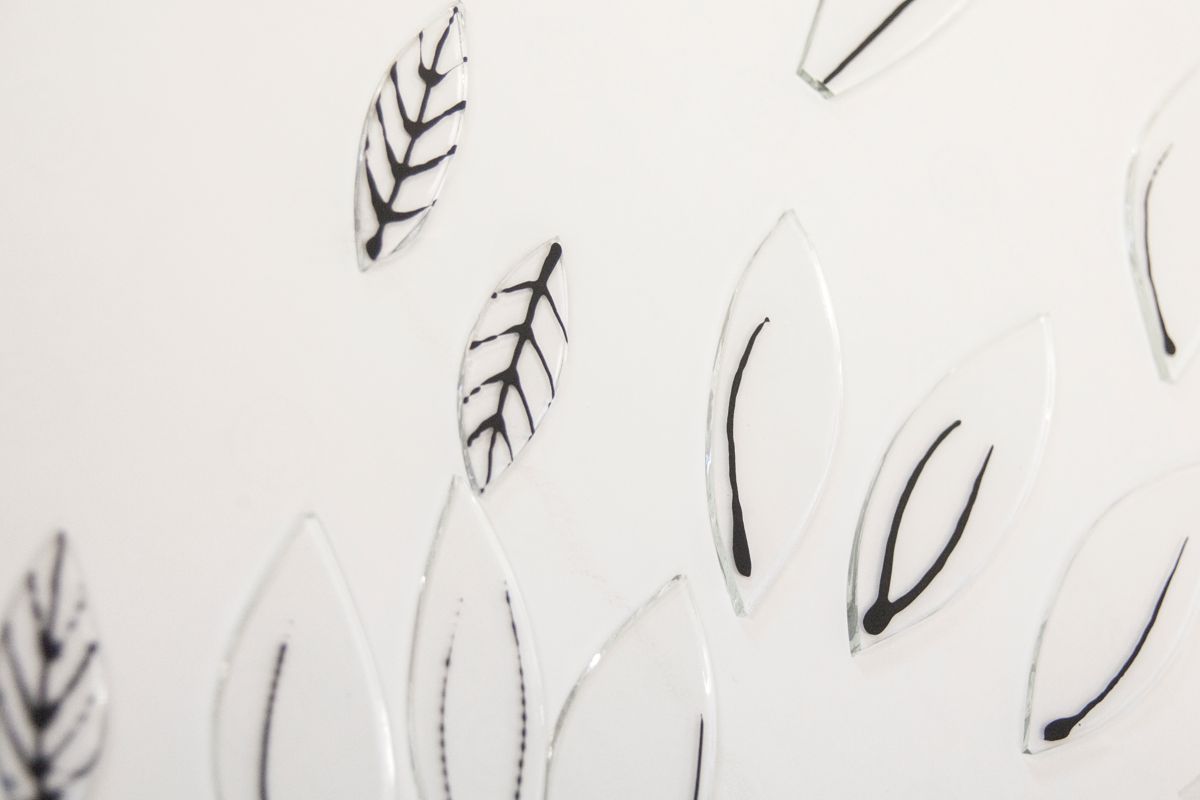
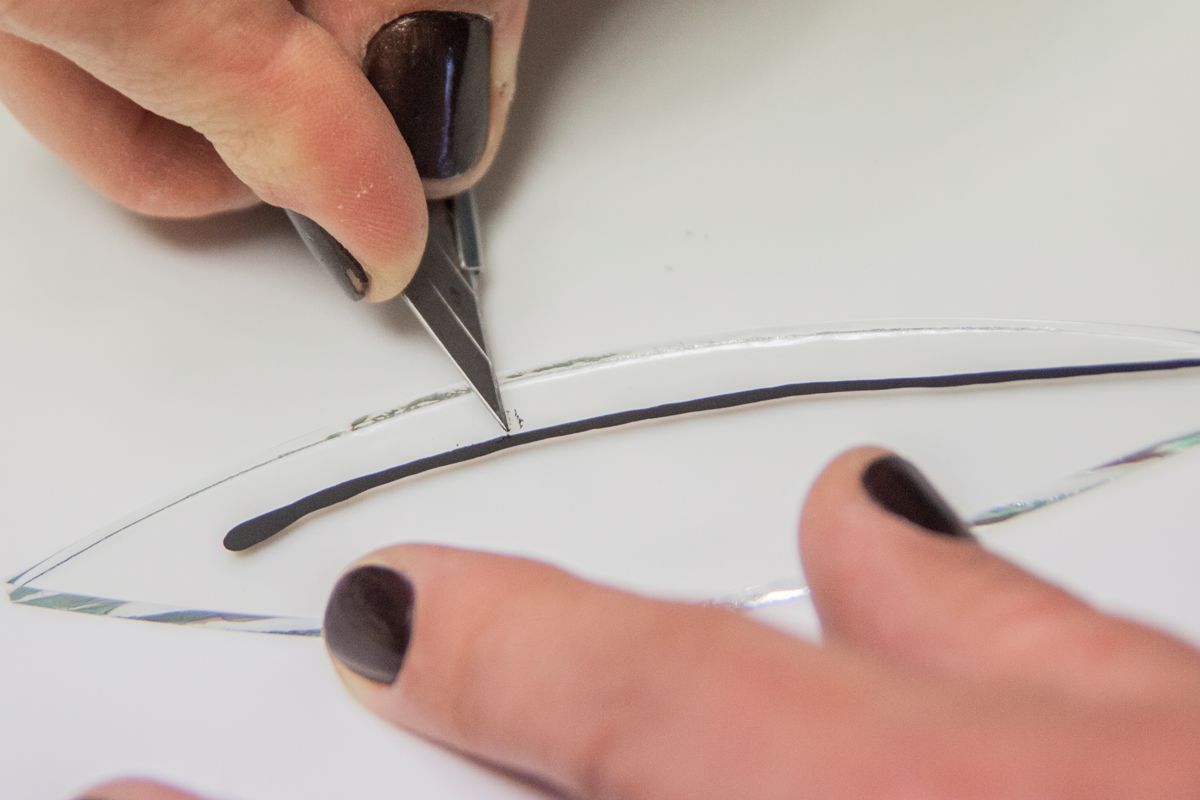
Decorate the shapes with a contour pen. If the color runs a little or the lines are not completely defined, you can trace and clean the contours after drying with a sharp cutter knife.
Step 3
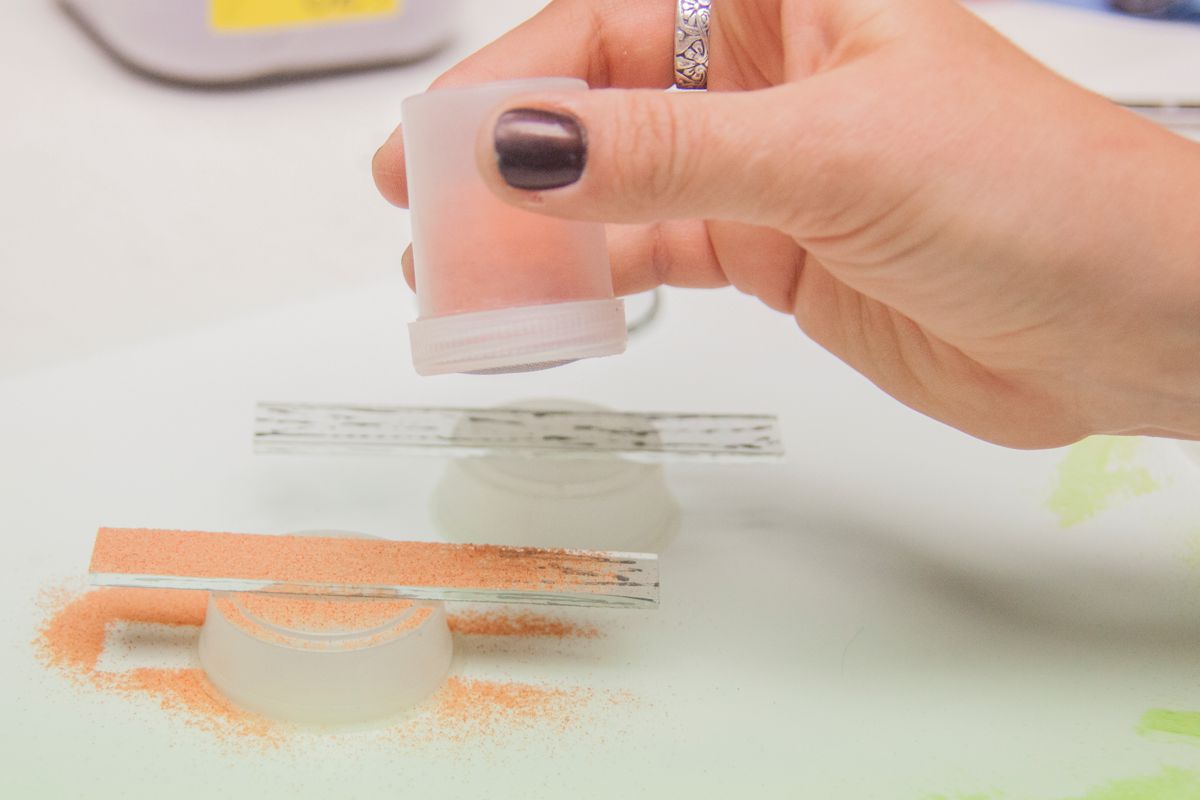
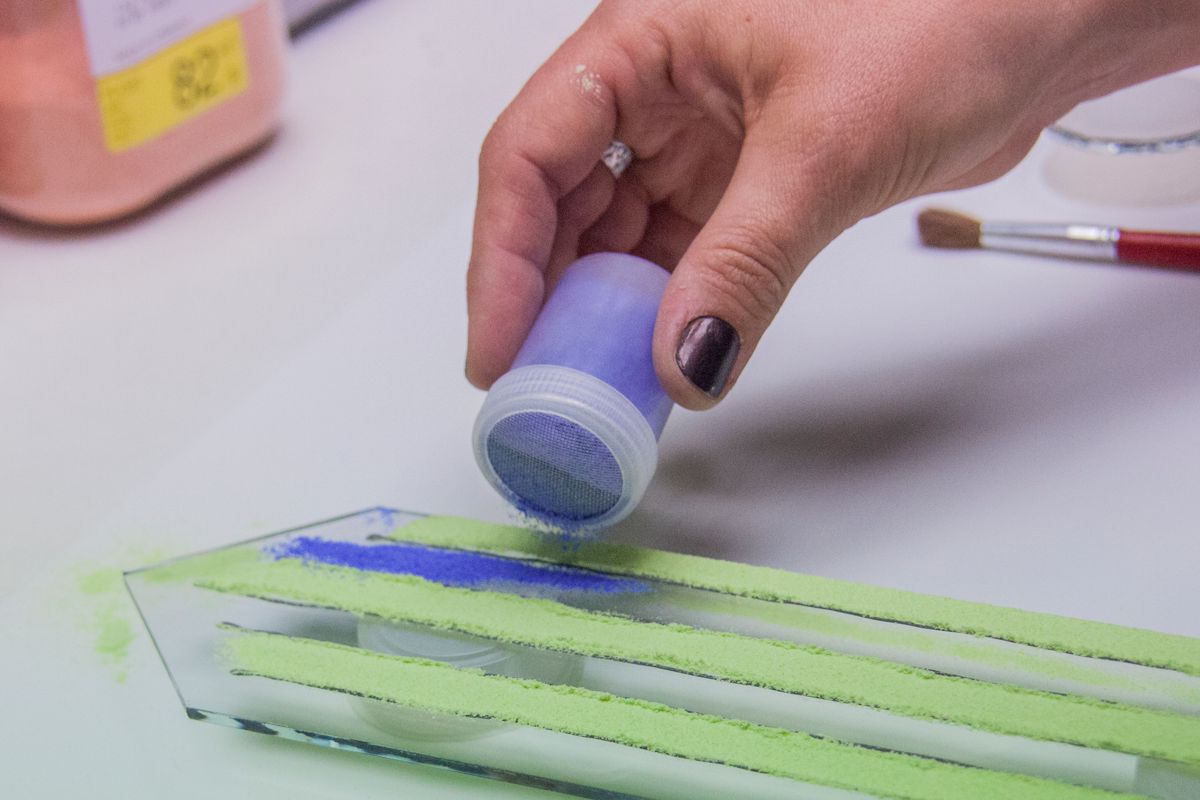
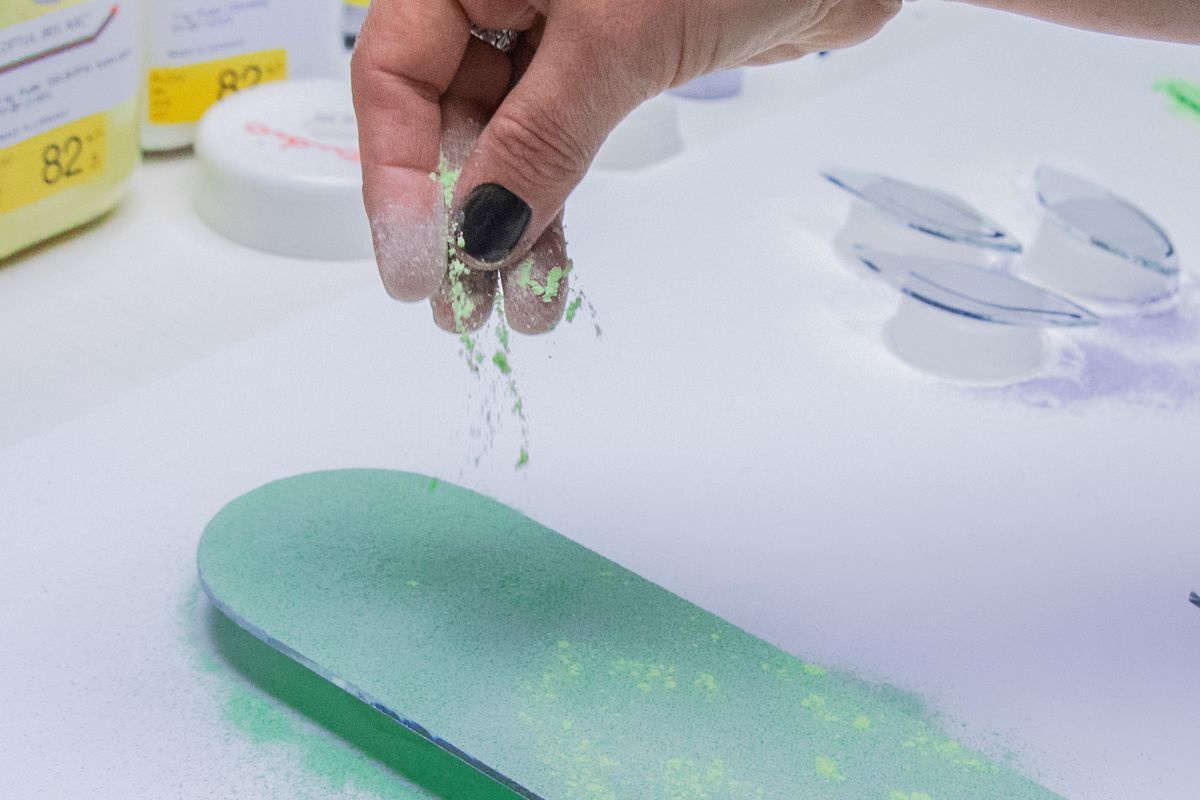
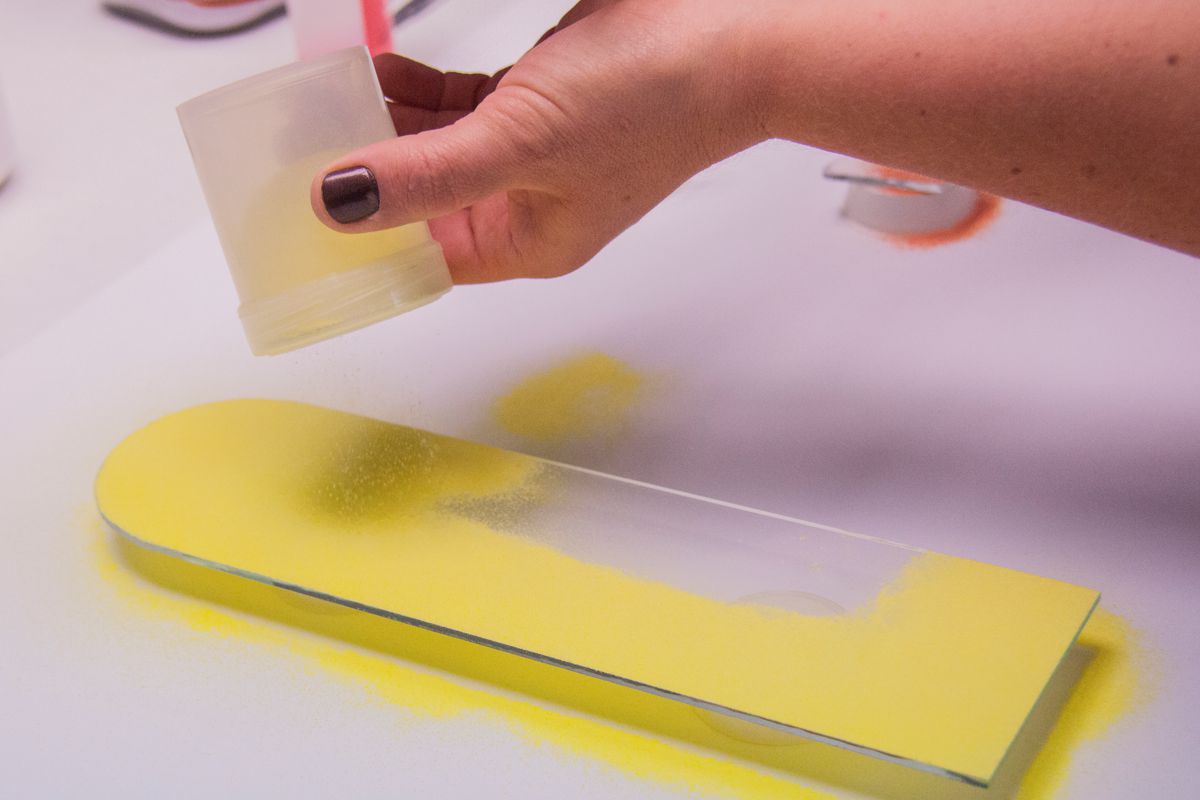
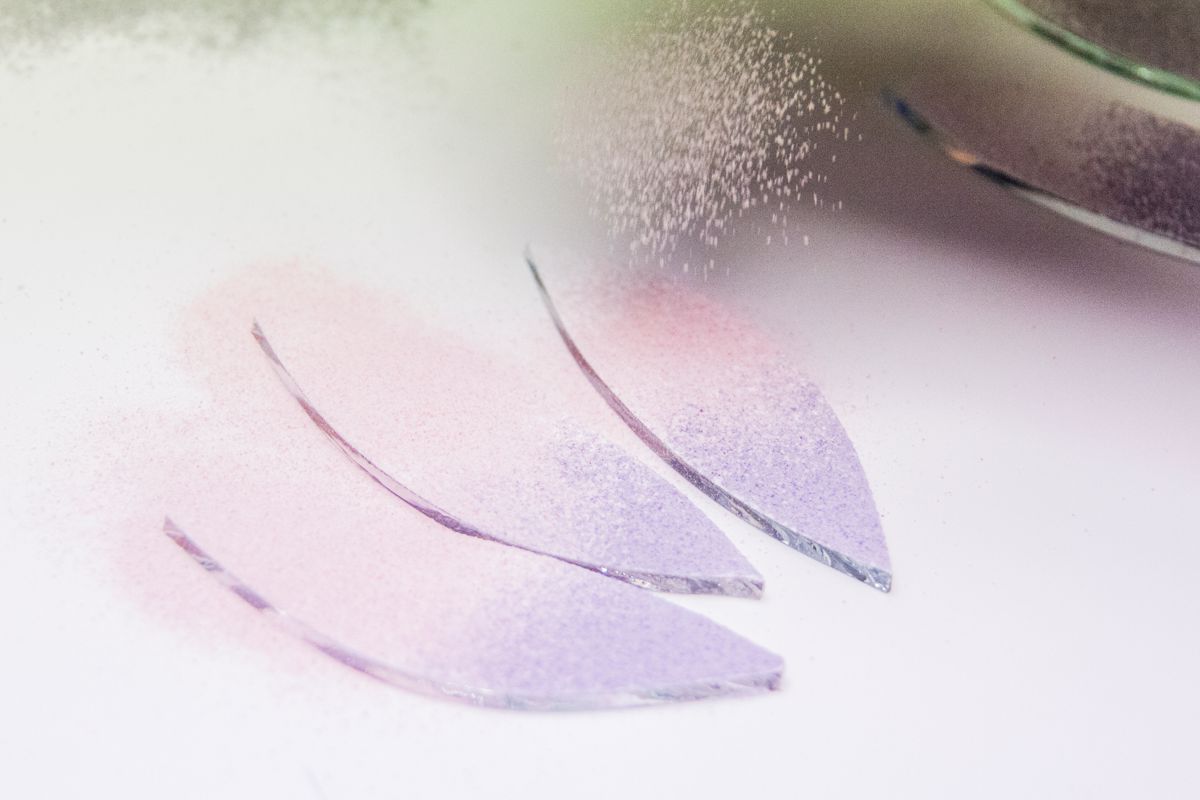
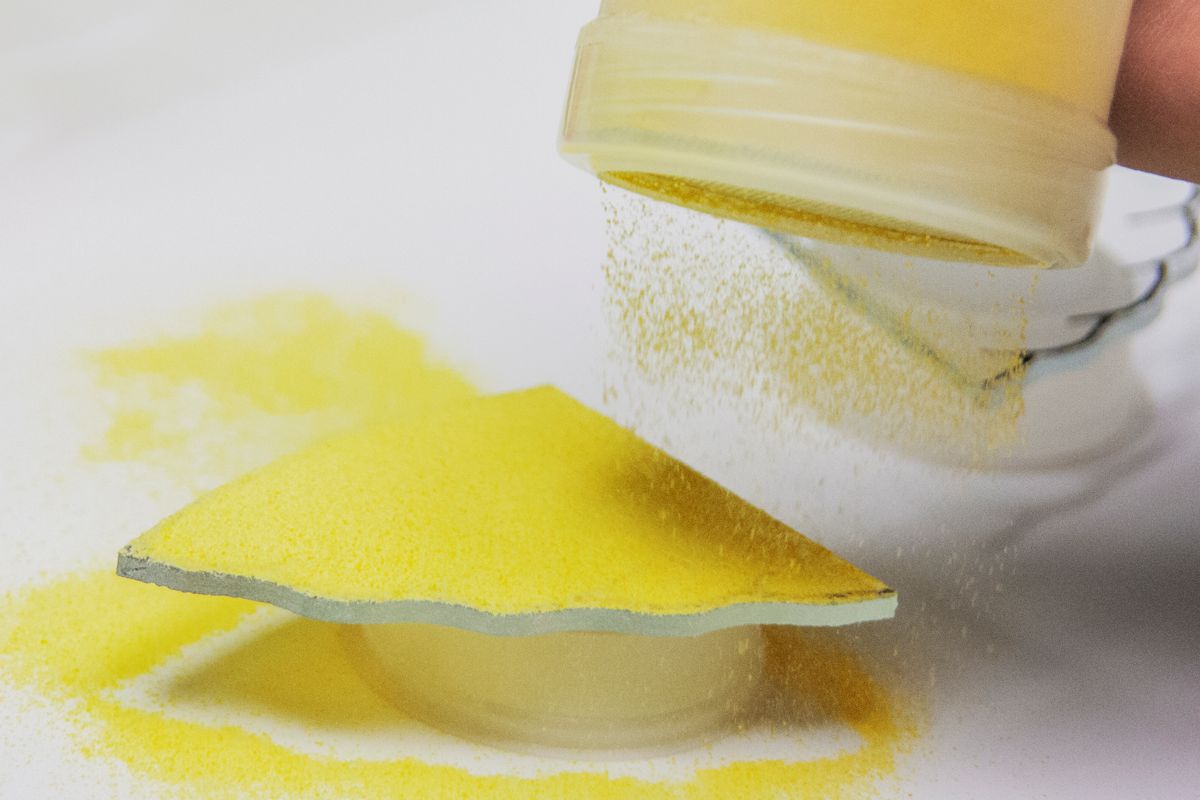
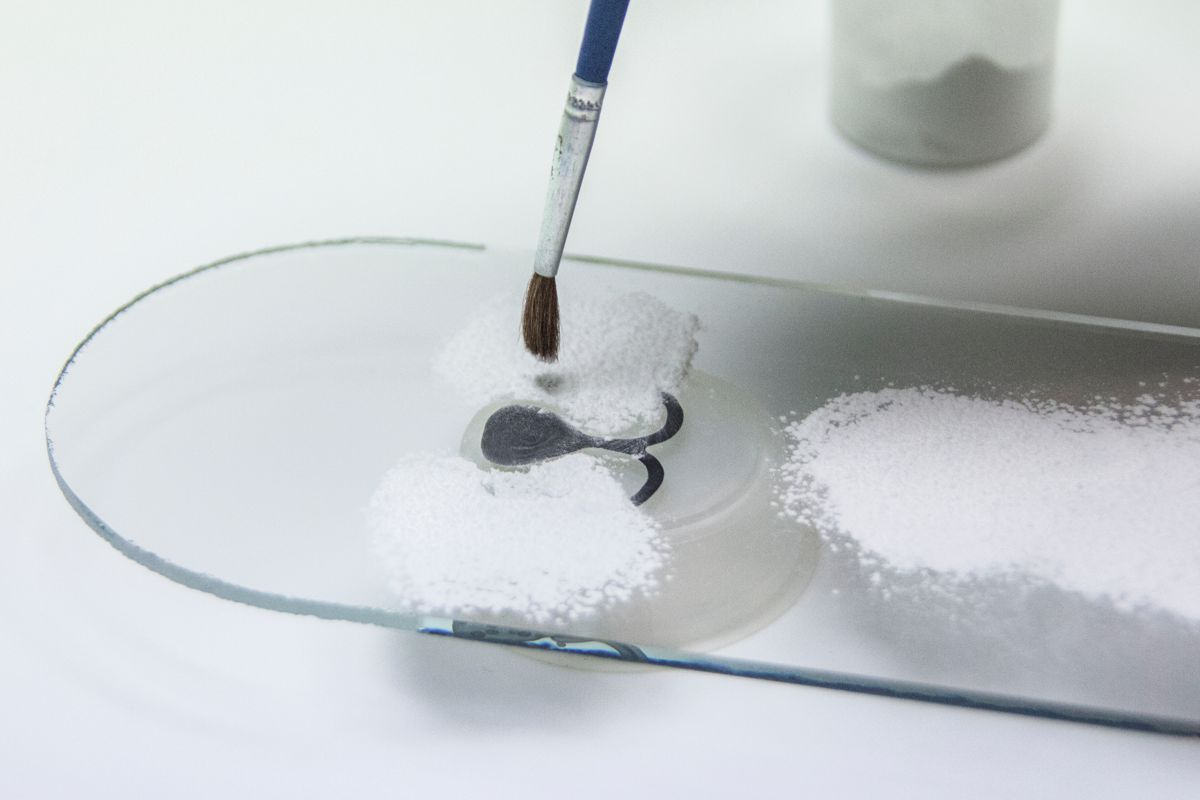
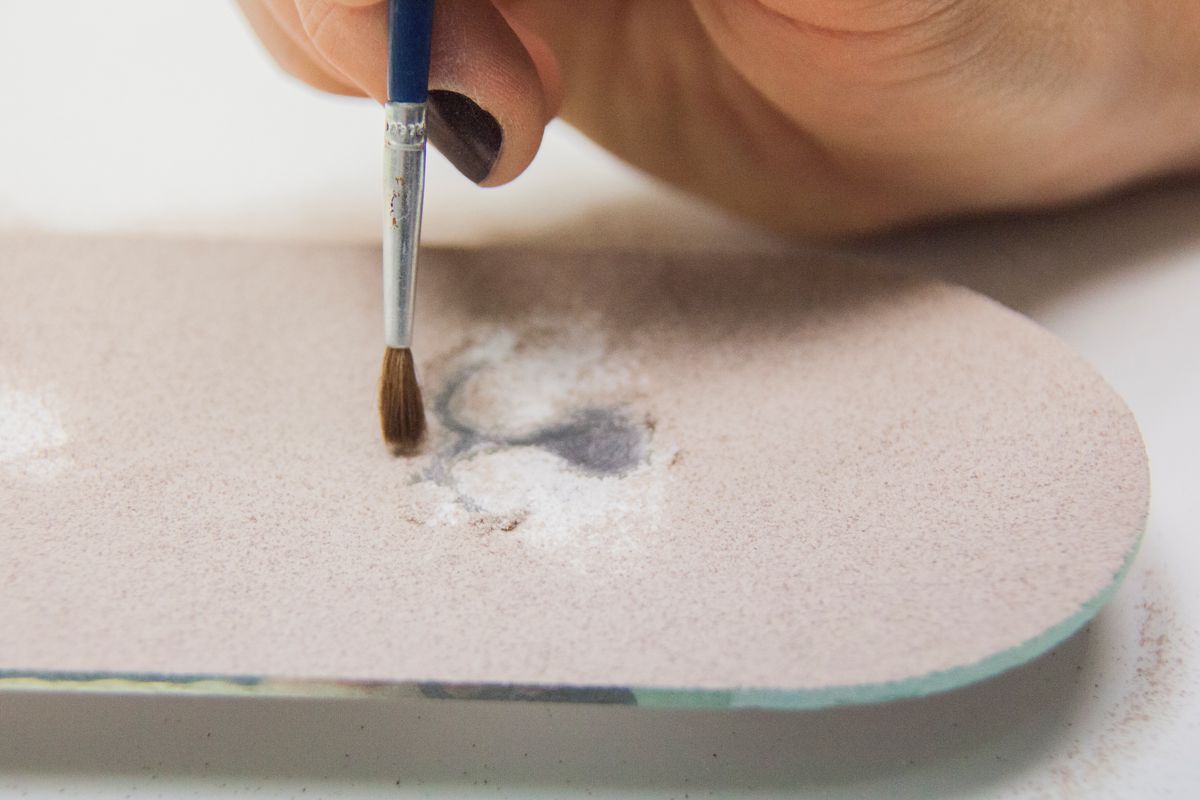
Powder each part in the color of your choice. (Please wear a mask!)
If the contours are covered too much, gently brush the excess powder aside with a fine brush.
Step 4
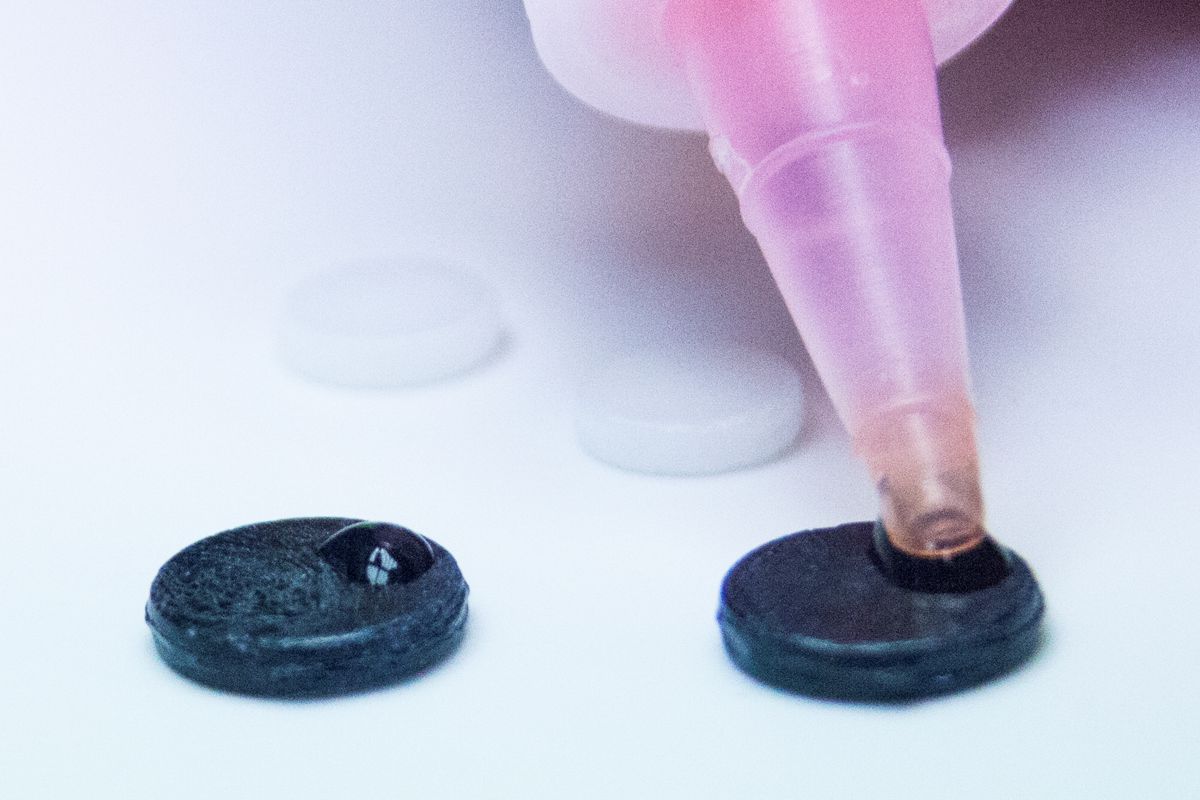
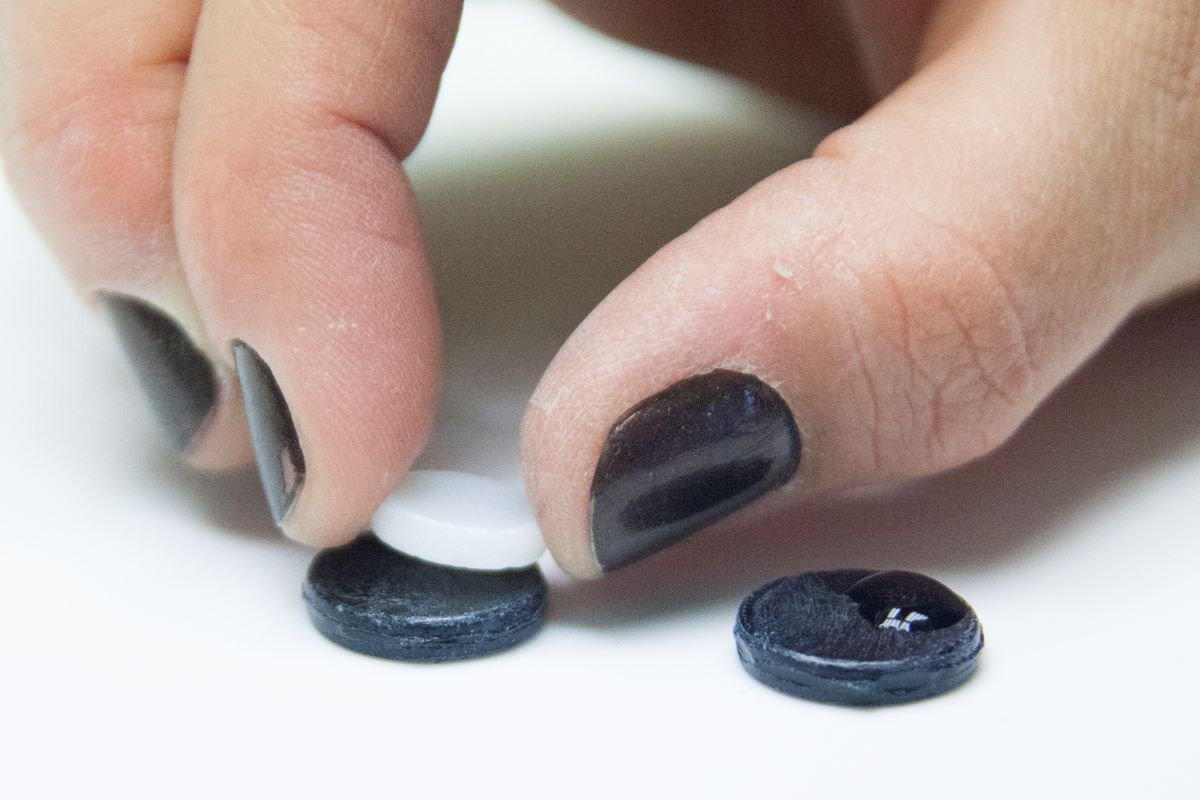
After powdering, prepare the dots for the eyes of the figures.
To do this, stick the smaller white dots onto the black dots with some fusing glue and then place them on the figure.
Step 5
Place a piece of bullseye paper in the oven and carefully position the individual parts of the figures on the paper.
Make sure that the individual parts overlap well!
Firing cycle*
1. 120min - 500°C - 0min
2. skip - 800°C - 20min
3. skip - 535°C - 120min
4. 120min - 480°C - 0
5. End
Step 6
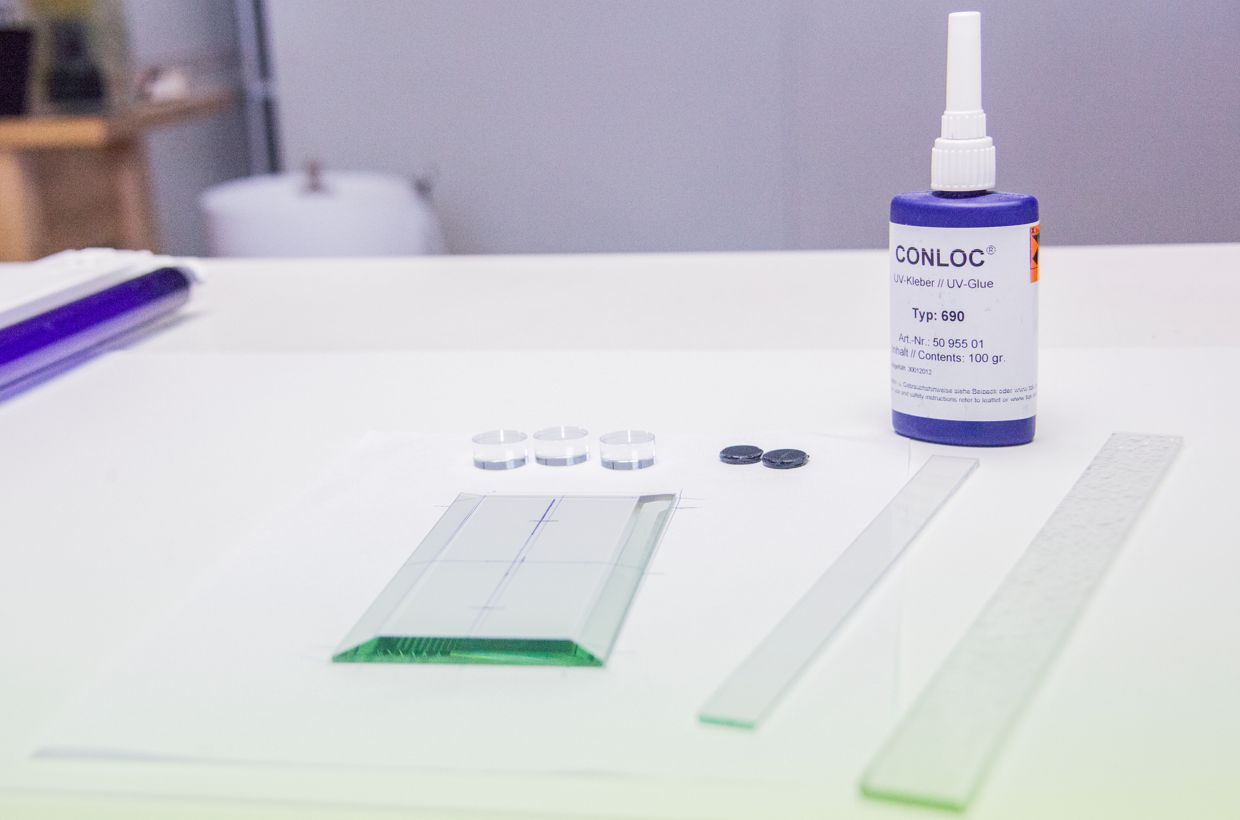
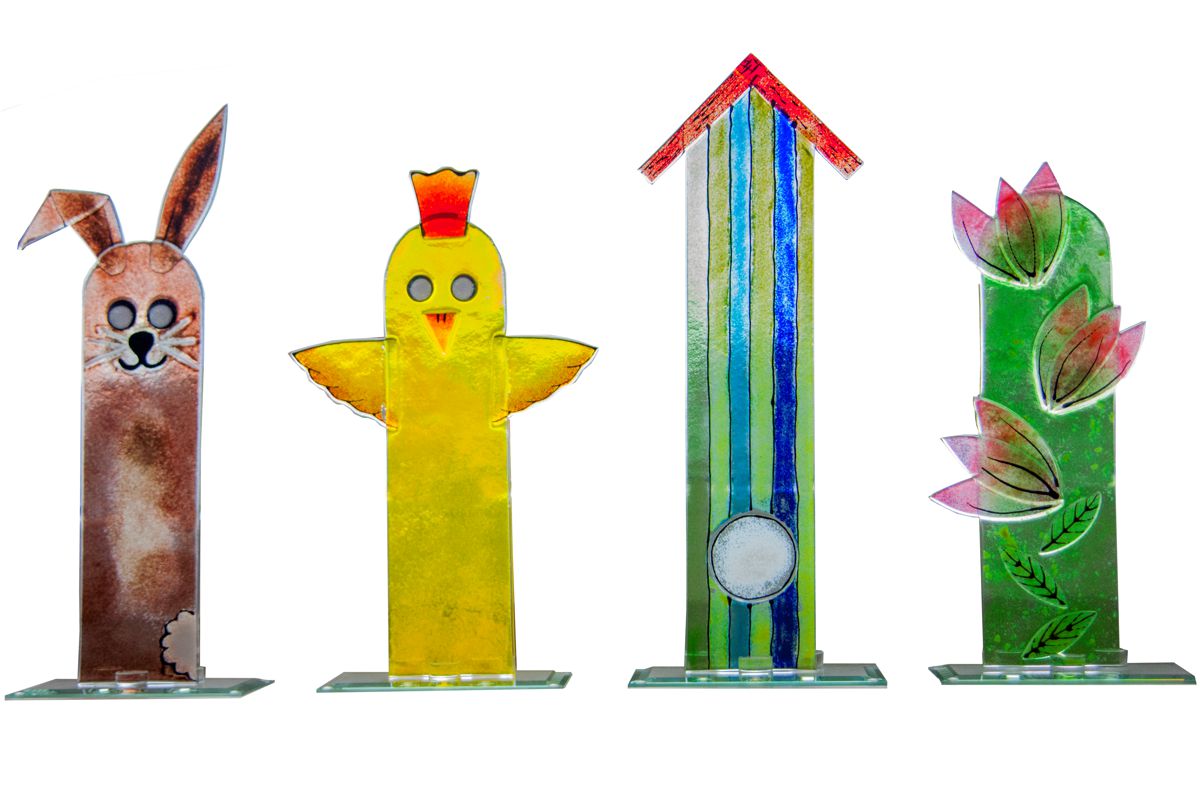
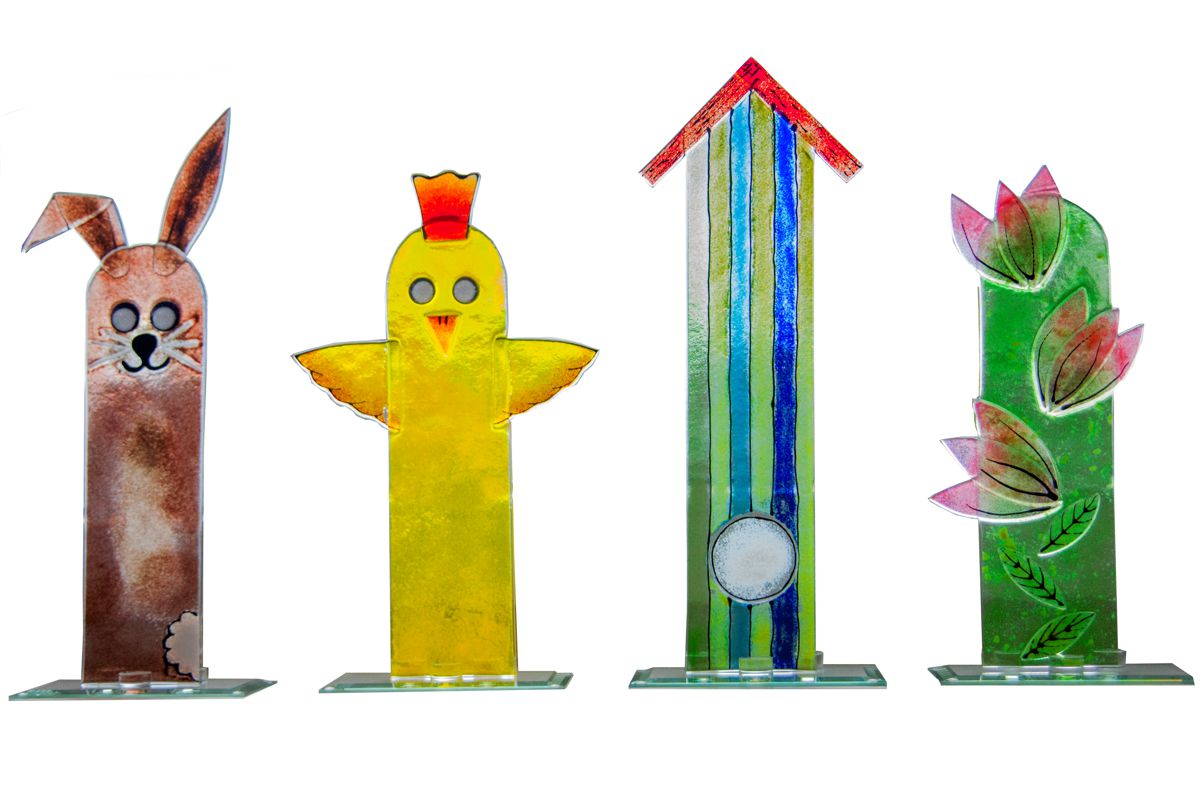
If the figures are fused, you can make the foot/ base according to our Impulse (you can find the pdf instructions here) or use other options such as a stone or wood!
There are no limits to the imagination, just as with the design of the figures.
