Step 1
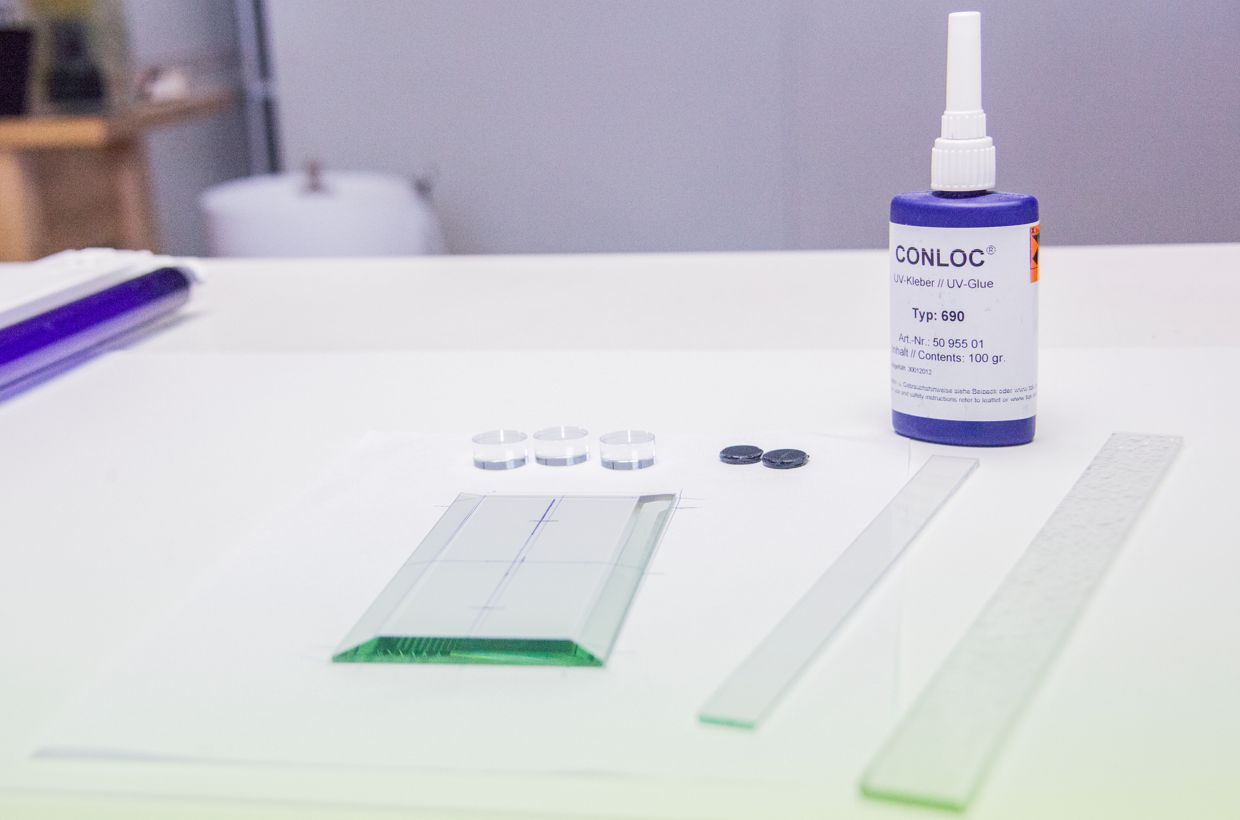
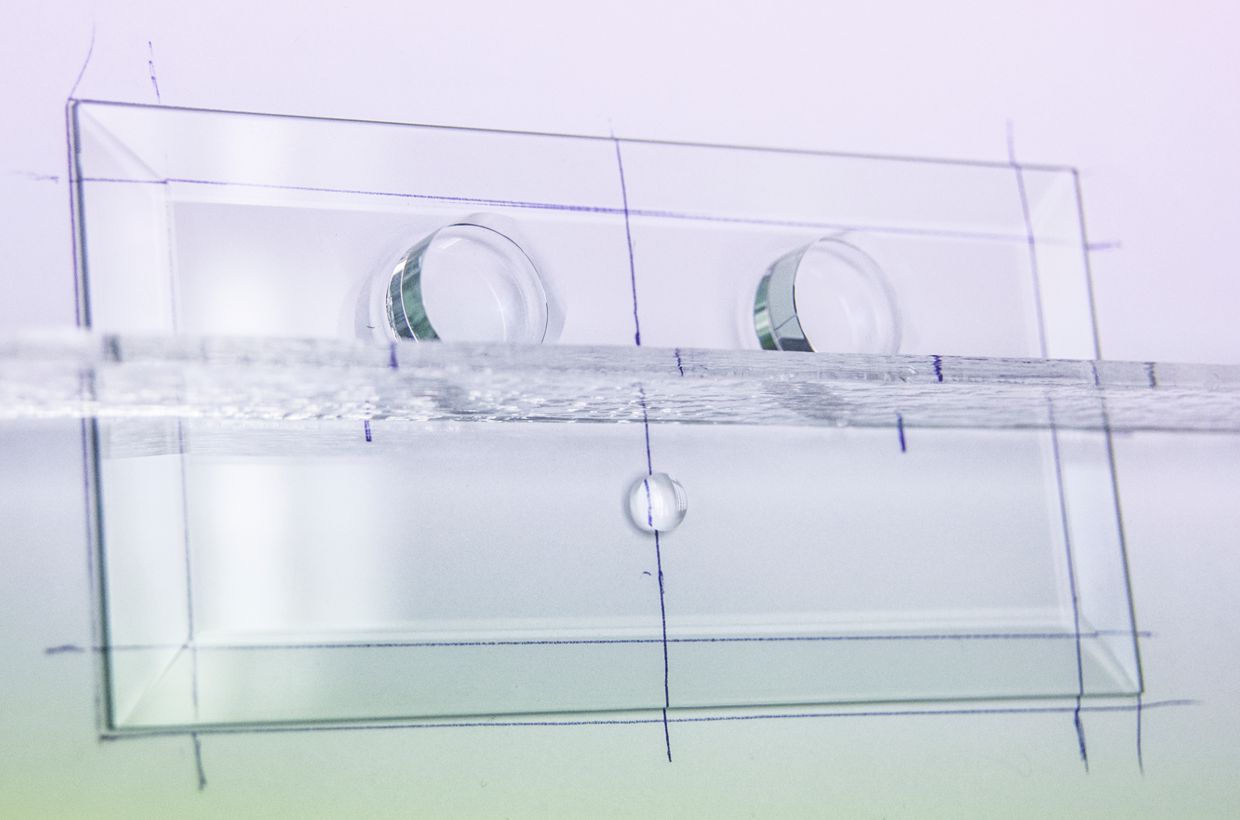
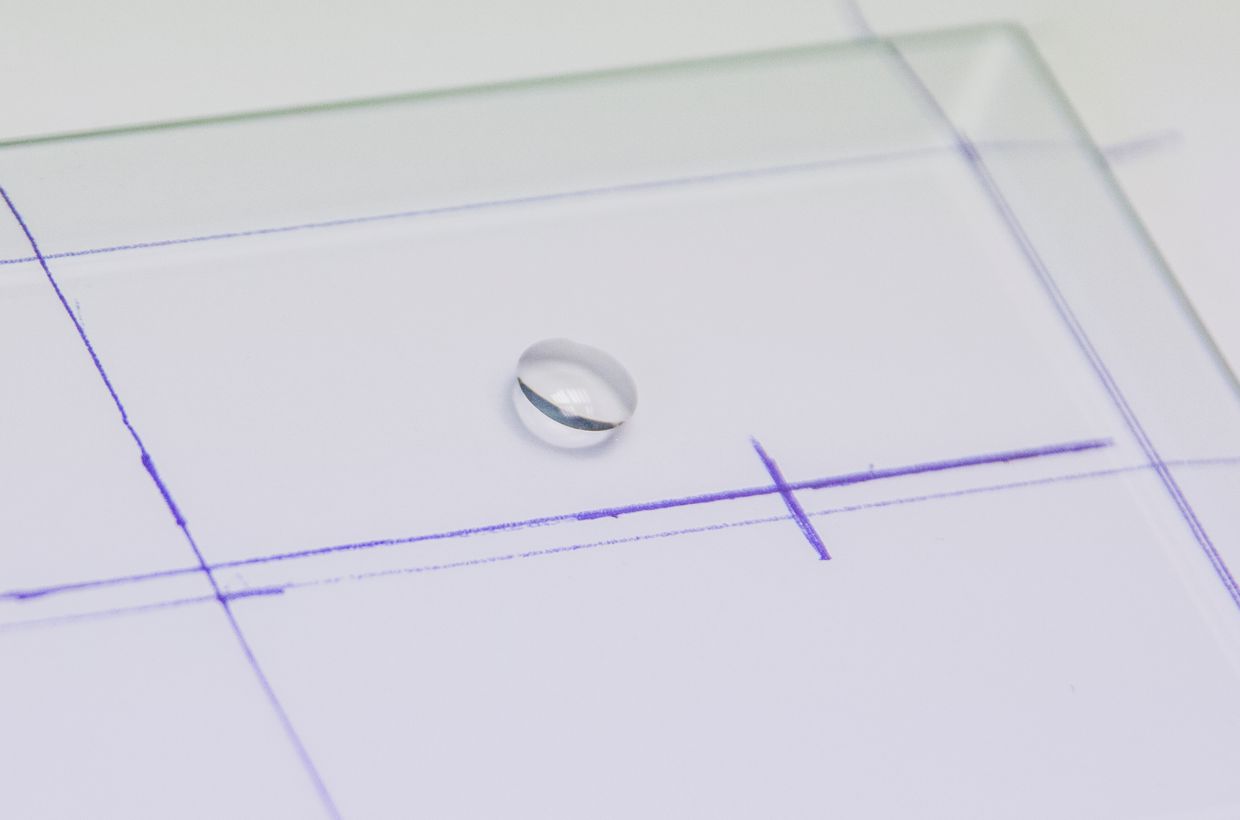
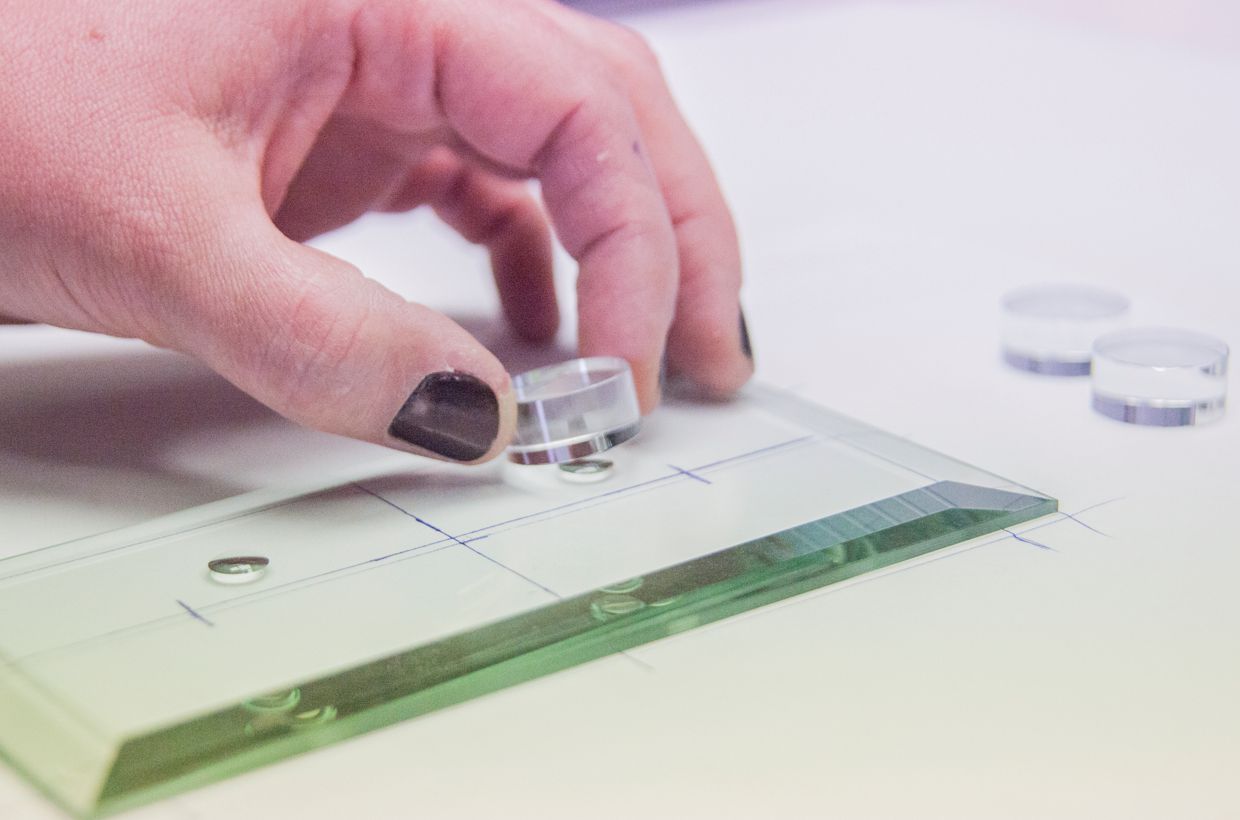
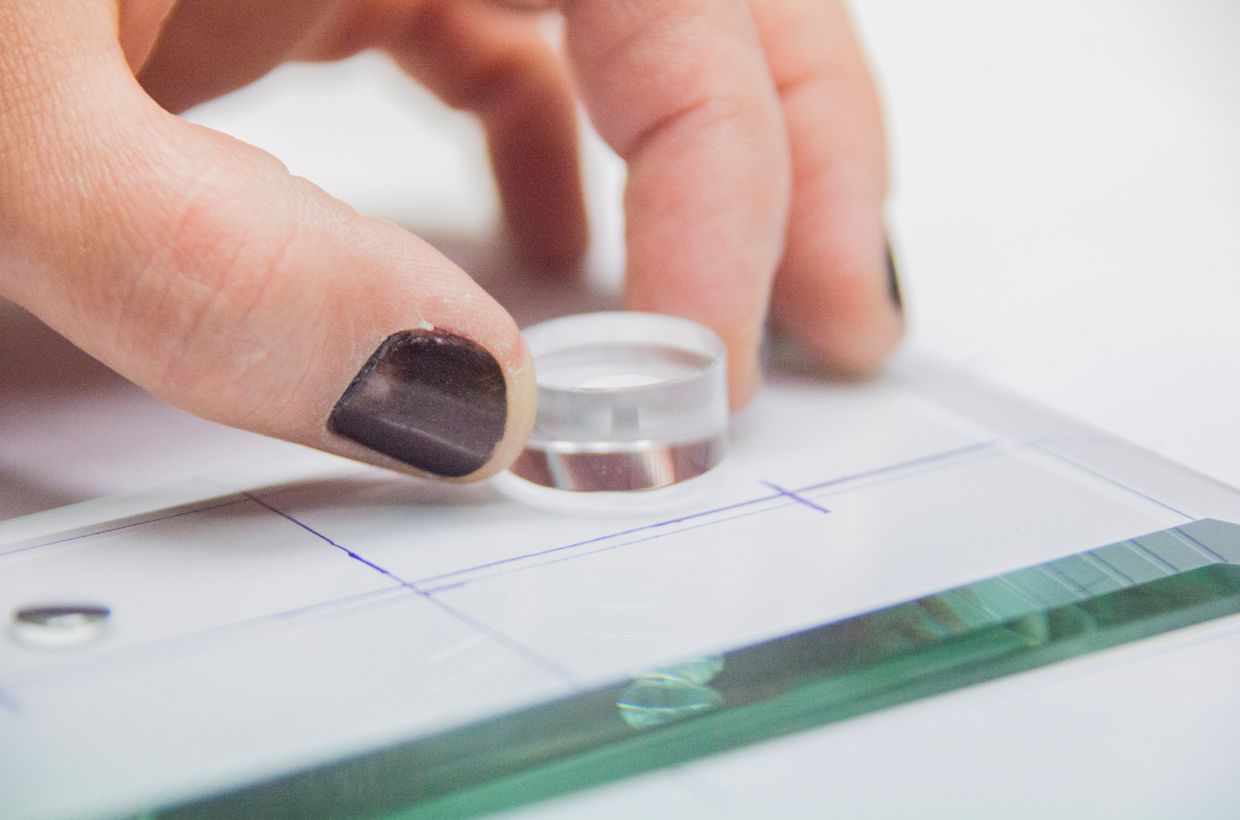
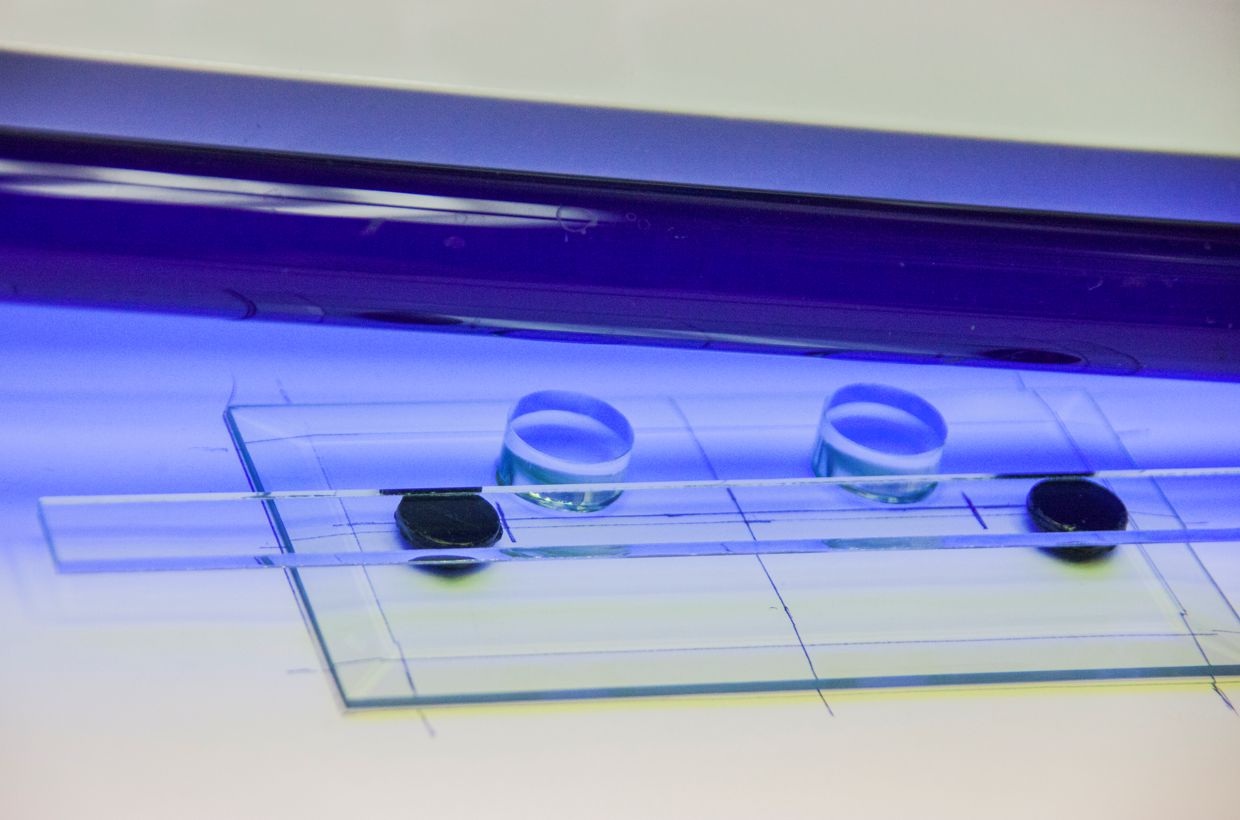
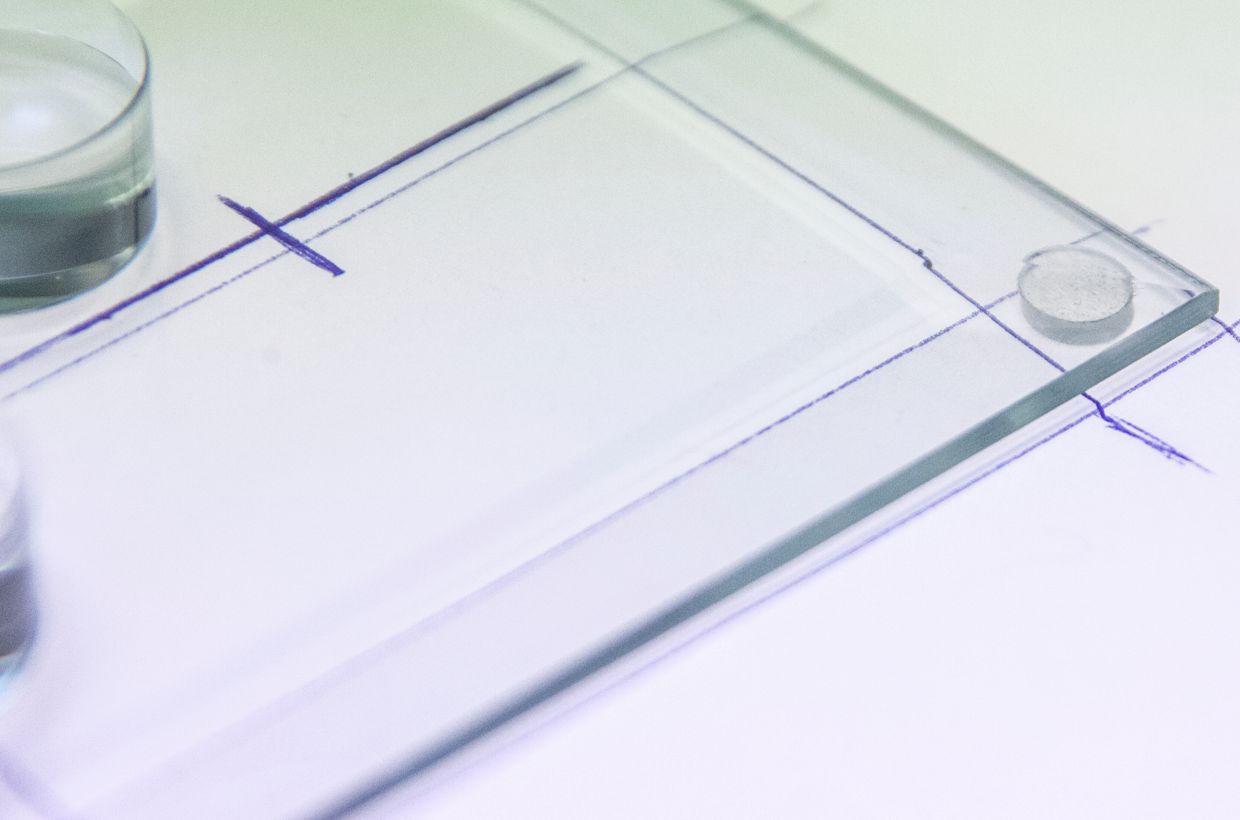
Clean the bevel and the disks. The components must be free of grease and dust for further processing. Create a template according to the object thickness and mark the places where you want to stick the discs. Now you can place the bevel on the sketch and glue the two rear discs. Apply a drop of UV glue to the appropriate places. Carefully place the discs diagonally on the bevel and lower them slowly. This will prevent air pockets in the adhesive. Align the blanks, you can put on a glass strip to keep the two in line. Then expose the glue with the UV lamp for approx. 30-60 seconds. Remove the excess adhesive residue.
Step 2
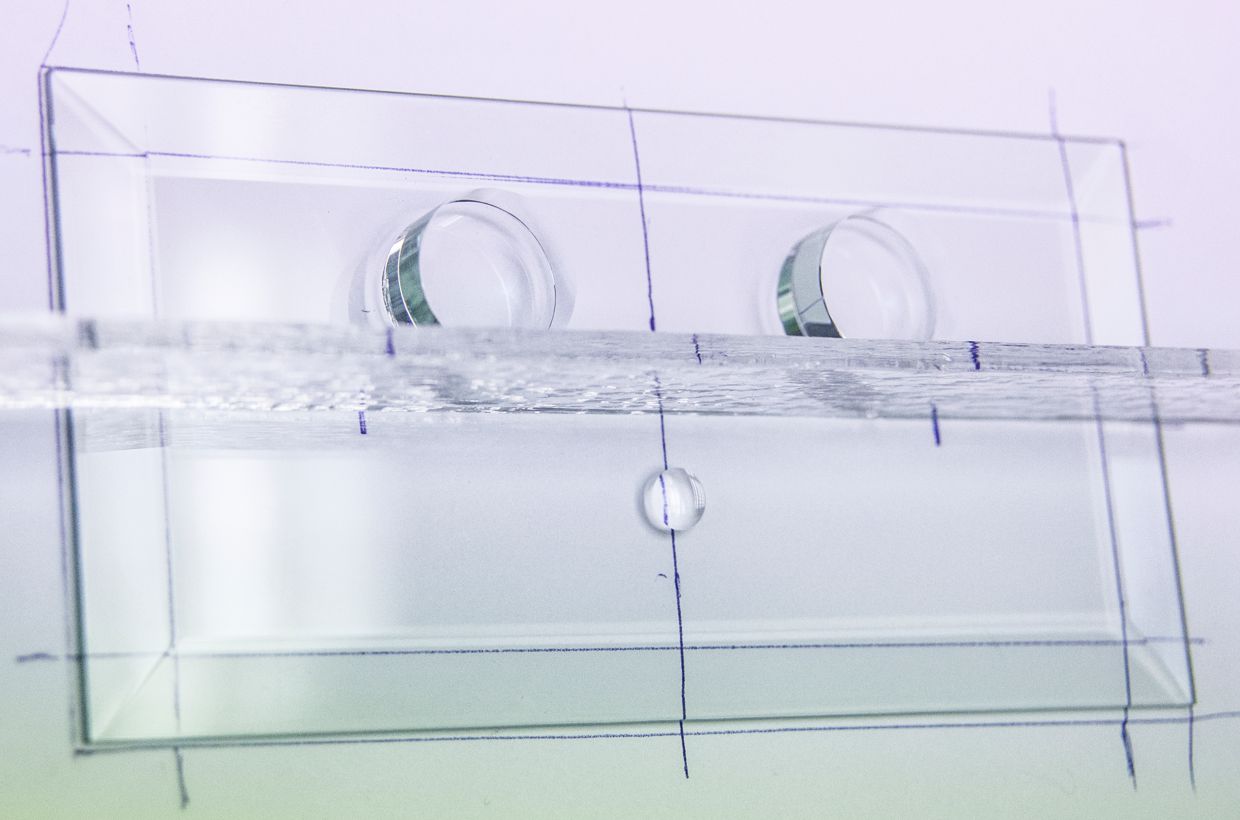
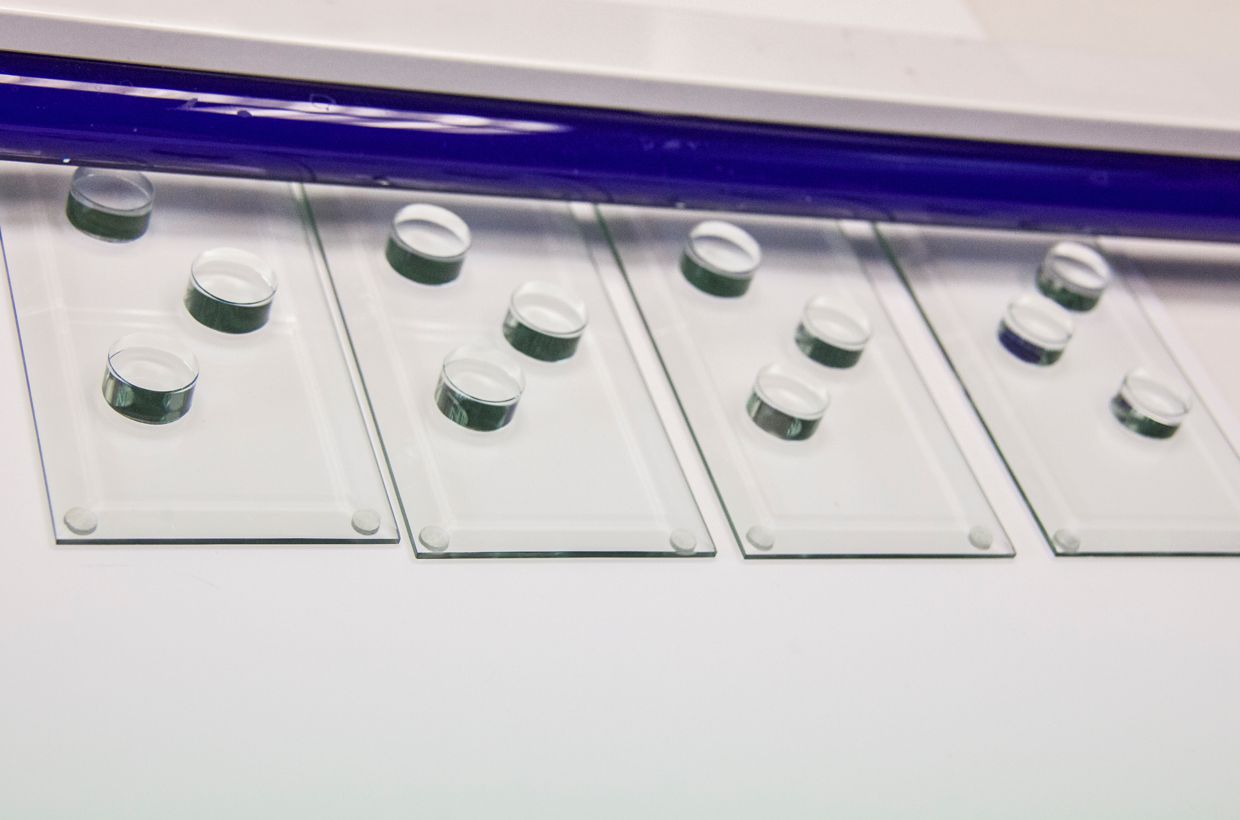
Now glue on the front circular disc in the same way as the rear two. Tip: So that you do not have a problem with the distances at the end, it is advisable to hold a piece of glass with the object thickness between the discs and adjust the front position accordingly. Remove the excess glue from the last round plate and cure all of the glue spots again for about 3-4 minutes under the UV lamp. In the final step, clean the bottom and glue a rubber bump in each corner. Your glass base is ready!
* All information without guarantuee / fusing temperatures must be adapted to the respective kiln
