Step 1
Coating the screen
Take a screen printing frame and clean it with the degreaser. Let the frame dry completely (possibly with a hair dryer at low heat). If the screen is not completely cleaned, this can cause contamination in the coating. Clean the screen with a soft sponge, make sure there is no dust on the screen.
Turn off all lights in the room, make sure there is no daylight. Switch on the yellow light bulb. Now take a screen, the emulsion and the coating trough. Place the screen upright against a wall or lean it against a table. The screen side faces the wall, the frame faces the front. Fix the frame (e.g. with stones in front of/behind it or similar) so that it cannot slip.
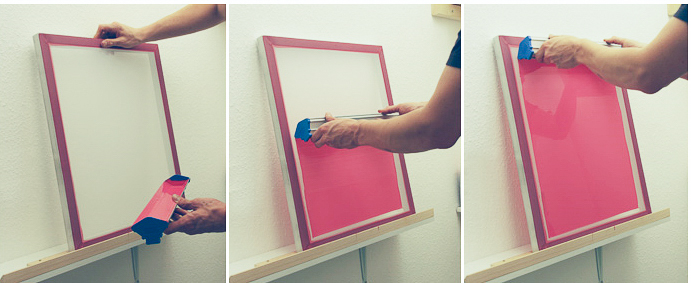
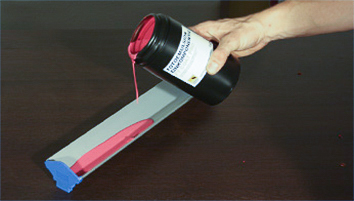
Now fill the emulsion into the coating trough and let it run evenly.
The slanted side of the trough should face the frame (left). Now press the trough against the screen, let the emulsion flow evenly to the screen. Then pull the trough from the bottom to the top with light pressure. You can see this in the following pictures, with the exception: You coat only the inner side!
The coating must now dry lying down for a few hours at room temperature. Again, WITHOUT any daylight. Place the frame with the screen facing upwards in a closed cabinet or in a tightly closed cardboard box.
Step 2

Graphic preparation
Prepare your design as a black print on a clear film. The black must be a dense black, print in photo quality. You can also draw or write something on the foil with a black paint pen (3651003).
Photos must be converted to 2Tone quality, there must be only black and white (as with stamps!) No gray tones! There are many possibilities and different filters in various graphics programs. The print must be exactly as the desired print design should look. The black areas and lines are printed afterwards. The black areas do not get UV light and can therefore be washed out afterwards.
Step 3
Light exposure
When the coating has dried, the screen can be exposed. Prepare a room without daylight or other UV light. Use only the yellow light bulb for illumination! If the coating is exposed to UV light in advance, the coating will begin to harden and you will get little or no detail of your design afterward. Set up a UV exposure table together with the UV lamp 5098500 and place the screen as follows:
When the coating has dried, the screen can be exposed. Prepare a room without daylight or other UV light. Use only the yellow light bulb for illumination! If the coating is exposed to UV light in advance, the coating will begin to harden and you will get little or no detail of your design afterward. Set up a UV exposure table together with the UV lamp 5098500 and place the screen as follows:
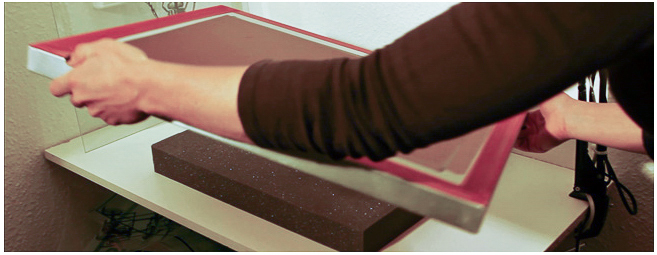
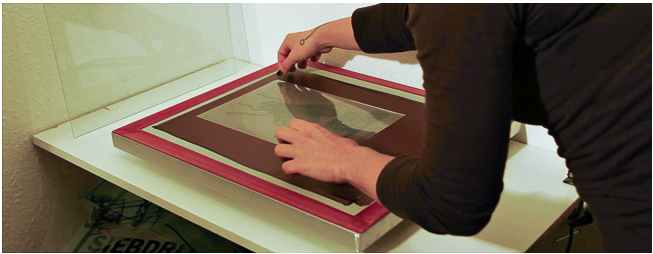
A polystyrene plate the size of the screen should fit inside the screen. The plate must be thick enough so that the screen can rest directly on it. The foil must be placed mirror-inverted on the screen (pressure to the screen!).
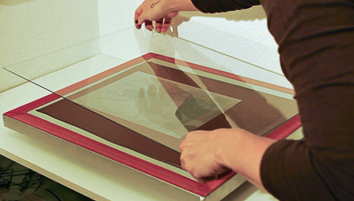
Now the UV lamp can be placed over the screen. The distance should be approx. 65 cm, then everything is evenly exposed. Do not look into the UV light! Wear protective goggles or turn away from the light.
Now the UV lamp can be placed over the screen. The distance should be approx. 65 cm, then everything is evenly exposed. Do not look into the UV light! Wear protective goggles or turn away from the light.
Exposure time is about 5 minutes with our technique and coating thickness. However, the exposure time may vary depending on the coating thickness, subject details, etc. When the time is up, turn off the lamp. Only then remove the glass and foil and wrap the screen in a tight black foil or closed box- the screen is not yet washed out and any UV light can still harden even unexposed areas and thus distort the design.
Step 4

Washing out the coating
Now the screen can be washed out. We do this in a normal shower cabin with a small high-pressure cleaner.
Carefully pour lukewarm water onto the screen and allow it to soak in for one minute. Now slowly wash out with pressure. Compare again and again with your template whether all details are washed out.
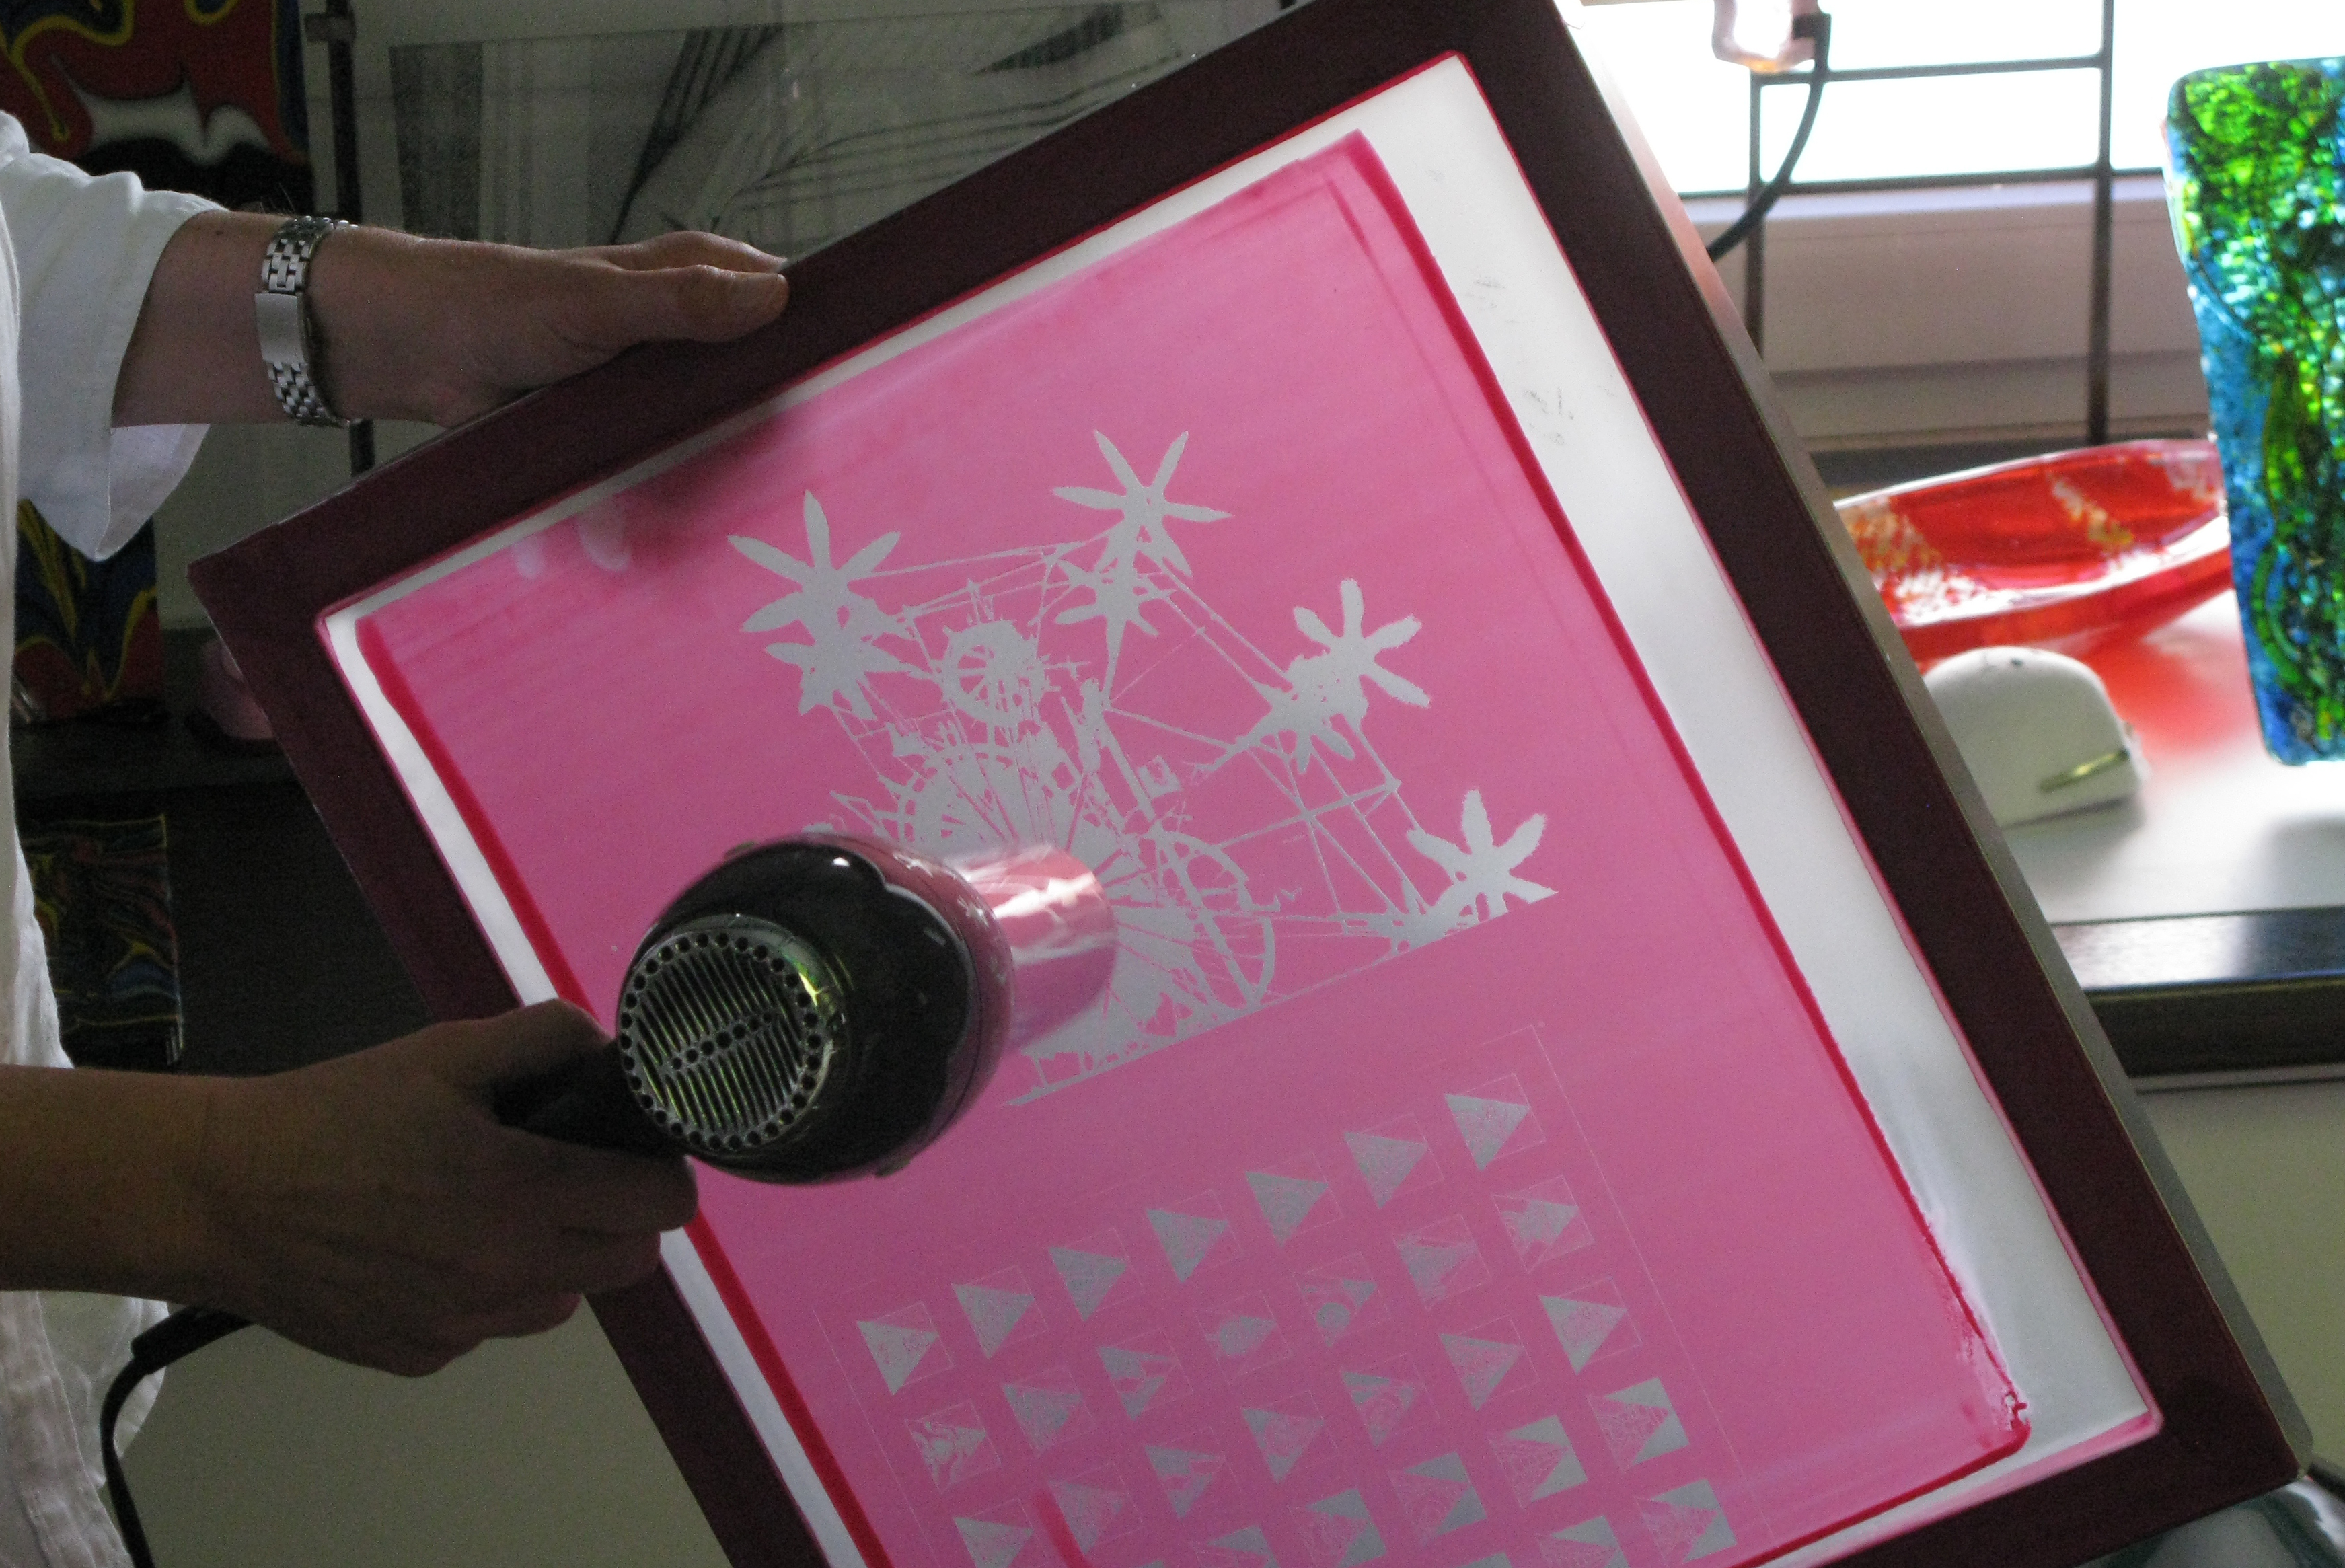
Allow the screen to dry and post cure in daylight. After washing, if you see that too much has been washed out in places or there are errors in the design, use the screen filler. Take a small brush, and repaint directly on the screen.
Step 5
Washing out the coating
Place the base glass on small spacers, place the screen printing frame (screen down) with the design fitting over it. Here it helps to mark the corners of the glass with a black sharpie. This way the glass can be seen through the screen as well. We use under glass and frame small plastic pots that you can put into each other. Thus one can reach different heights. The screen should be about 1-2mm above the glass, not directly on it!
Place the base glass on small spacers, place the screen printing frame (screen down) with the design fitting over it. Here it helps to mark the corners of the glass with a black sharpie. This way the glass can be seen through the screen as well. We use under glass and frame small plastic pots that you can put into each other. Thus one can reach different heights. The screen should be about 1-2mm above the glass, not directly on it!


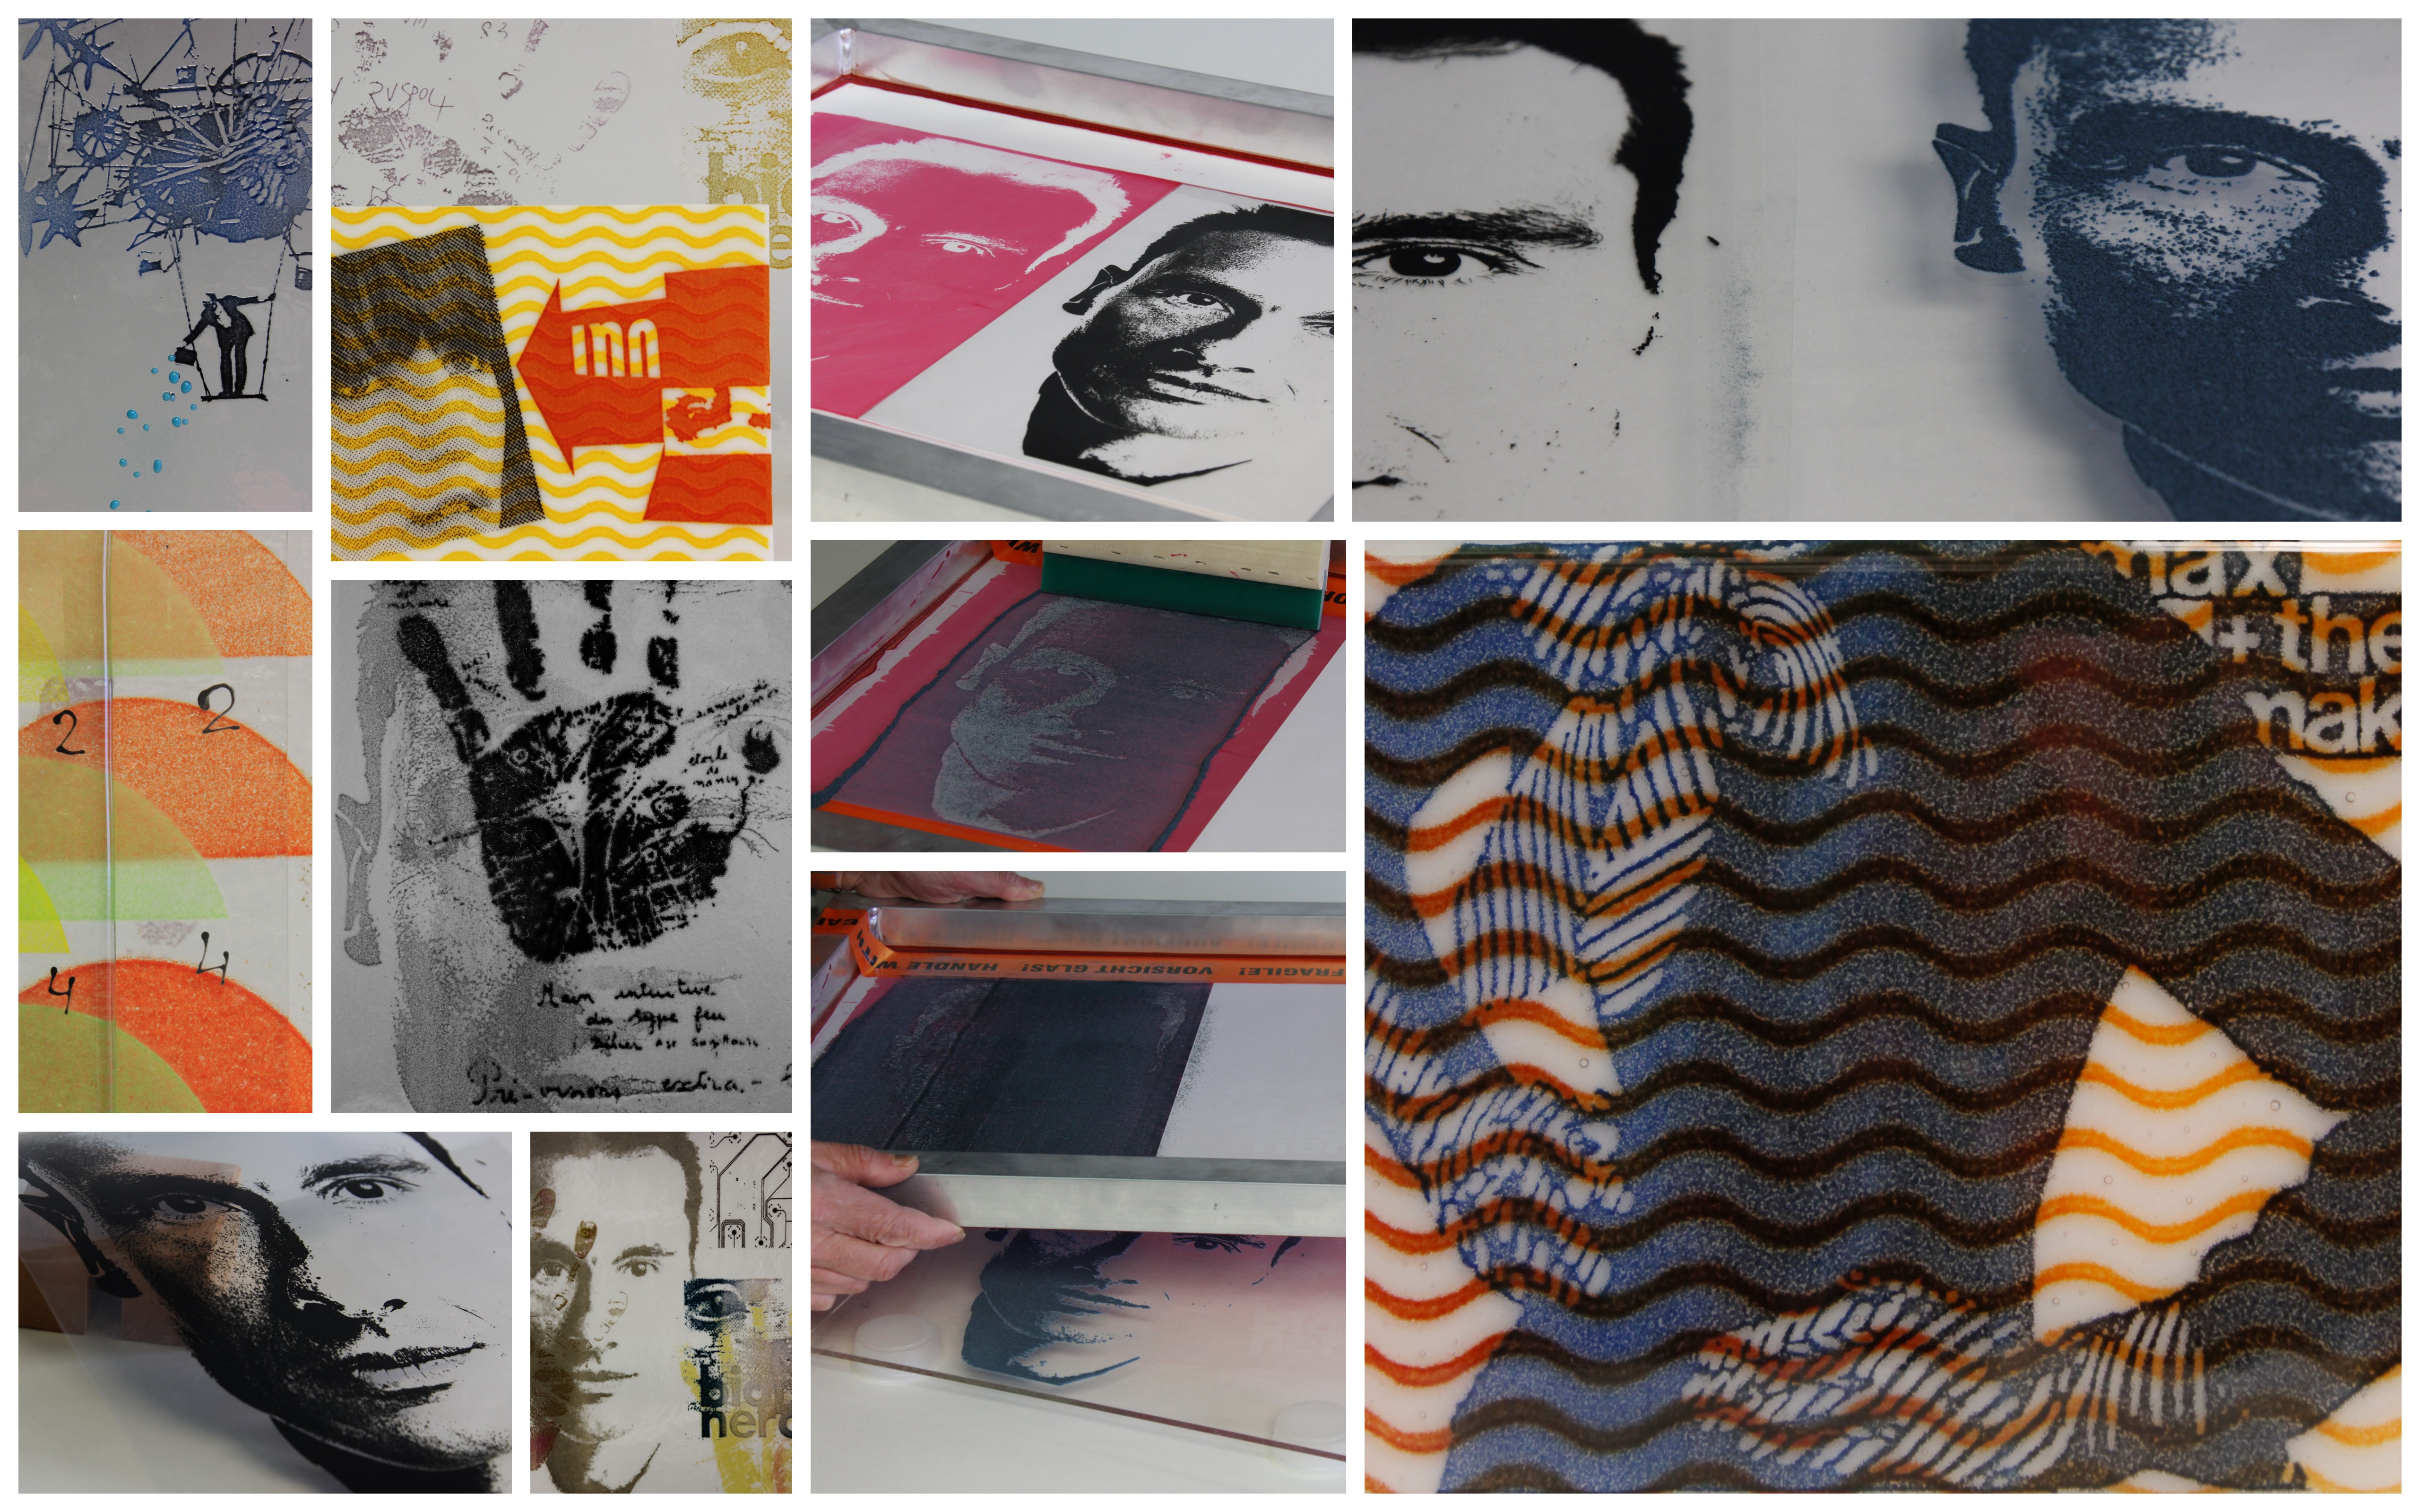
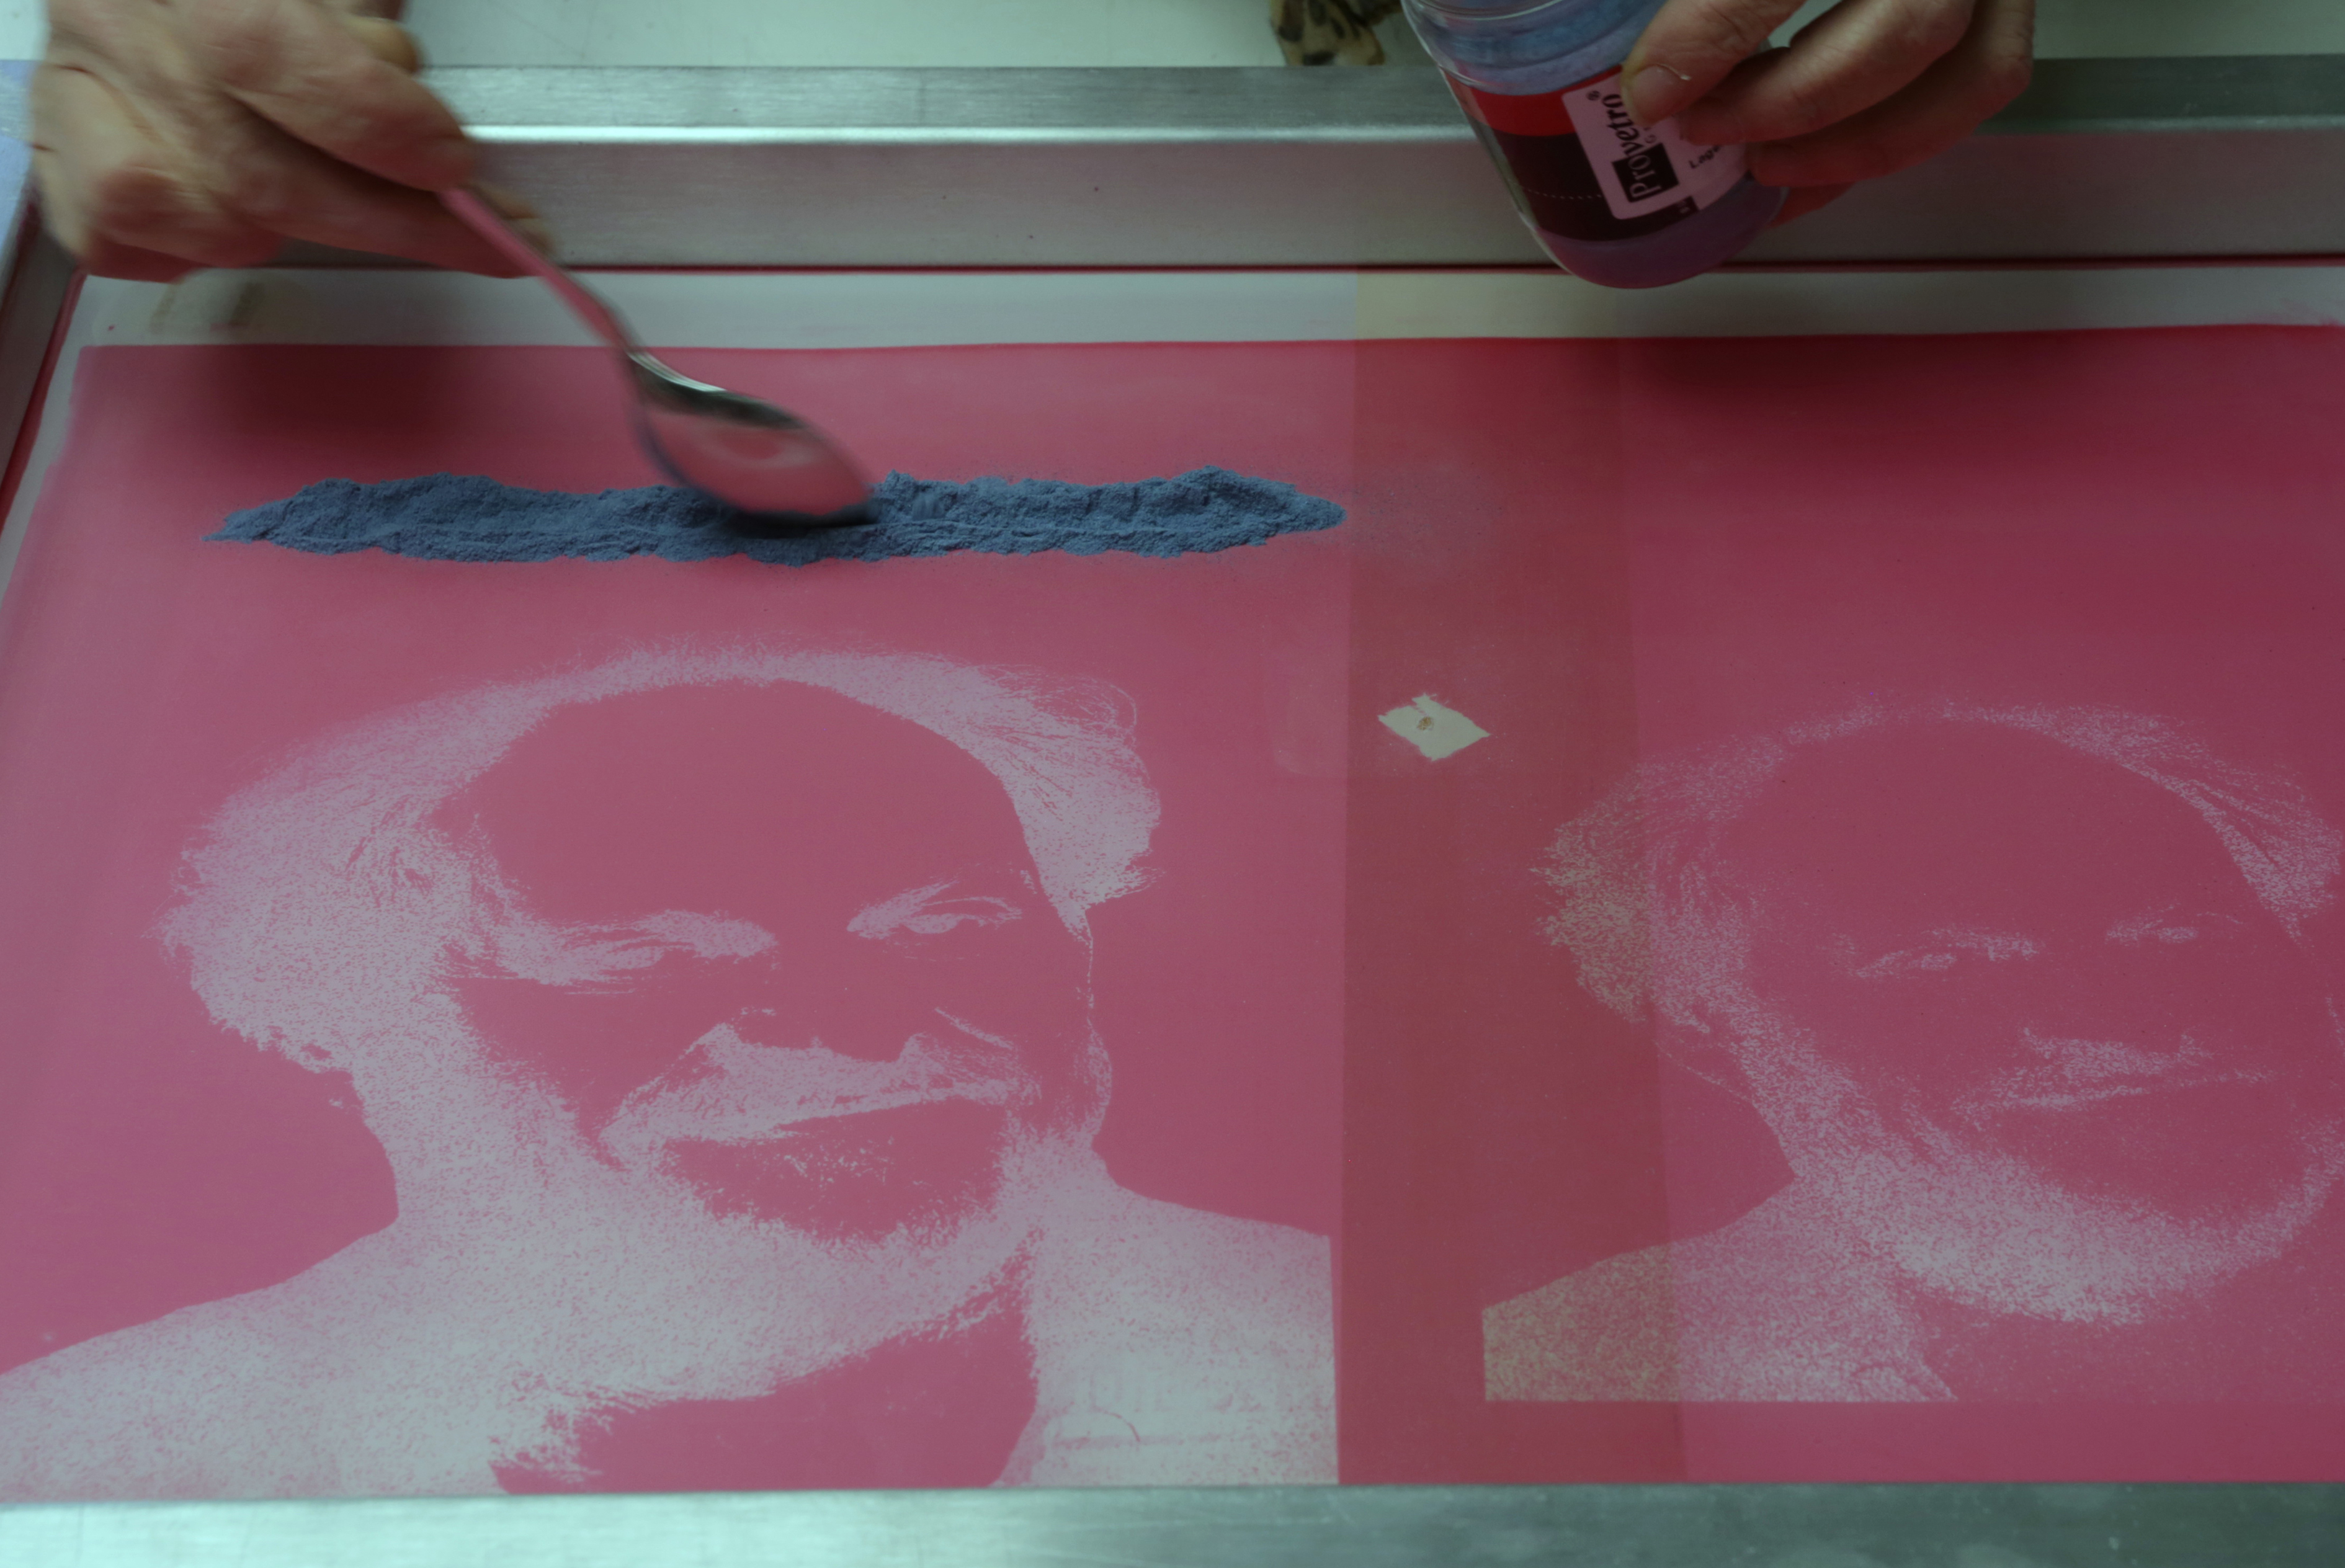
The "printing" is actually not printing in the proper sense of the word. When everything is aligned, the glass powder in the desired color is sprinkled onto the screen below the design. Then take one of the squeegees, this should be slightly wider than the design itself. With the help of the squeegee, you push the powder over the design. The powder falls through the screen onto the glass below. Squeegee back and forth 2-3 times. The more often you squeegee (6-8 times), the more powder will fall onto the glass, making colors more intense (good for full fusing motifs). If you want to melt at lower temperatures, 2-3 times is often enough. It is best to first take a few small glass plates and various suitable glass powder (eg B1100 Tekta 3mm plus glass powder-08) and test colors and temperatures.
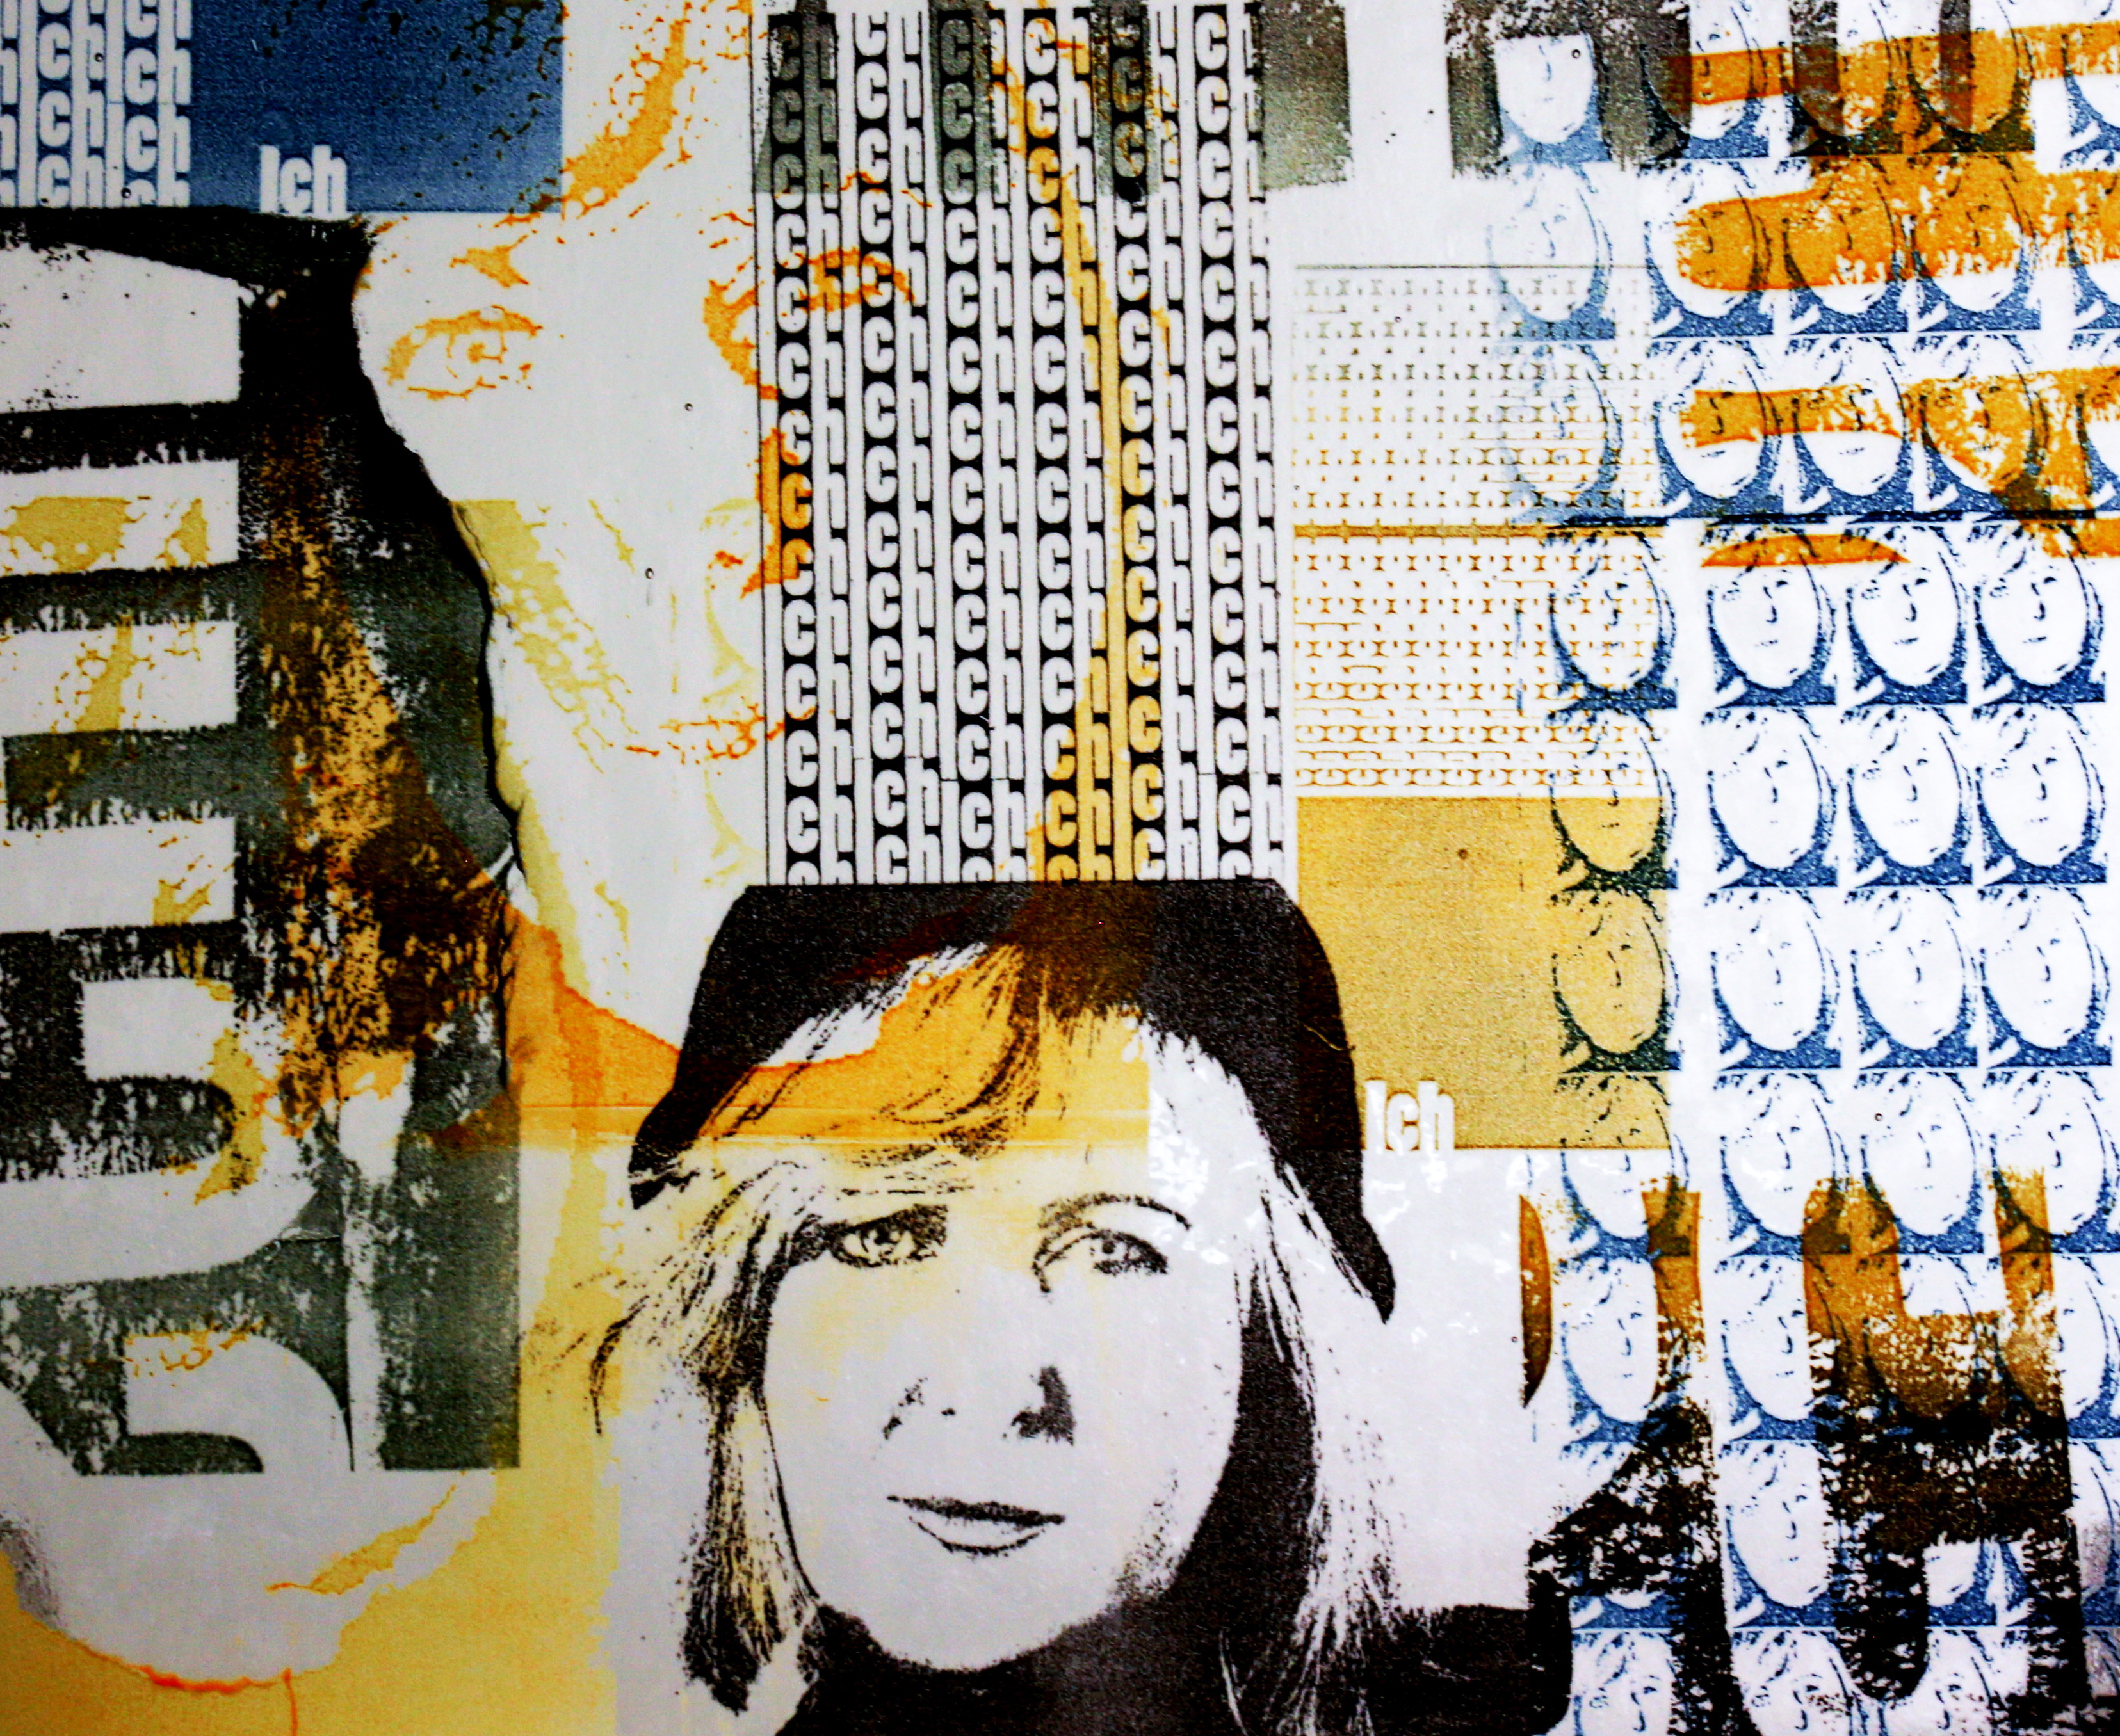
Not all glass powders work the same and not all colors will be really strong and beautiful. Take your time and make samples: choose a small design and print it in different colors (e.g. 1122, 1114, 0124, 0114...), fuse it at different temperatures ranging from Tack- Fusing (720°C) to Full- Fusing (800°C). Often 5°C more or less will give a very different effect!
Mix colors by applying them alternately and then squeegeeing them together, this gives beautiful color variations. Or squeegee a different color only in places with a small squeegee.
Combine different designs: e.g. print a graphic pattern as a background, then carefully lift the screen and place another design over the first. (Attention, here the distance to the glass should then be increased!).
Pre-melt designs, cut them up and combine different designs with each other, on top of each other, melt again. There are no limits to your imagination here!
Step 6
Screen decoating
The decoater is supplied as a concentrate. Mix this with water in a ratio of 1: 25. Fill the decoater into a spray bottle. Wear protective goggles and gloves!
Spray the decoater on the coated screen and let it act for 5 minutes. Now you can rinse the screen with clear water. Again, use the pressure washer to loosen any little residue of the coating. Sometimes it is good to twist and turn the strainer in the process!
Please note: Never let the decoater dry on the screen!
Degreasing
Degreasing after washing is very important! This will remove the last color shadows of the coating and last remnants of the decoater. Also mix this concentrate with water in a ratio of 1:25, spray a little of it on the screen and wash the screen with a soft sponge. Rinse with clean water and allow to dry. Now the screen is ready for a new project!
Degreasing after washing is very important! This will remove the last color shadows of the coating and last remnants of the decoater. Also mix this concentrate with water in a ratio of 1:25, spray a little of it on the screen and wash the screen with a soft sponge. Rinse with clean water and allow to dry. Now the screen is ready for a new project!
