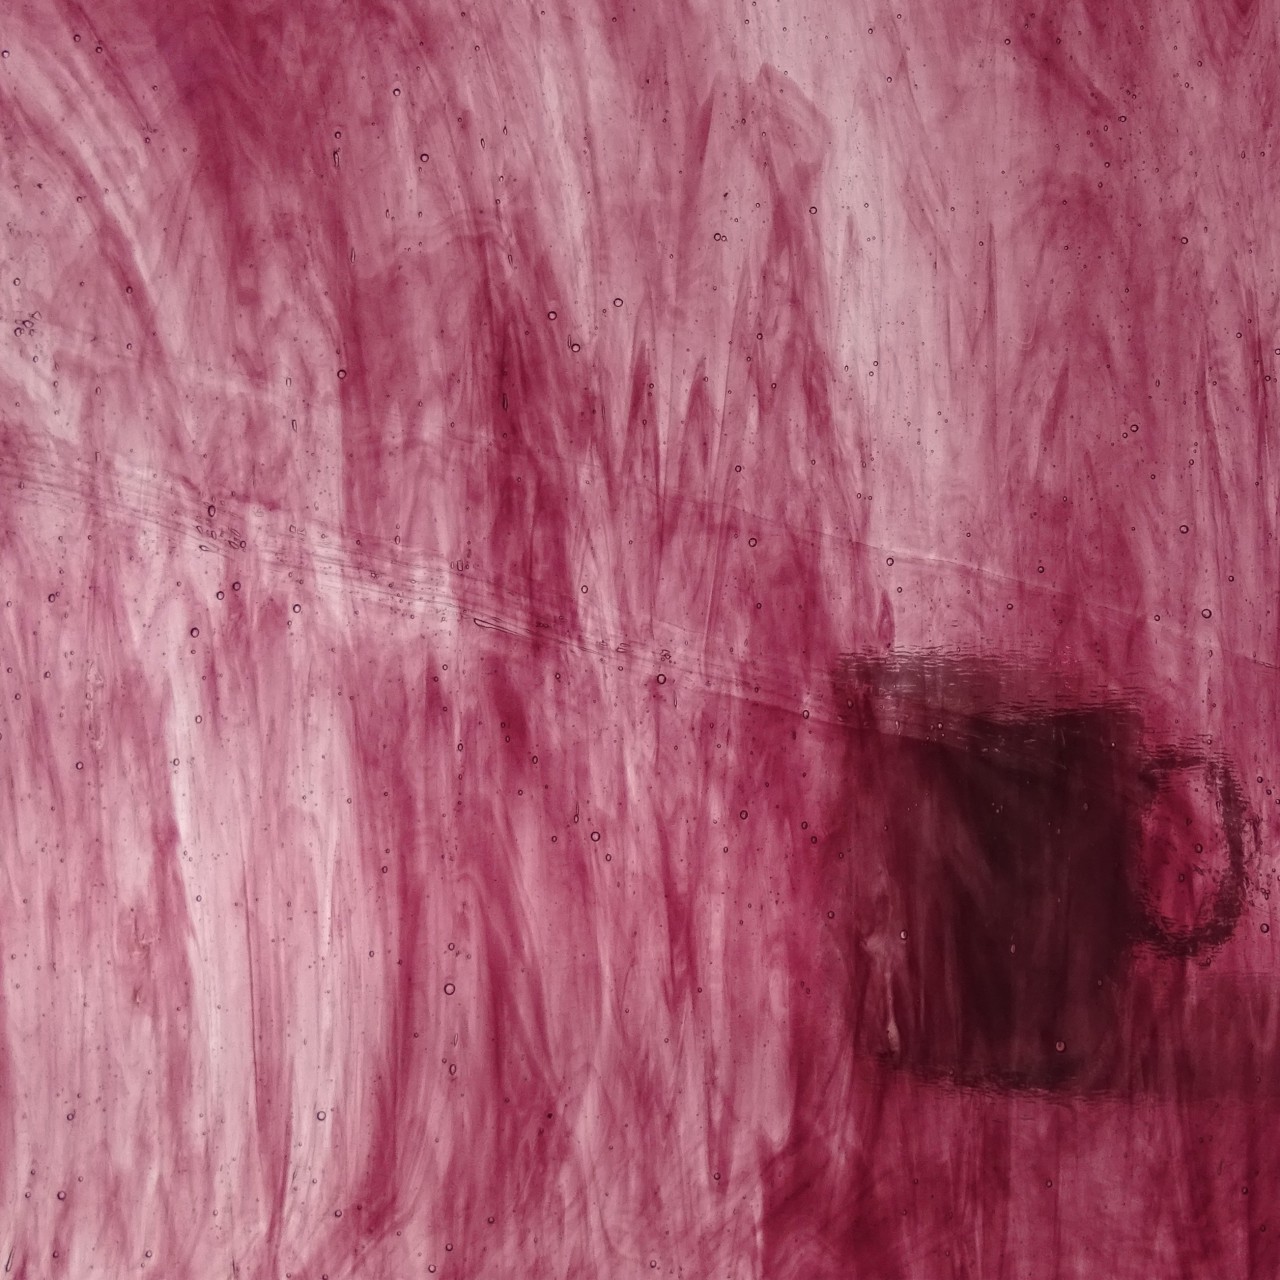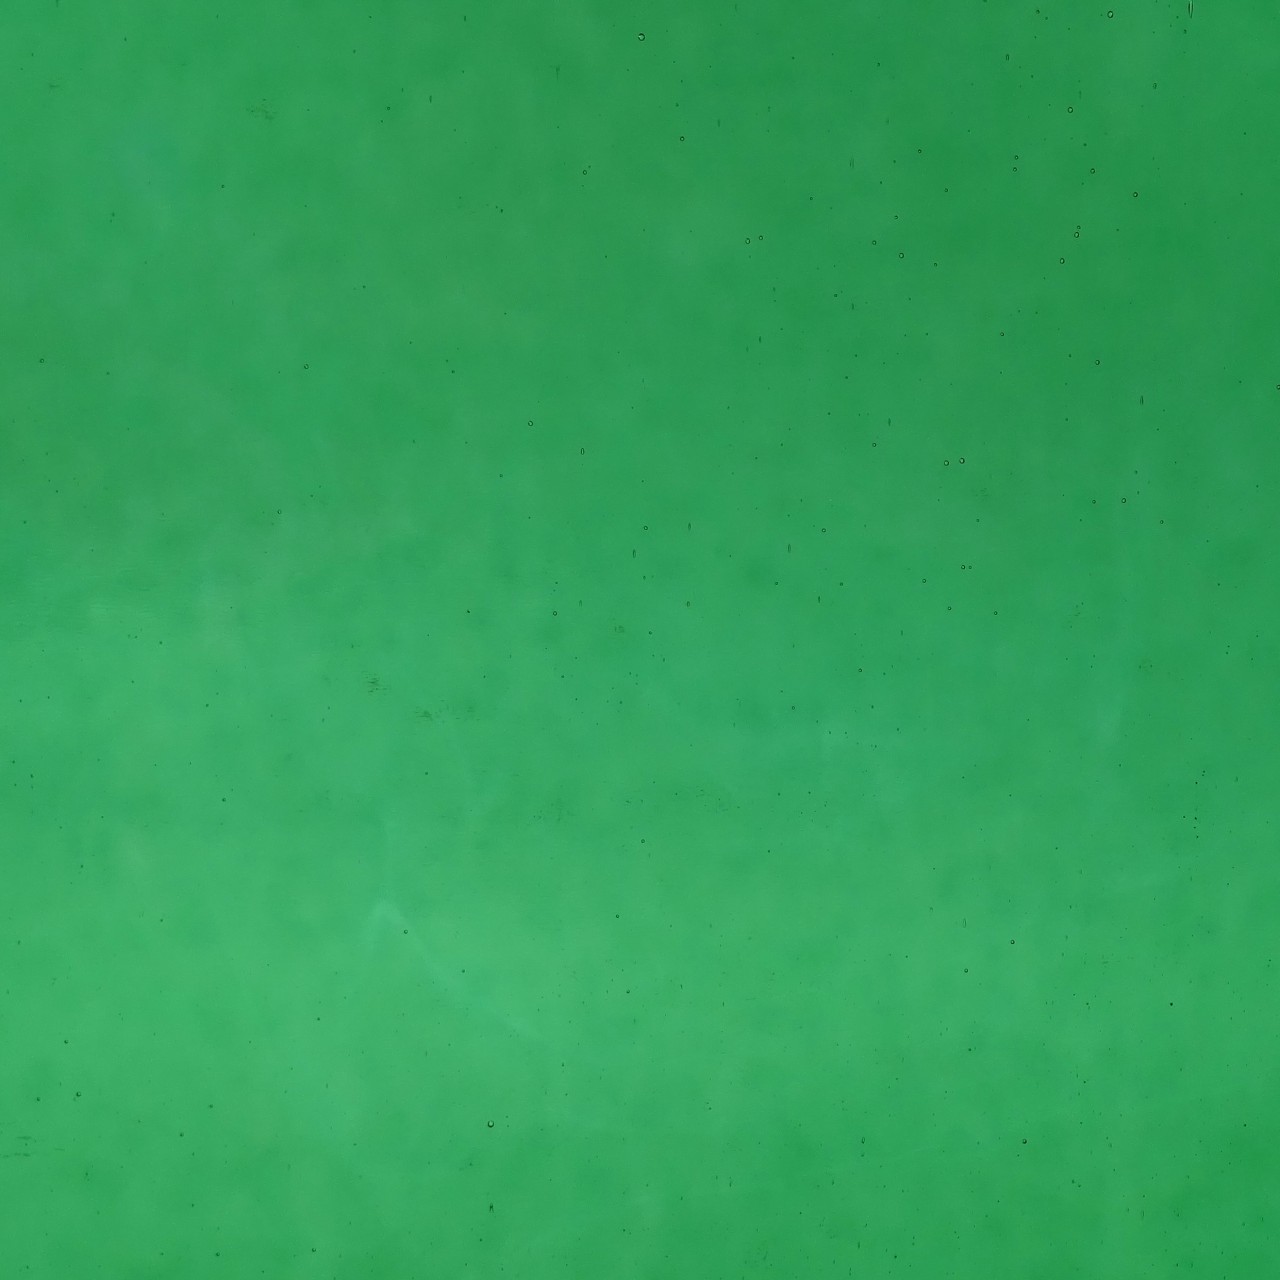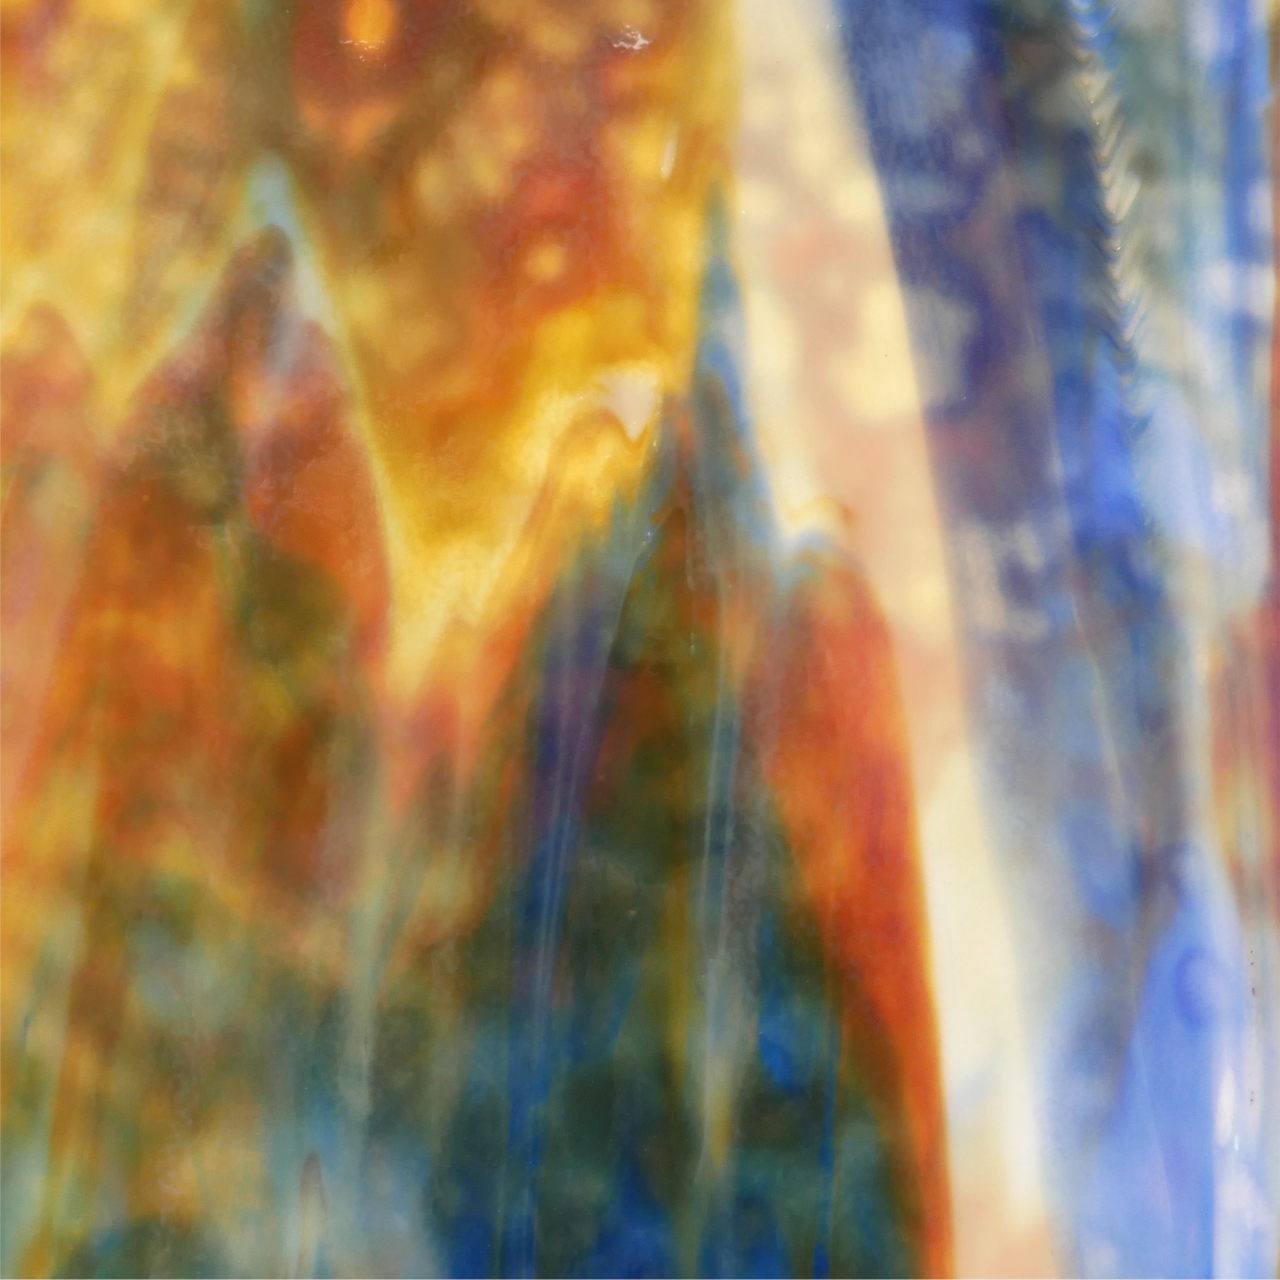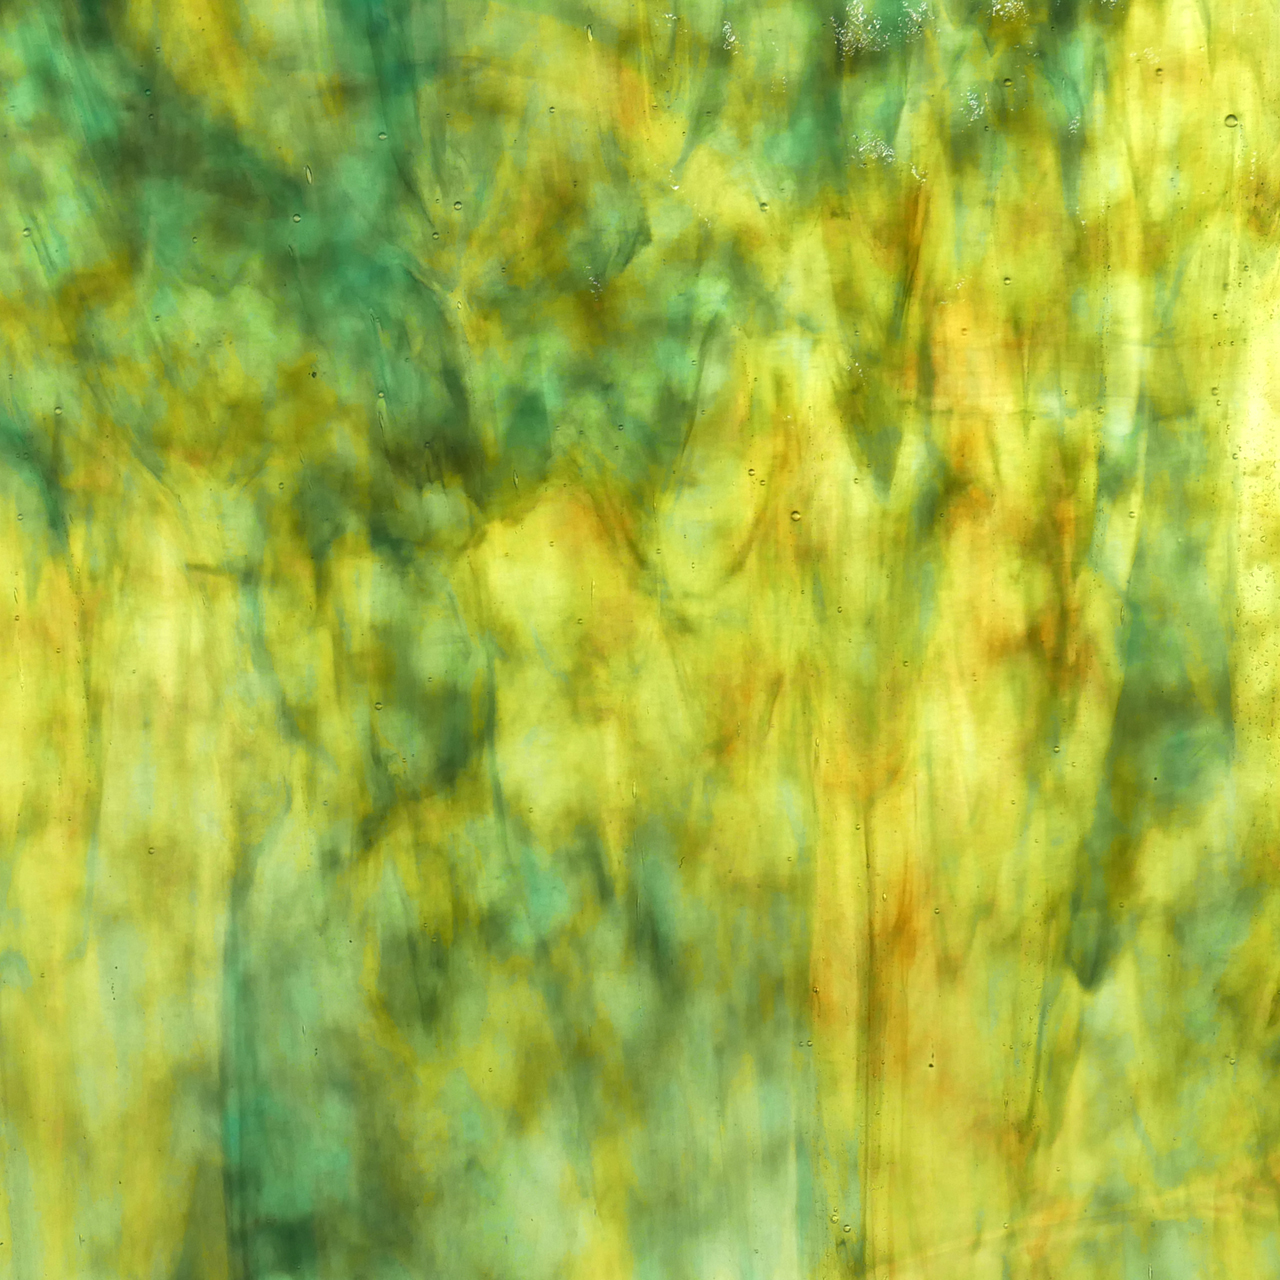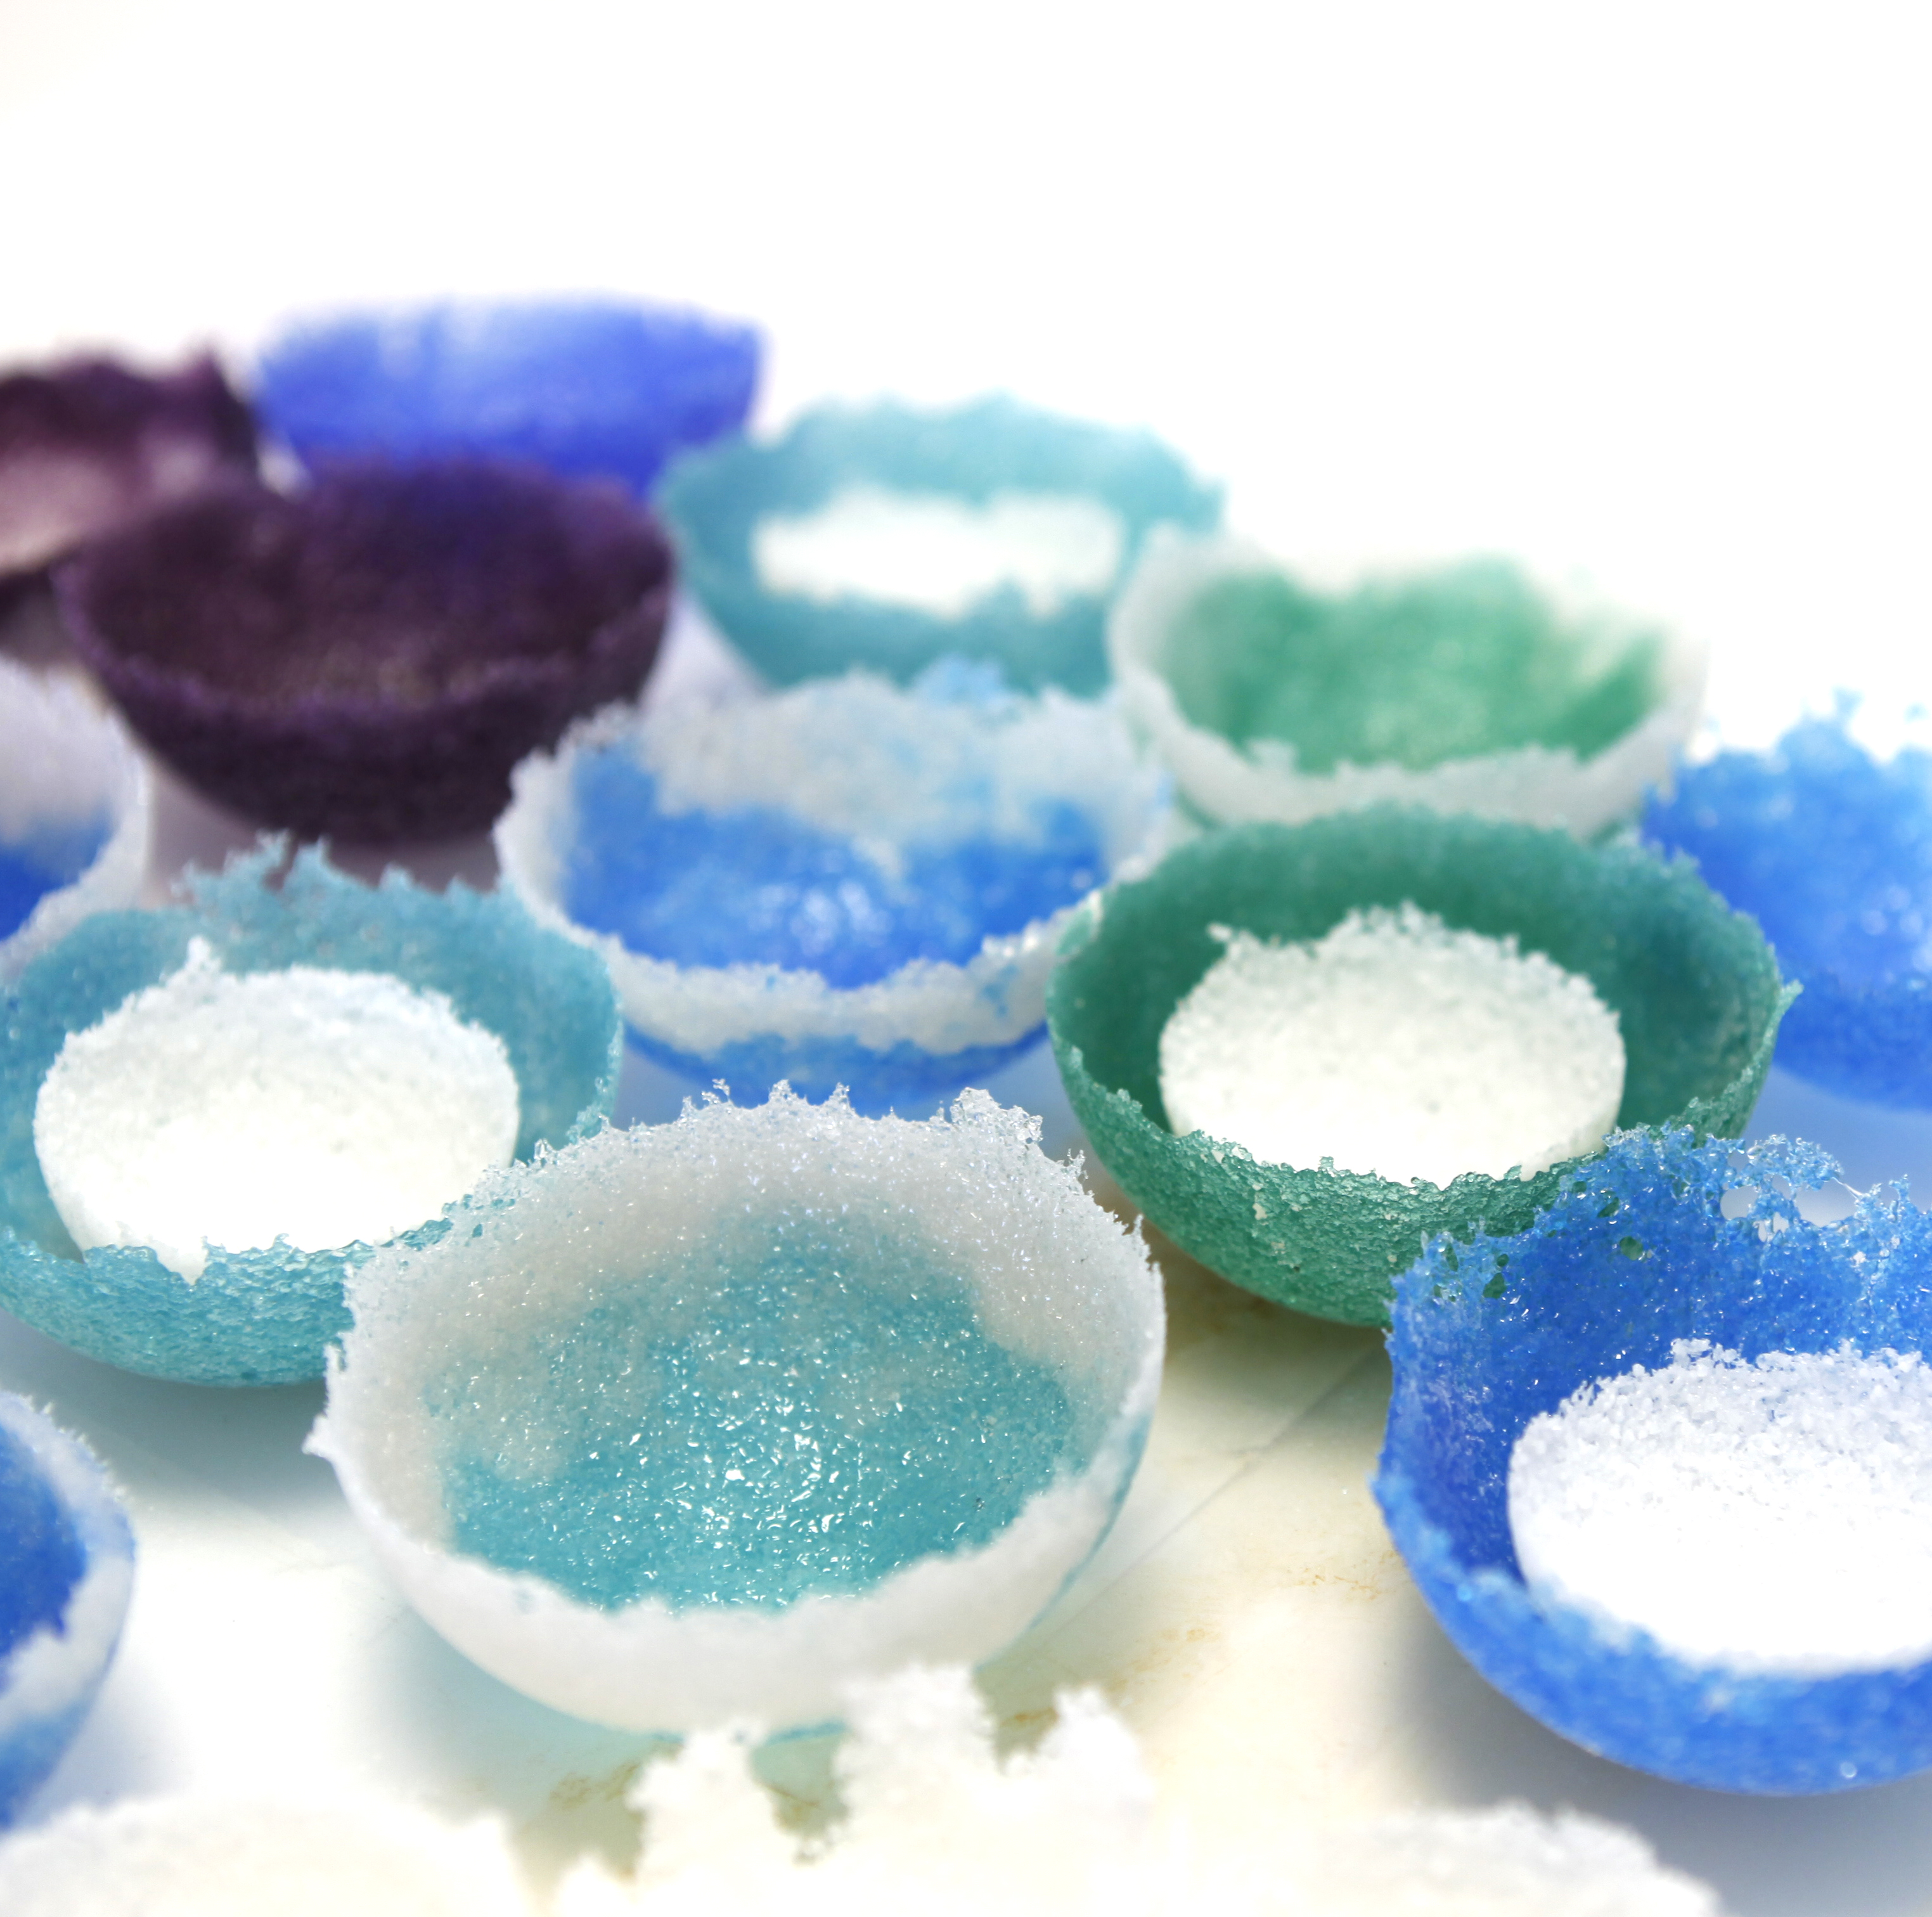
- 9700414 OCEANSIDE Spectrum OA 355-1s-F
Step 1
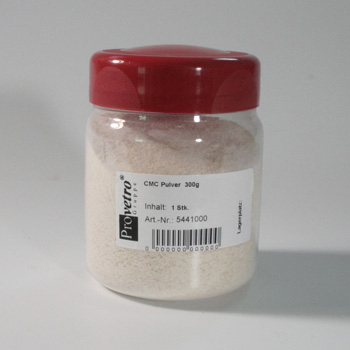
Prepare the CMC: 2 spoons of CMC powder are poured into hot water, then left to swell overnight. The CMC dissolves and becomes a transparent, thick liquid.
The next day you can bring the mixture to the right consistency with water.
Step 2
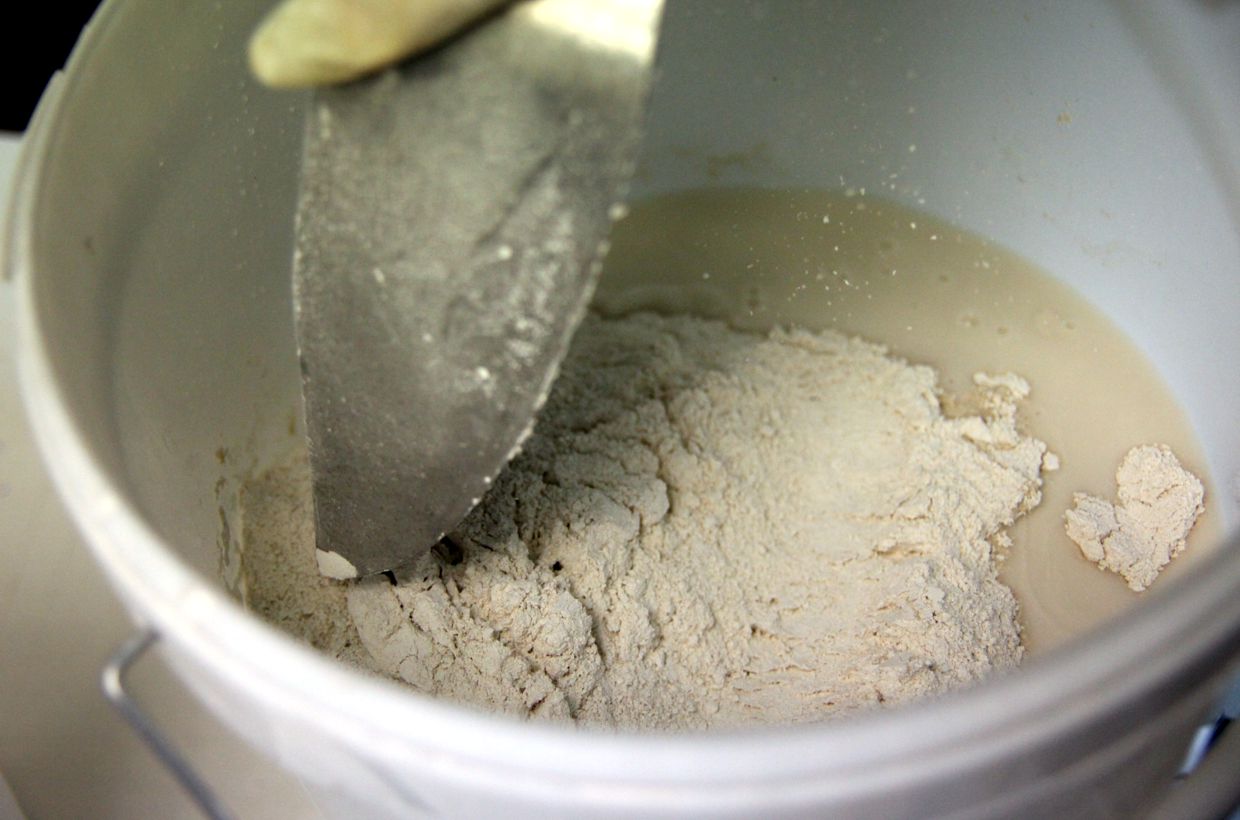
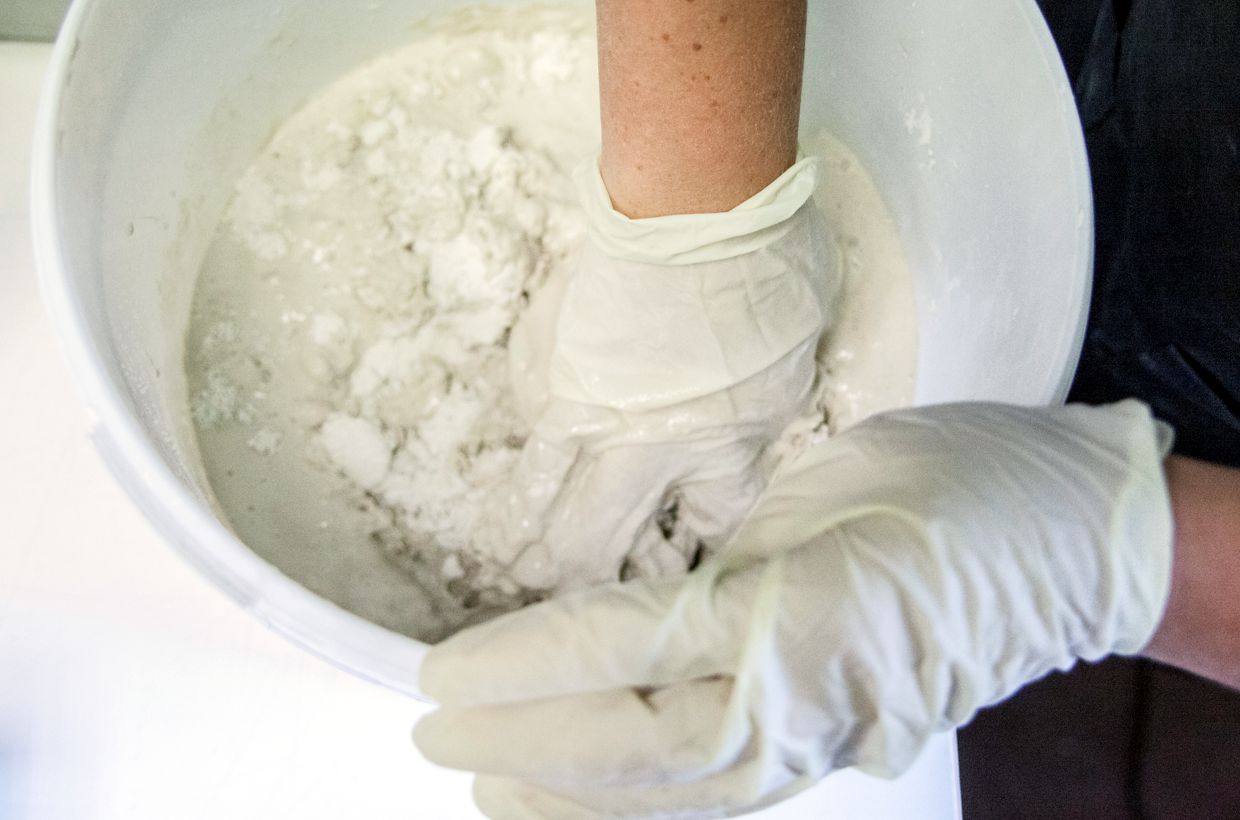
The form is built up in two layers with Crystalcast. Around a clay or wax model (here a semicircular shape) the mixture is applied in 2 steps as a thick paste. The mixture should be firm between the steps!
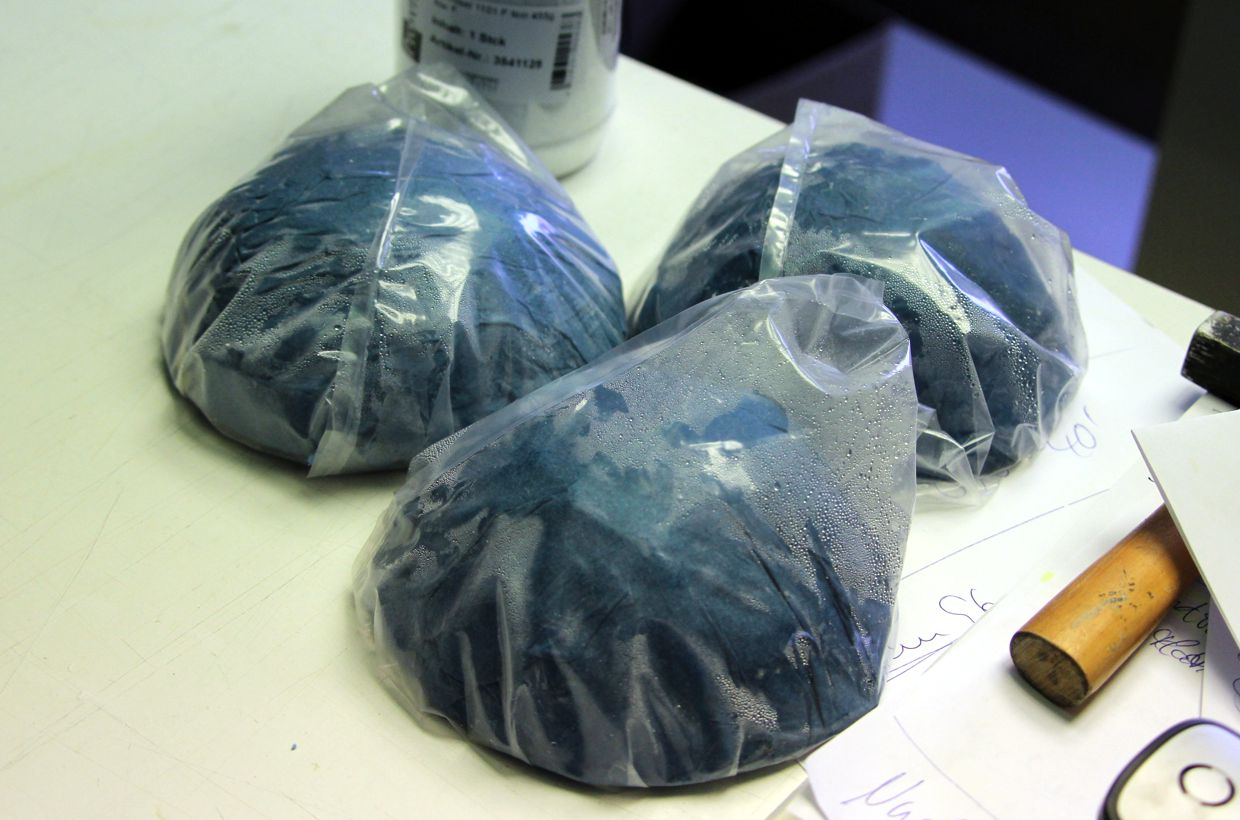
The mold should be kept moist after curing, e.g. with damp newspaper in a bag. This is the only way the powder or crumb mixture can stick to the mold. If the form is too dry, there is no liability.
Step 3
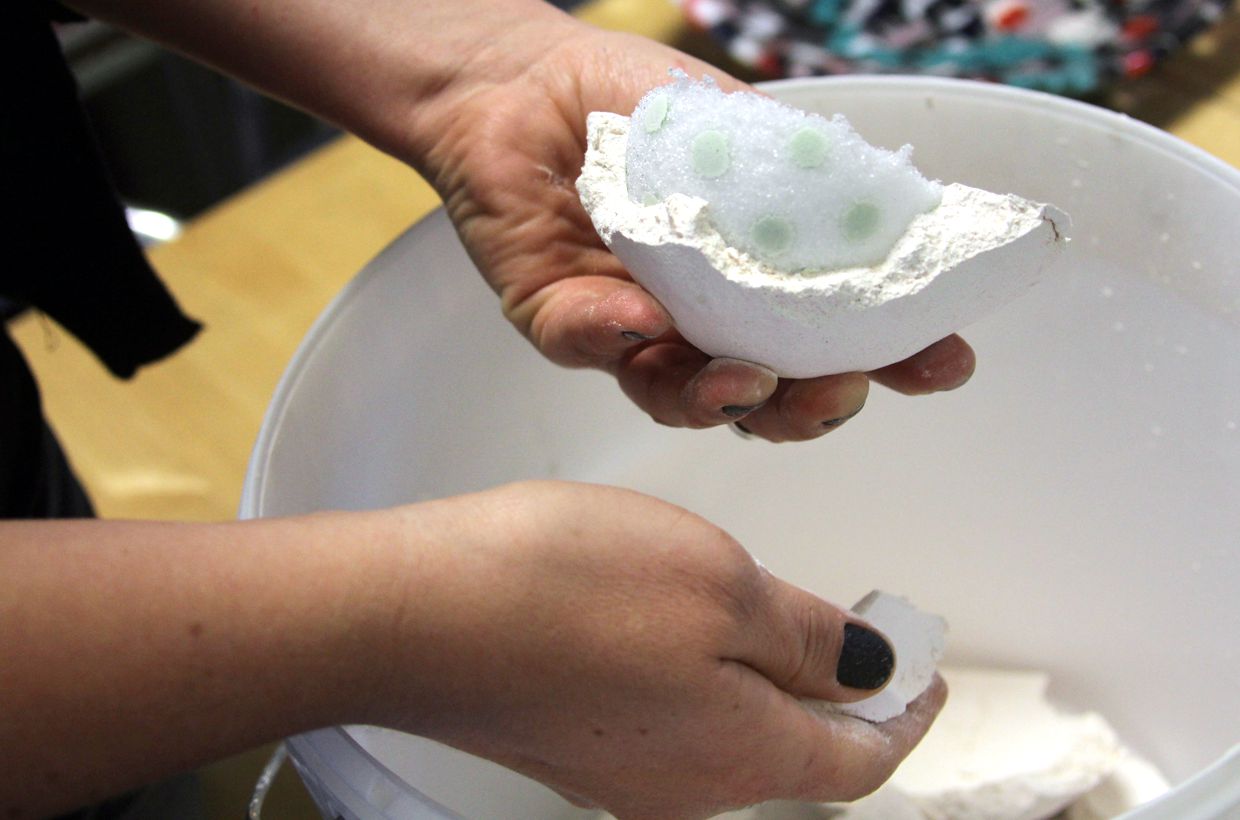
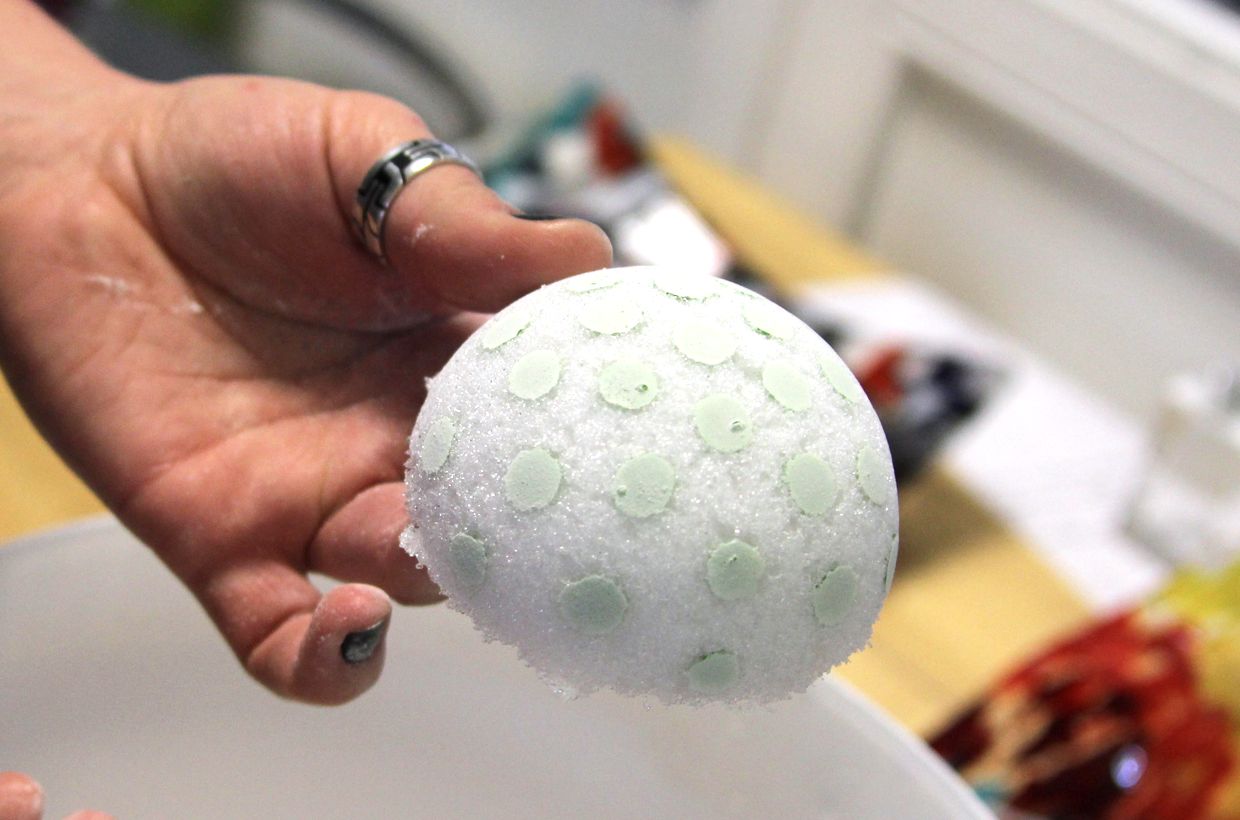
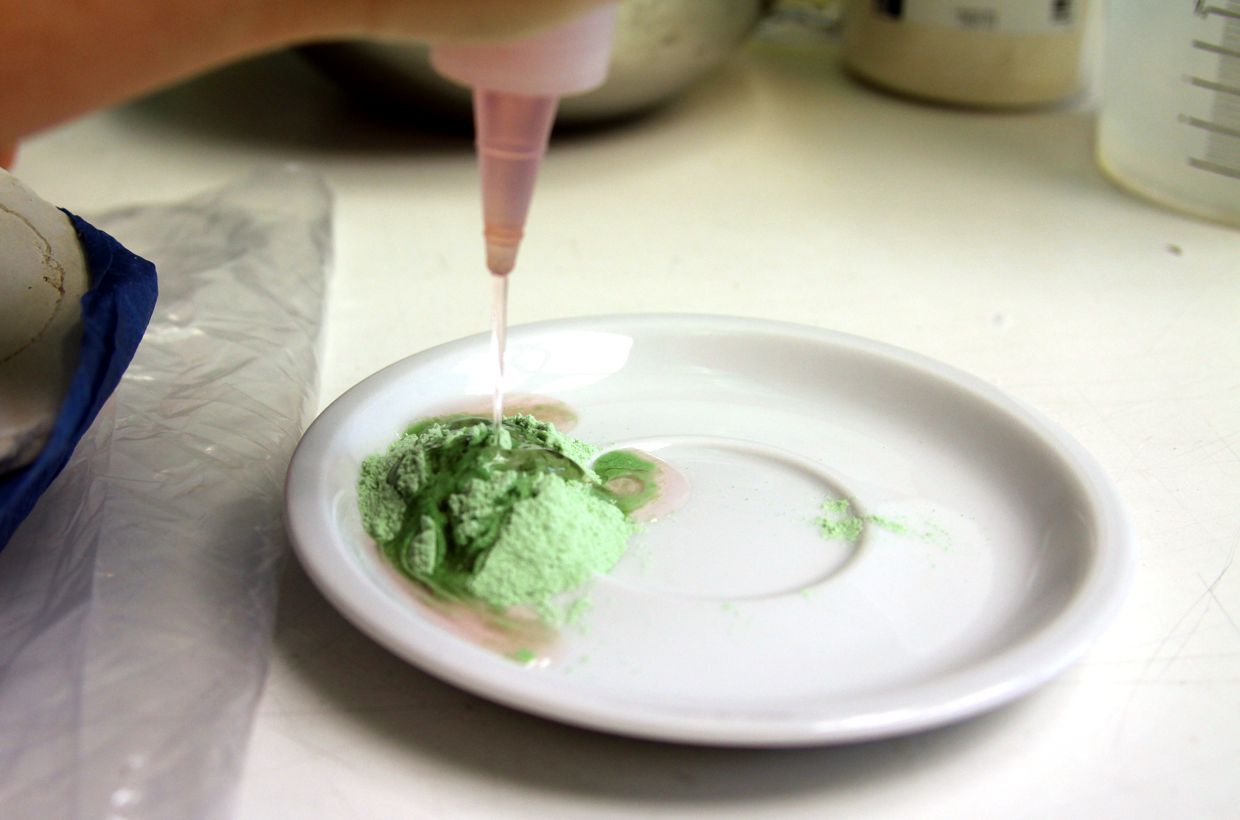
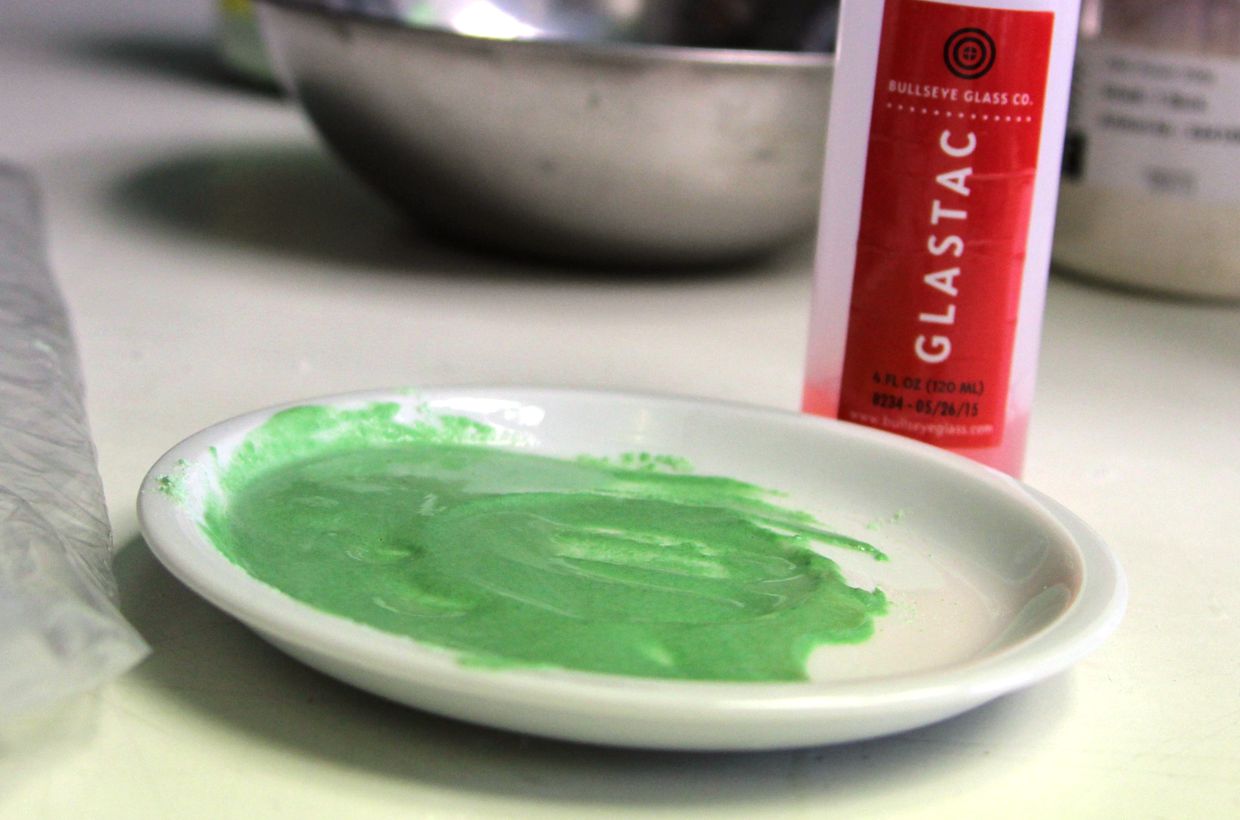
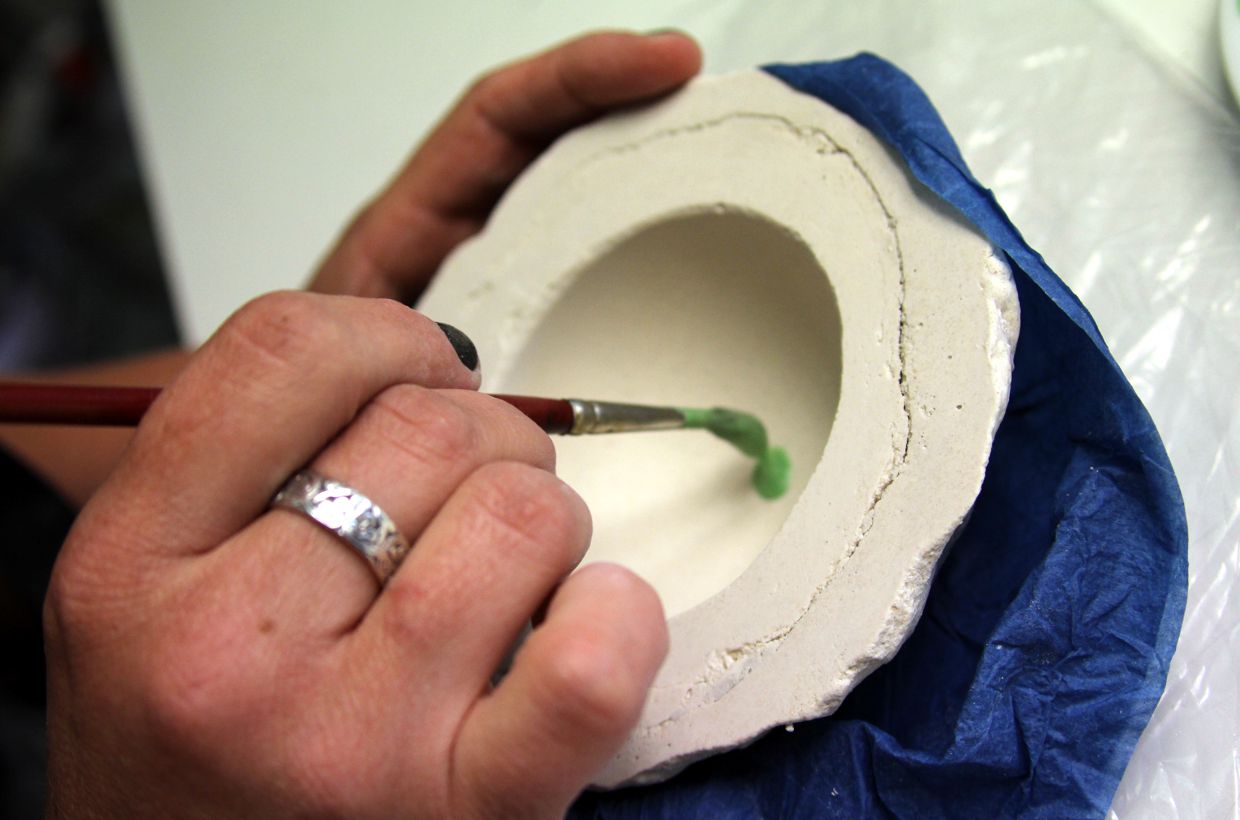
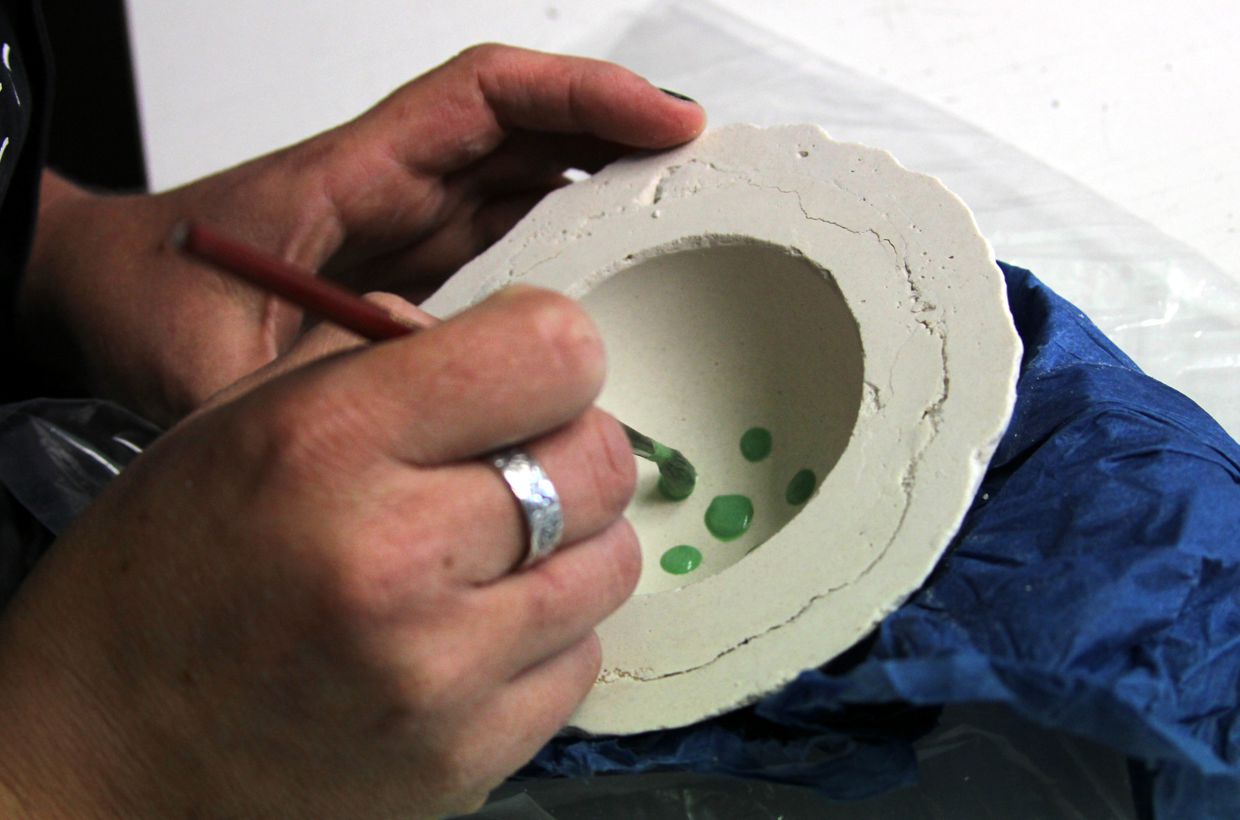
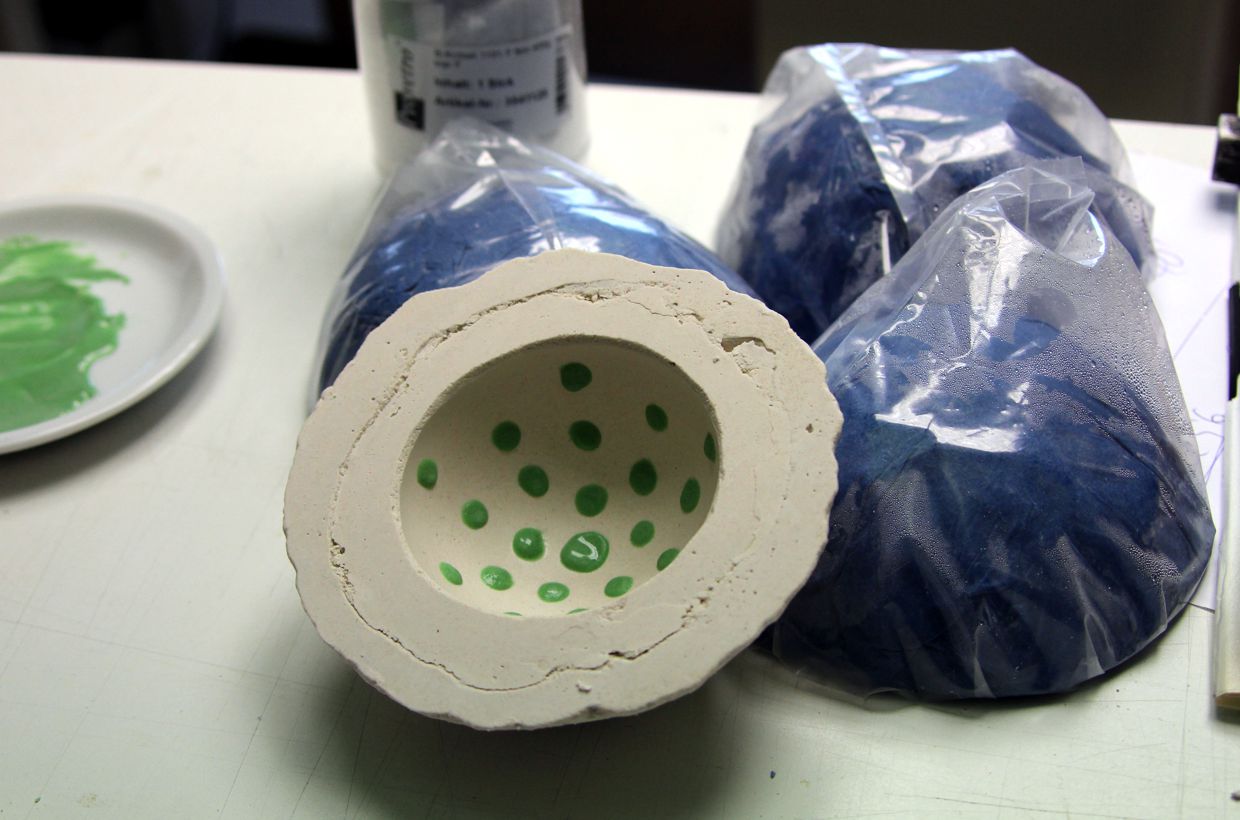
Mix the glass powder 0126 with a few drops of Glastac to create a spreadable paste. Now use a brush to dab small dots into the damp form.
Let the dots dry a little.
Step 4
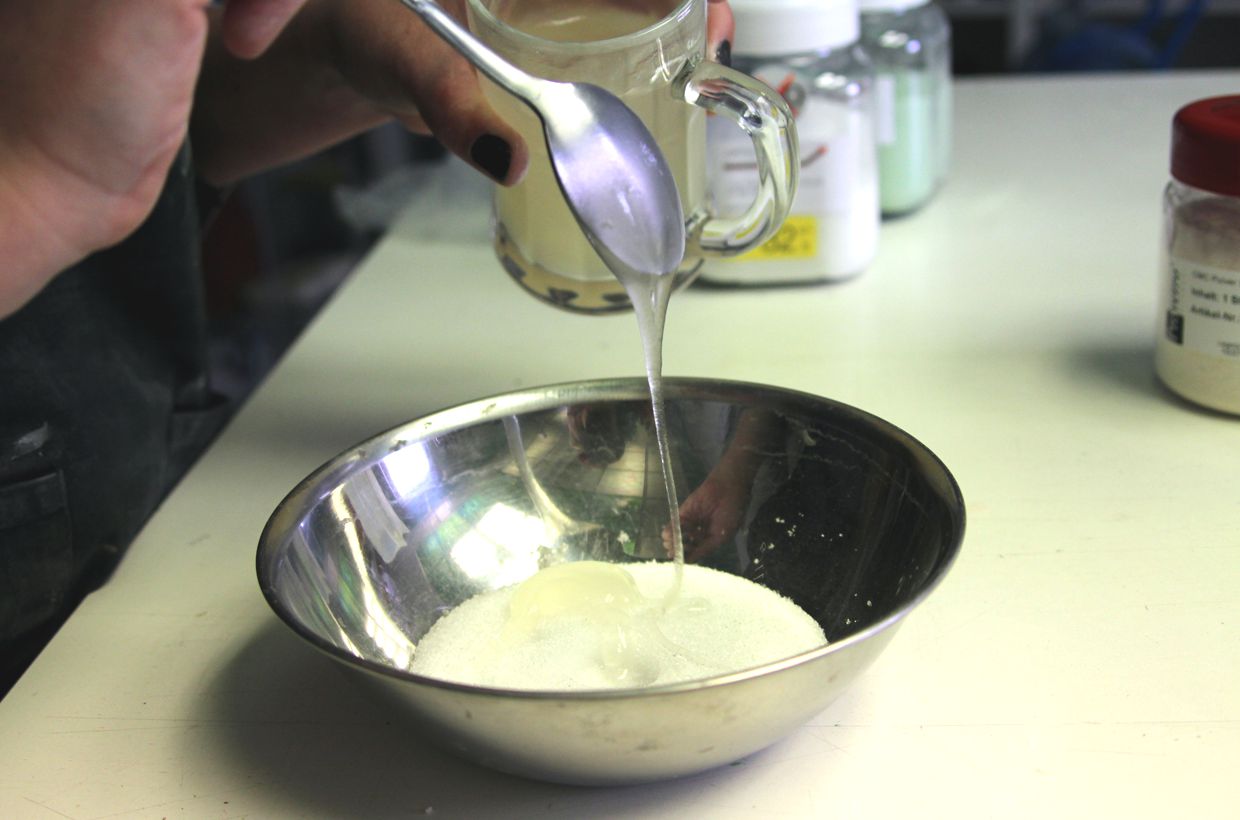
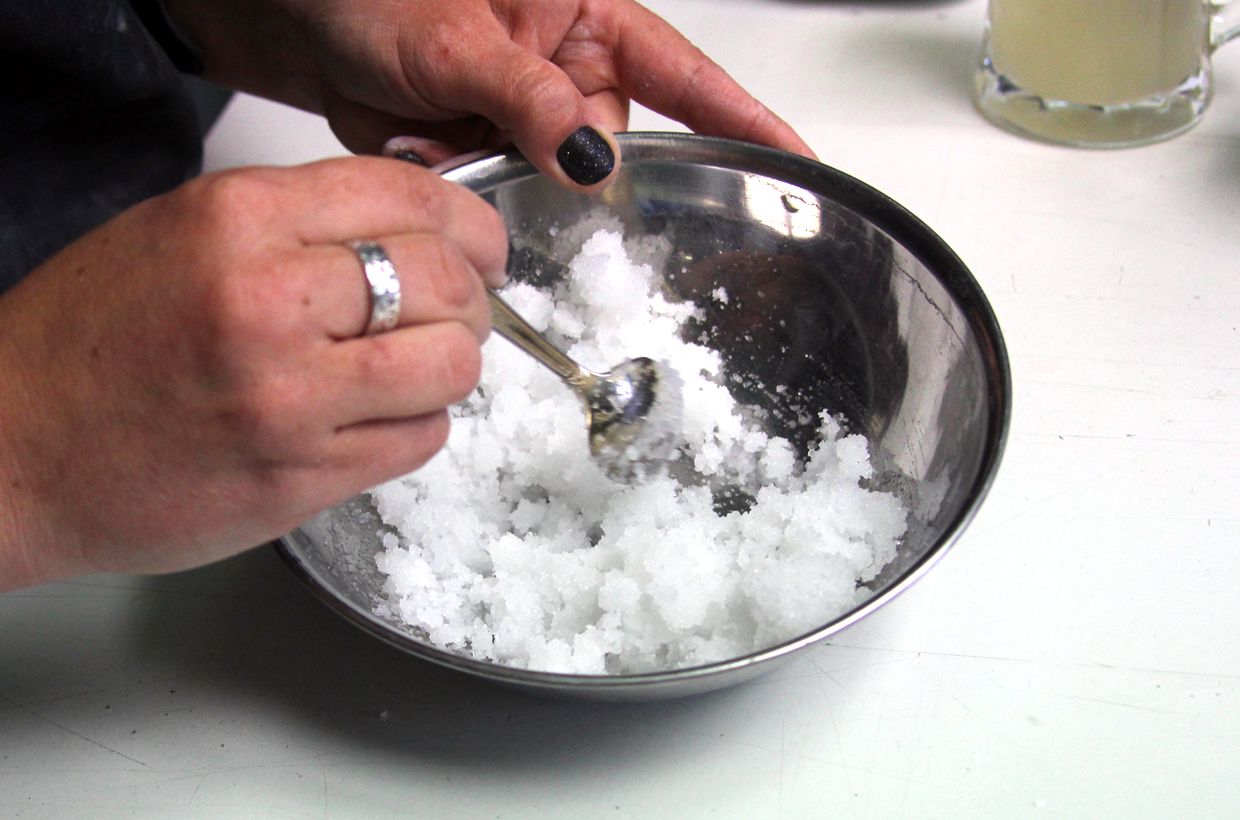
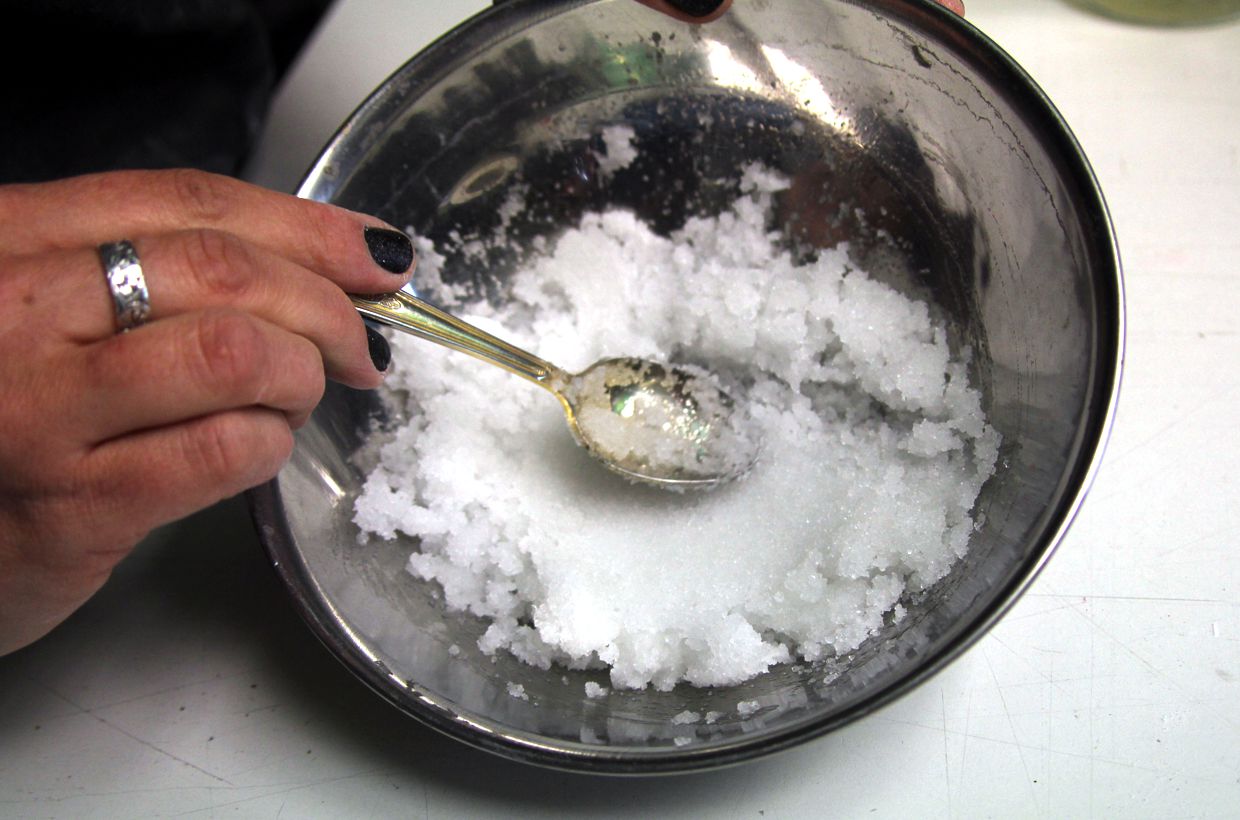
The fine transparent frits are mixed with 2 spoons of water and 1 spoon of CMC. Check the mixture, it must be sticky but not too moist.
To test, tap the mixture into the bowl with a spoon. If the mixture remains stable and does not fall apart (too little glue) or runs (too much water), it is good.
Step 5
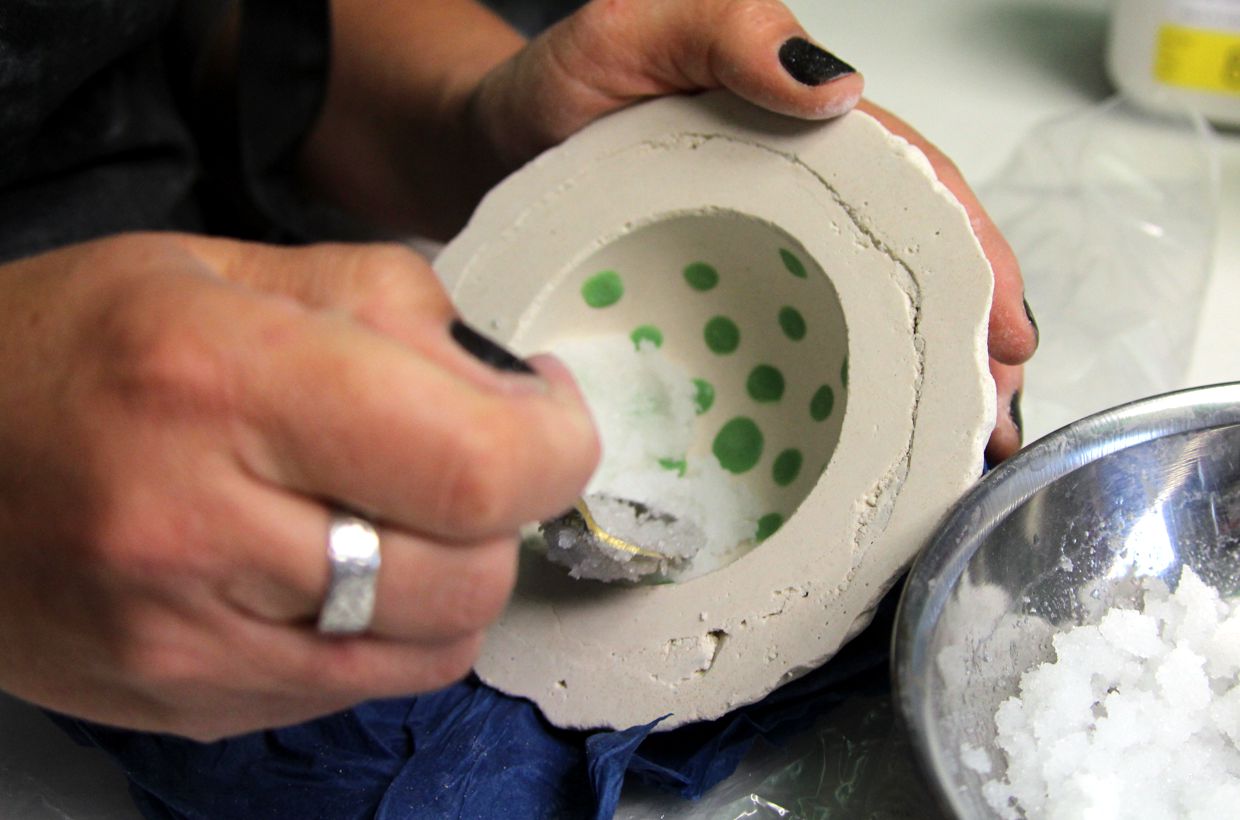
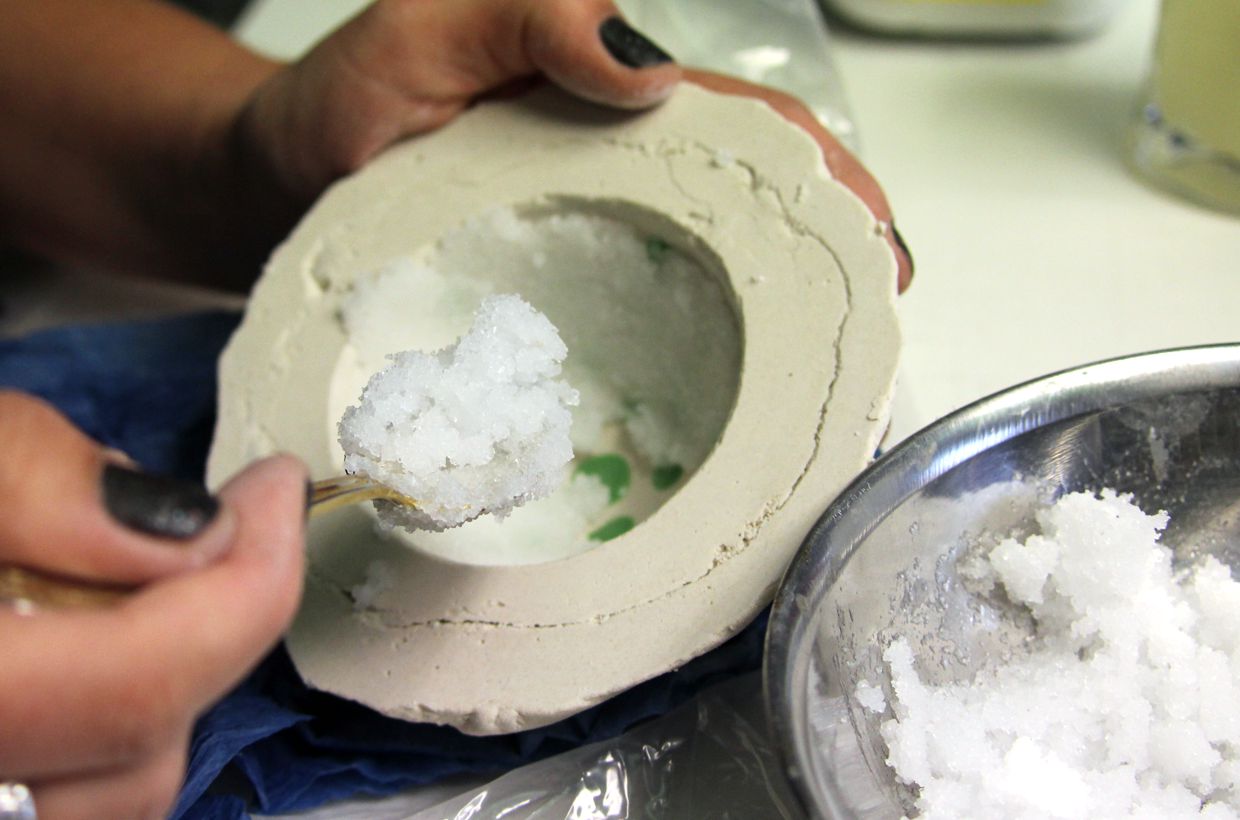
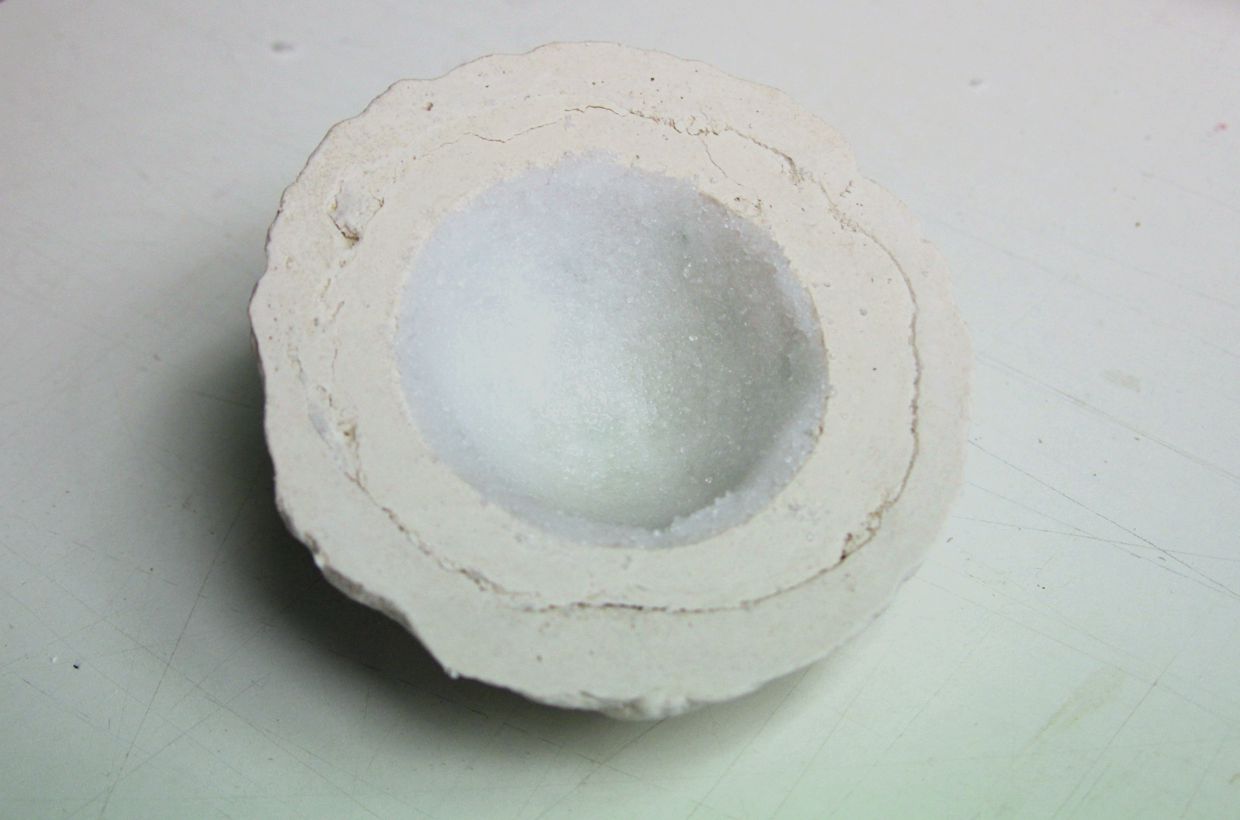
Use a spoon to put the frits in the mold, apply approx. 4-5mm thick. Gently tap the layer with the back of the spoon. As a result, the crumbs condense and the object later becomes more stable.
Now place the mold in the kiln and align it, support it, e.g. with sand or ceramic supports.
Step 6
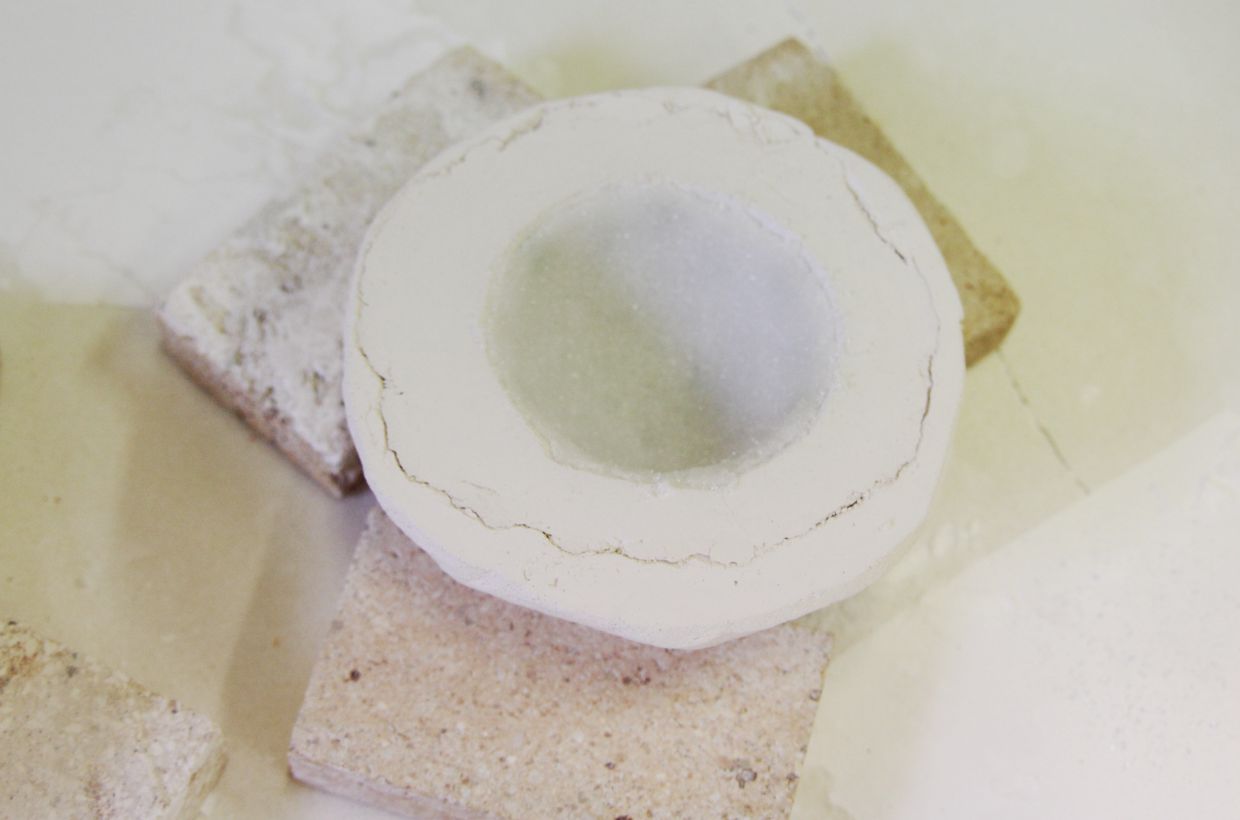
The mold is now first dried and then directly melted or "tacked". The drying serves to get the moisture out of the mold and frits.
Firing cycle*
1. skip - 150°C - 120min
2. 150min - 705°C - 20min
3. skip - 520°C - 90min
4. 90min - 460°C - 0min
5. End
Step 7
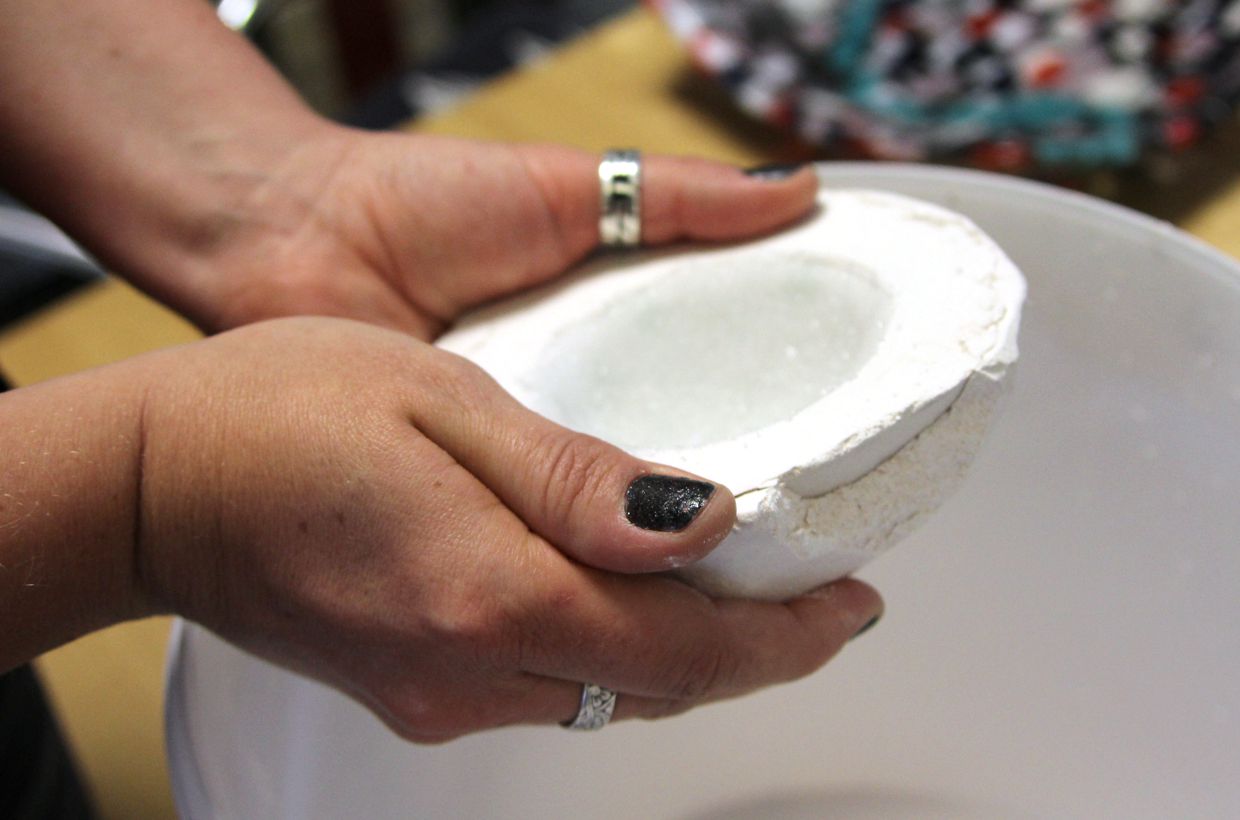
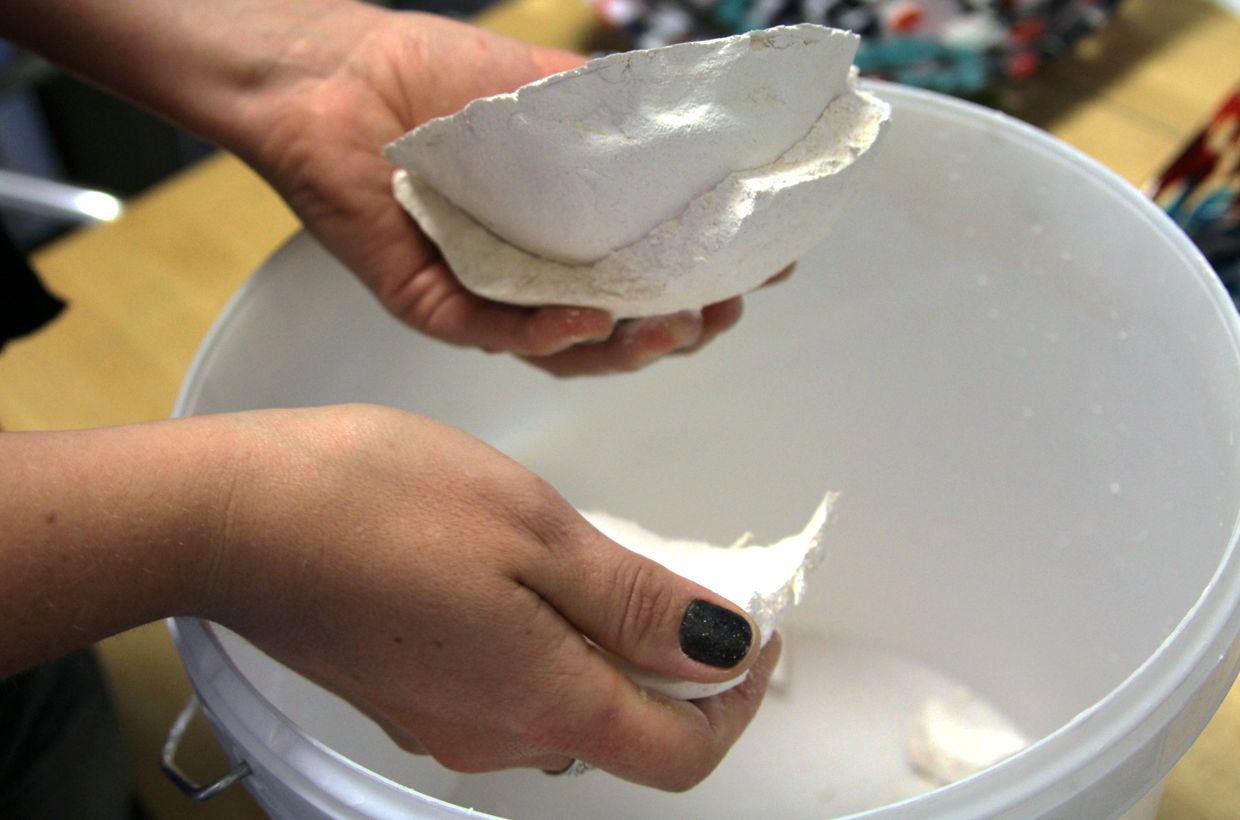
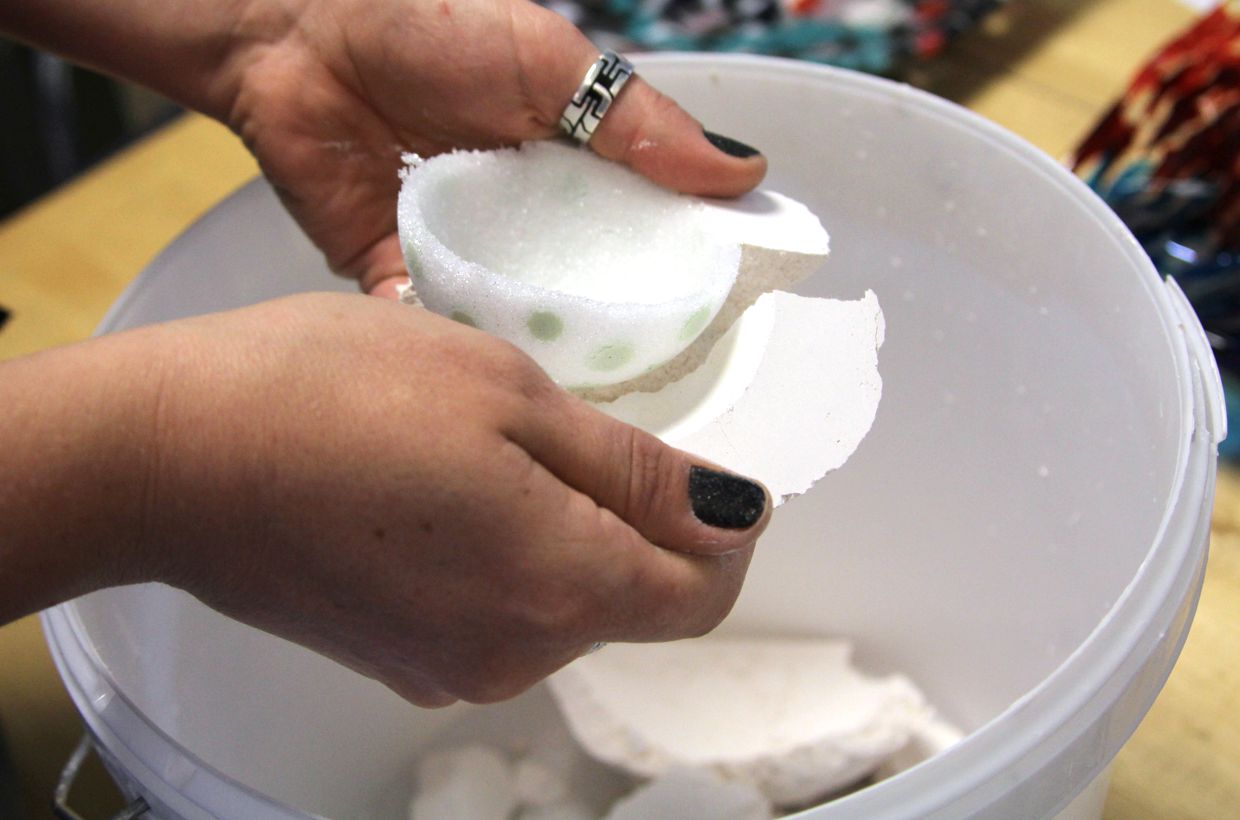
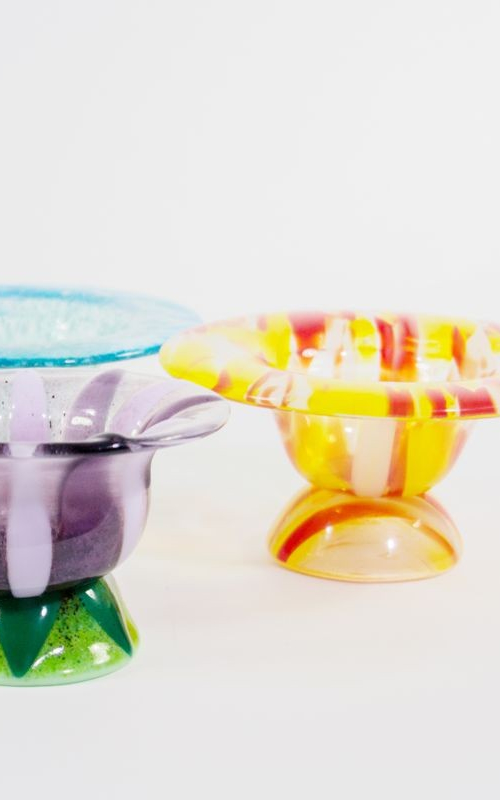
After melting, the bowls are carefully removed from the mold. The material is very easy to break and the 2 layers of mold material allow the bowls to be carefully removed from the mold.
Alternatively, you can simply put the molds completely in a bucket of water. The mold material then dissolves and the bowls can be easily removed from the mold.
There will be mold residues on the outside of the bowls. This can be easily removed with a little warm water, soap and an old toothbrush.
