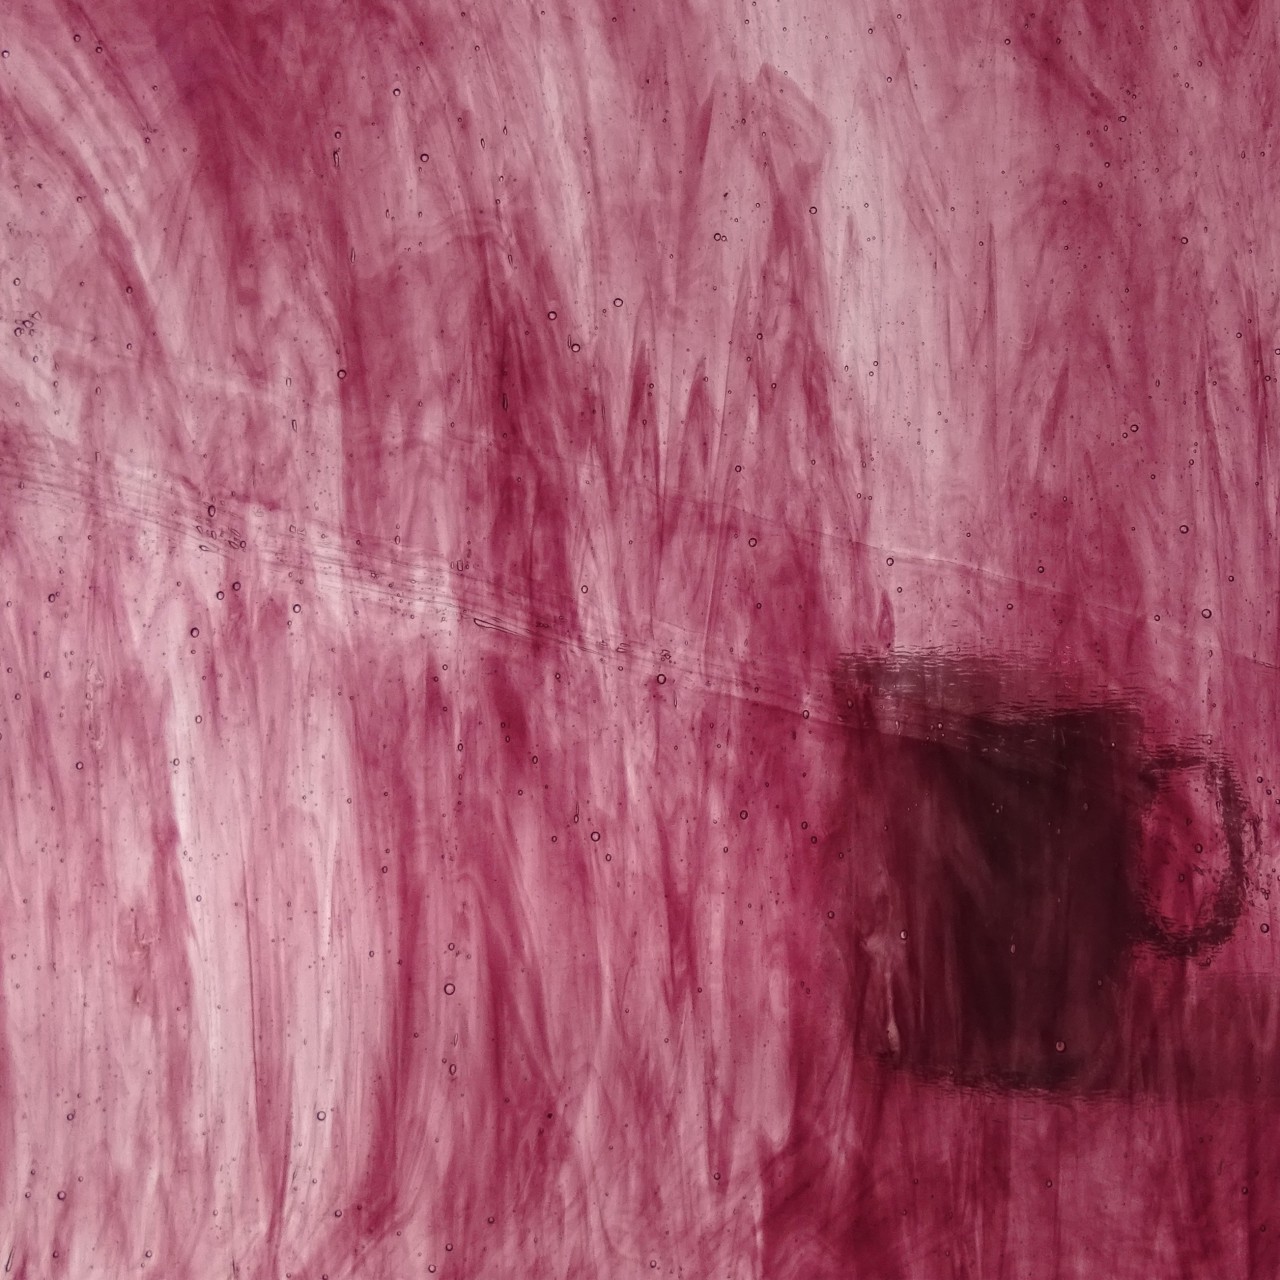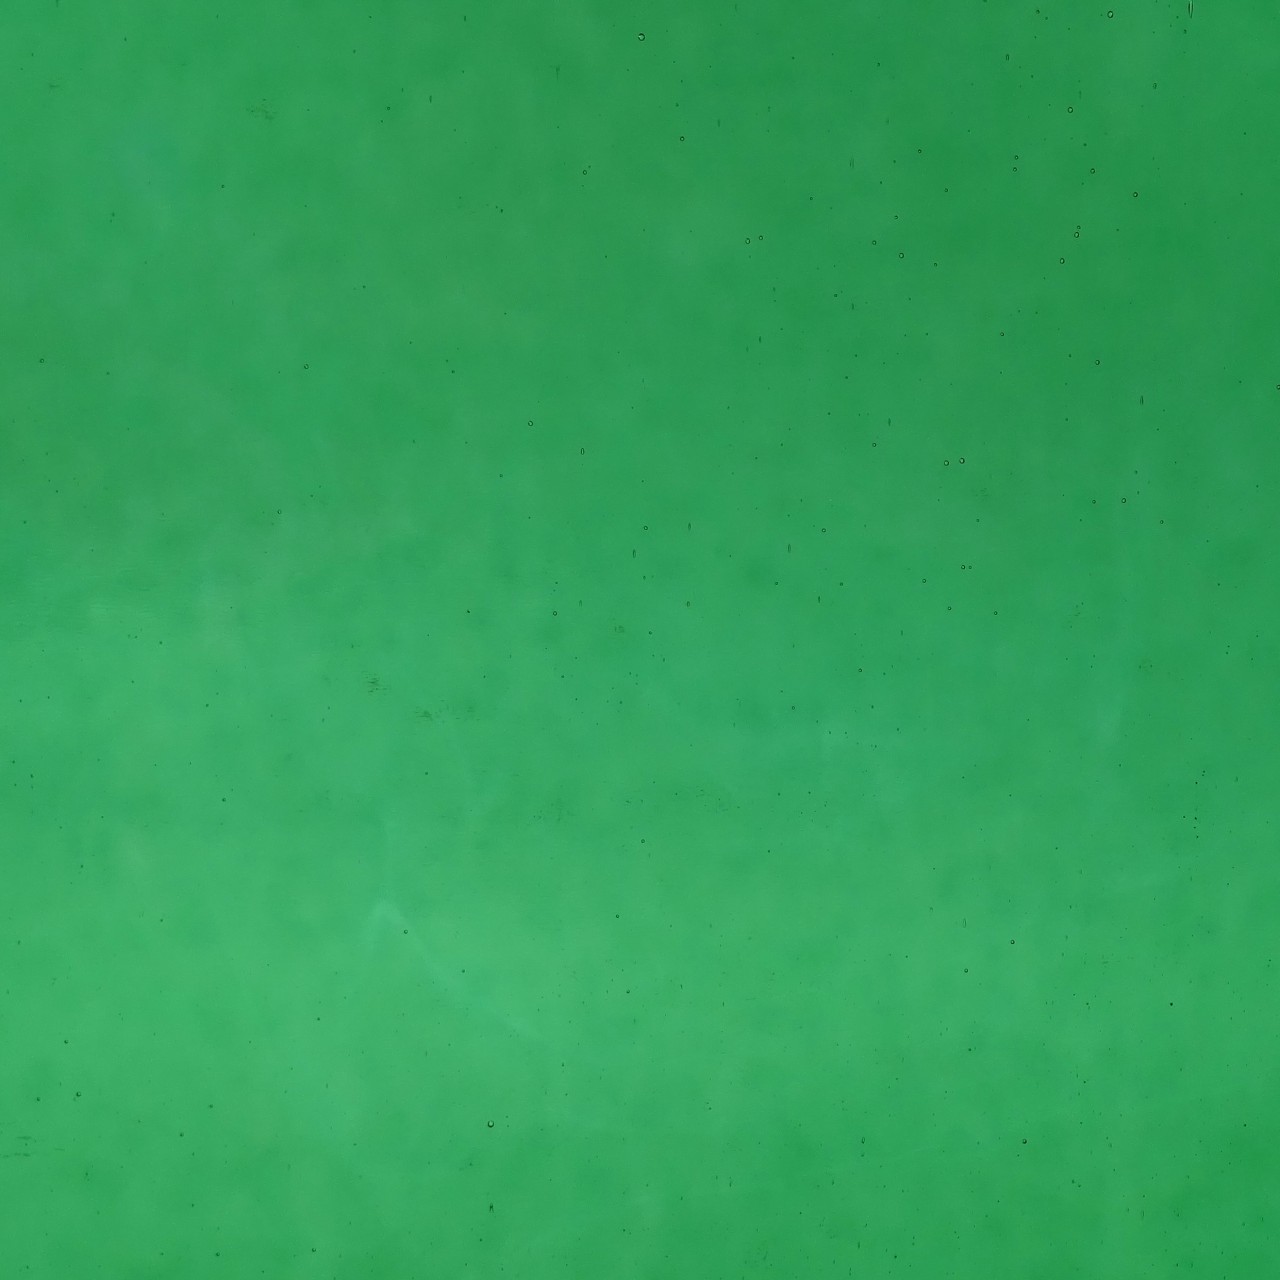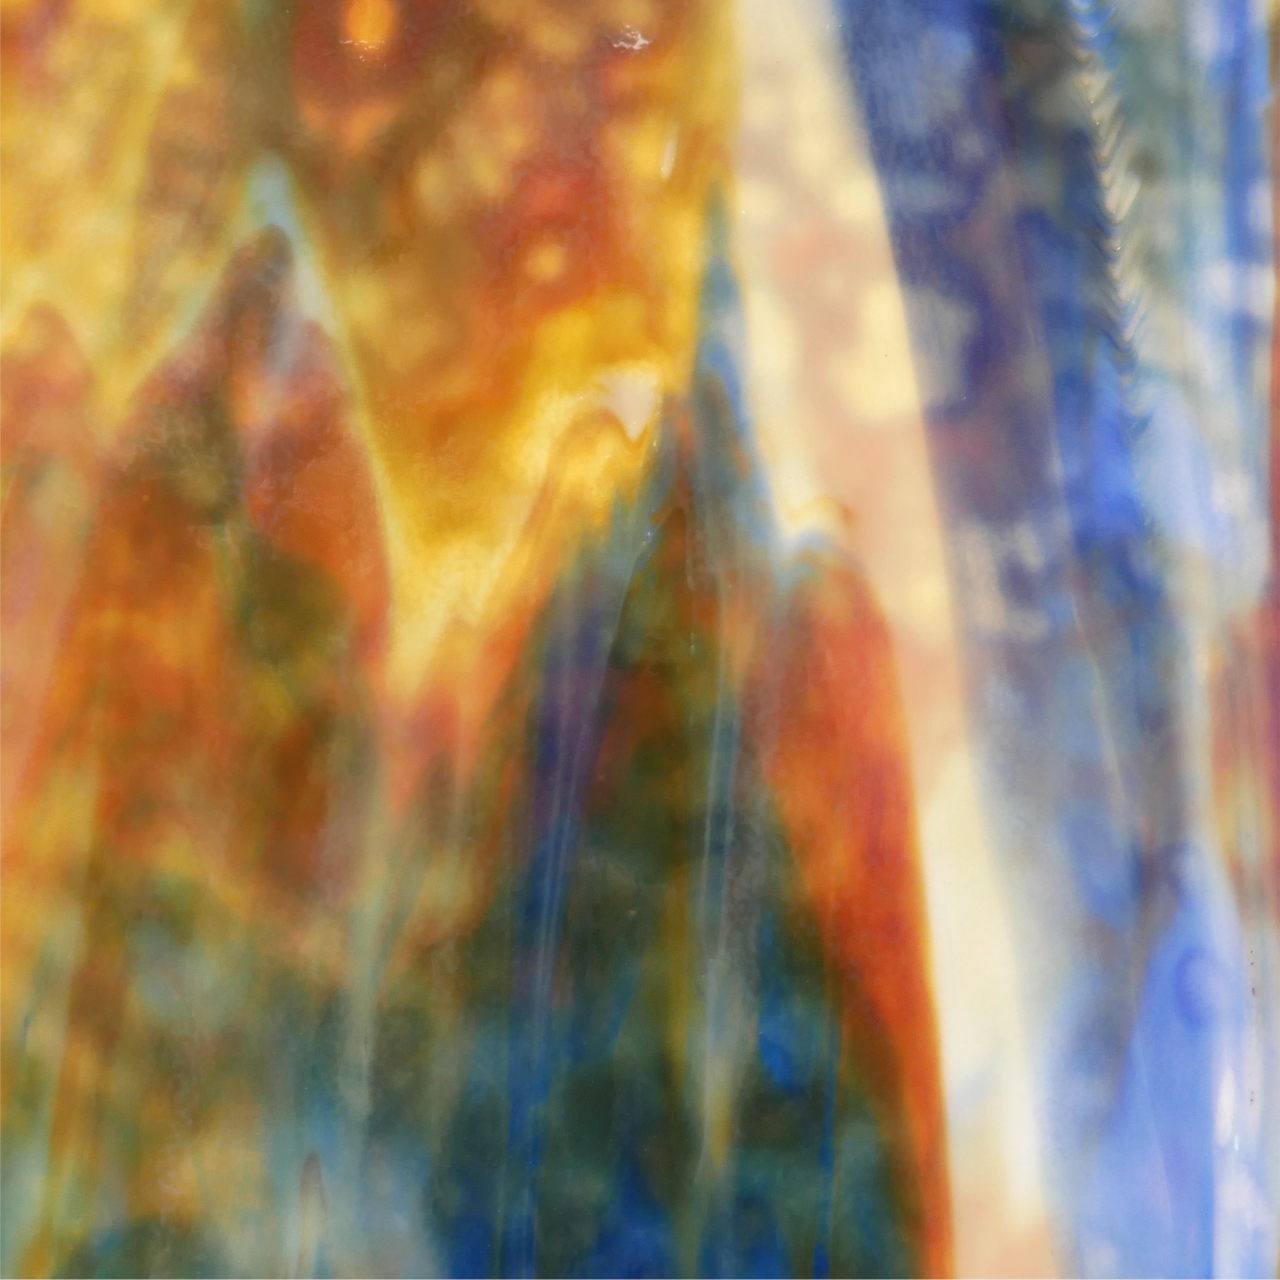
- 9700414 OCEANSIDE Spectrum OA 355-1s-F
Step 1
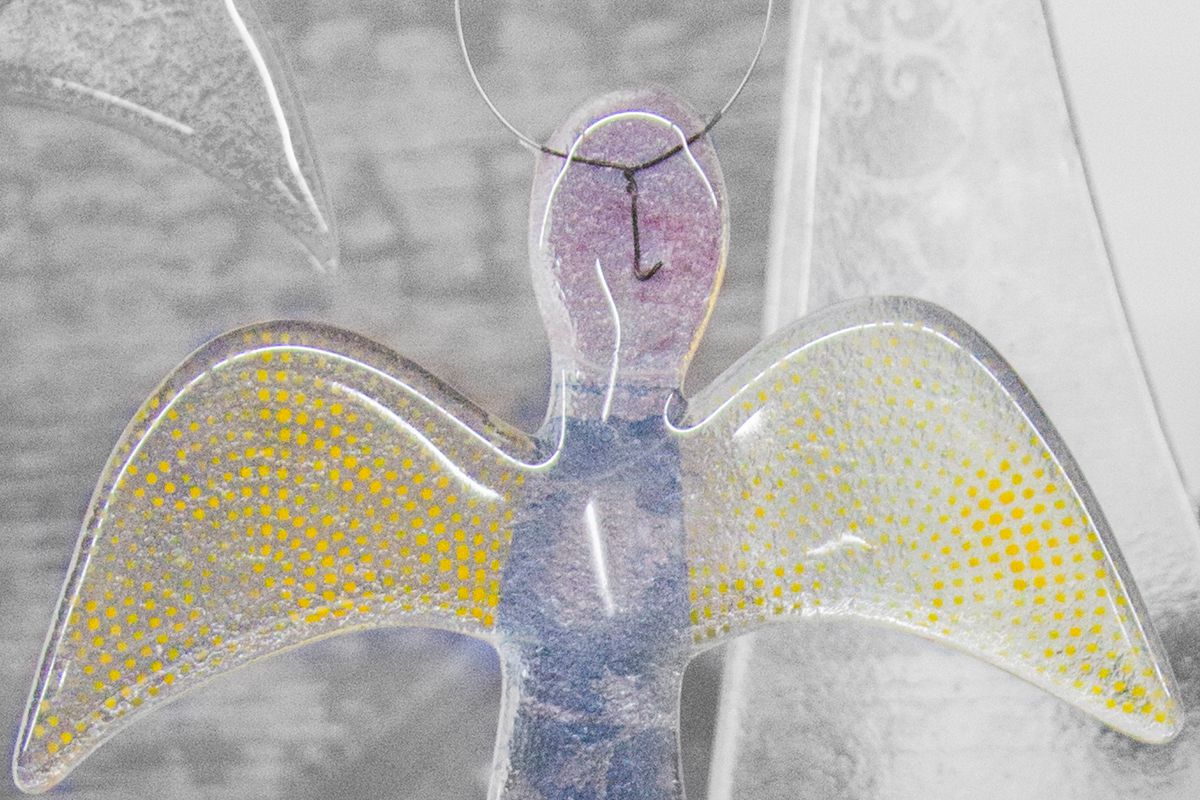
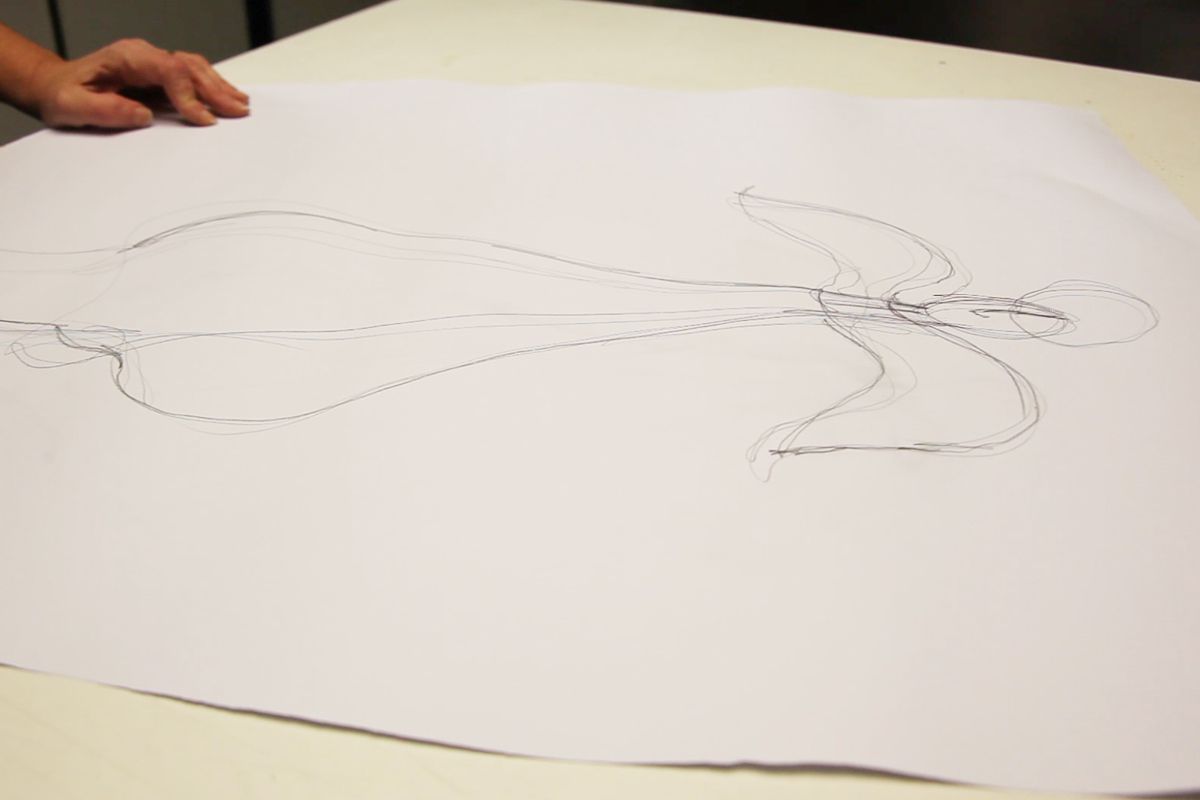
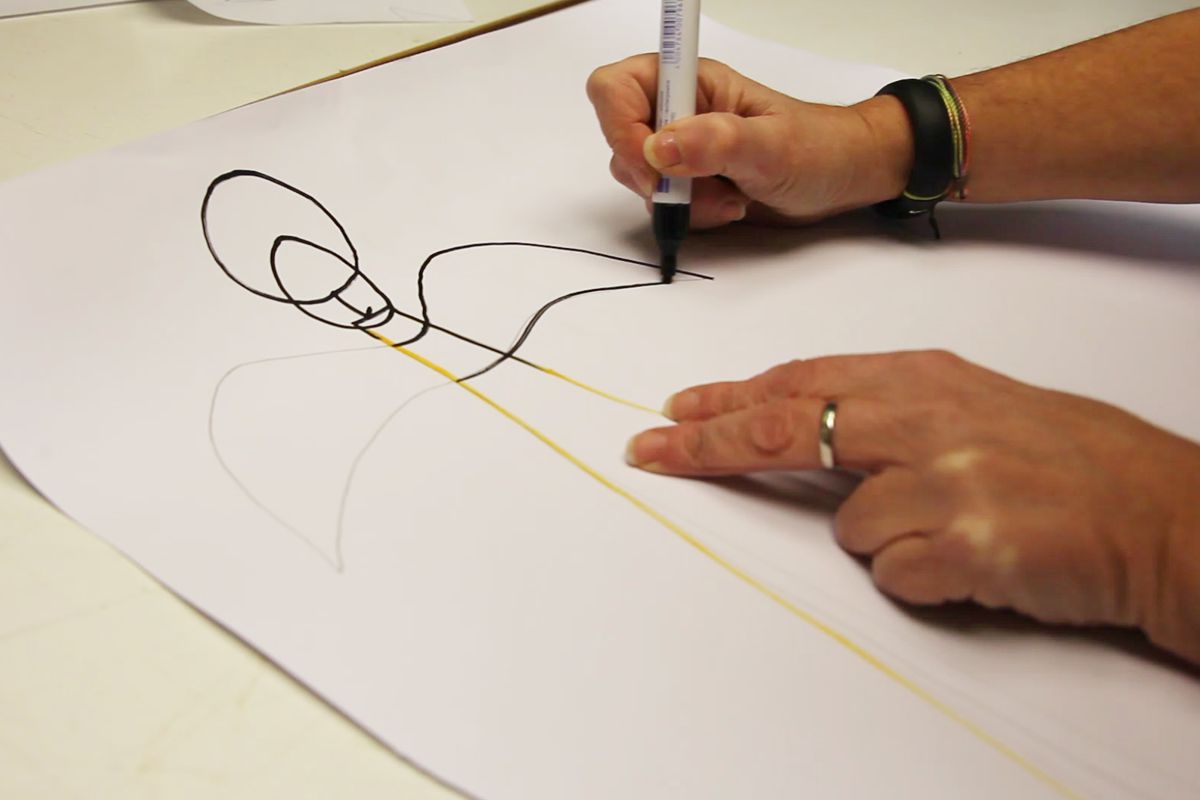
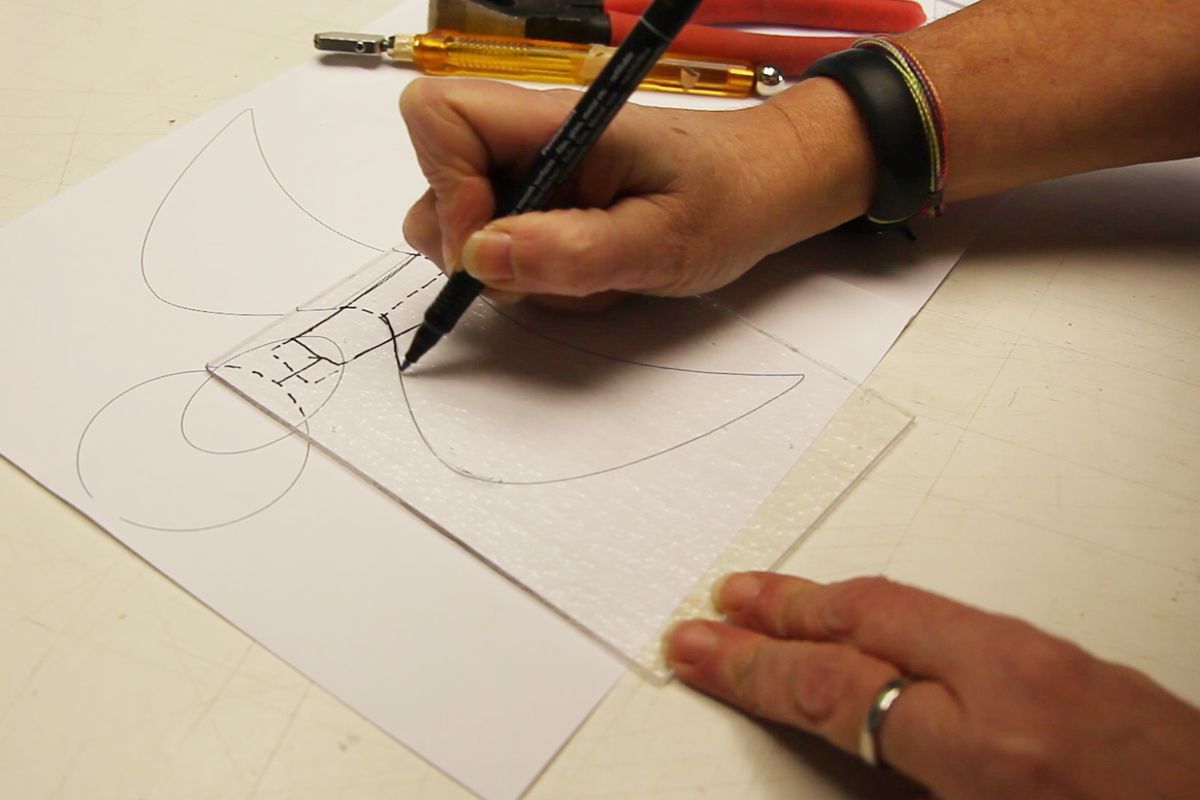
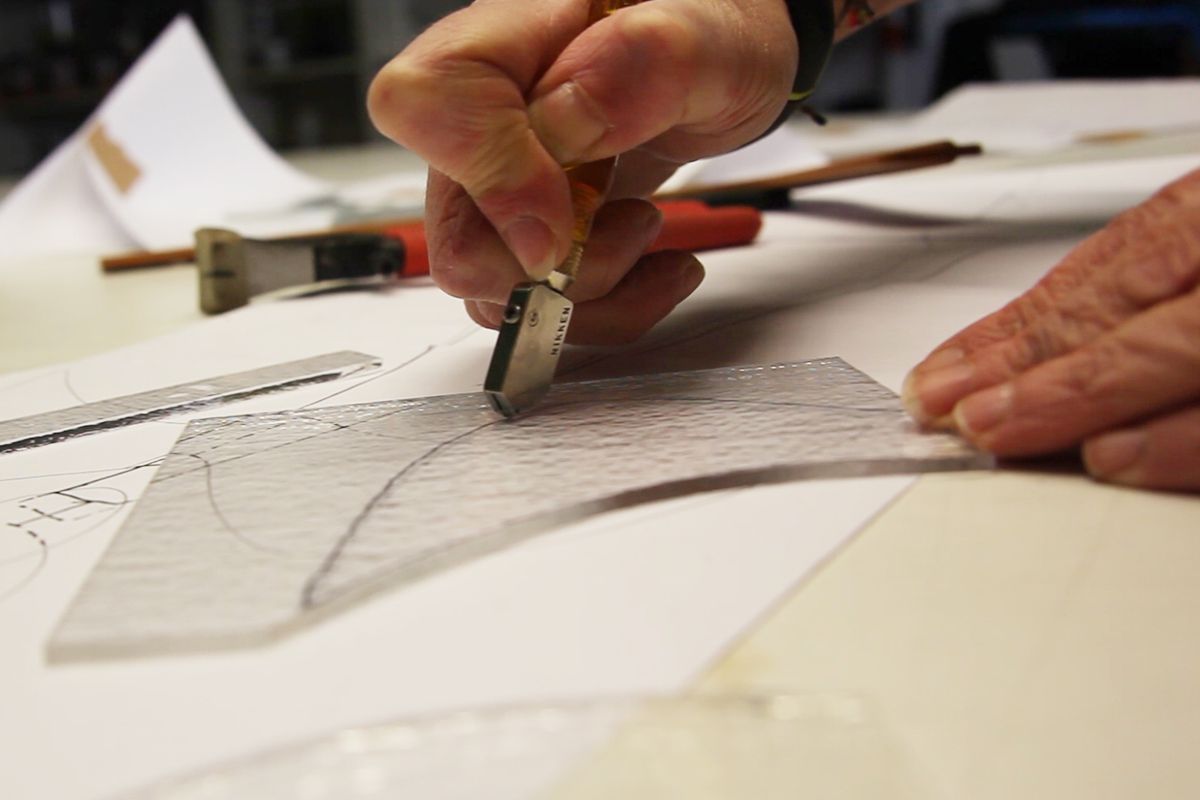
Sketch your desired body shape in pencil on a piece of paper. Draw the desired line with a felt pen and mark the later position of the wings. Transfer the shape of the head, like that of the wings and body, to the glass used.
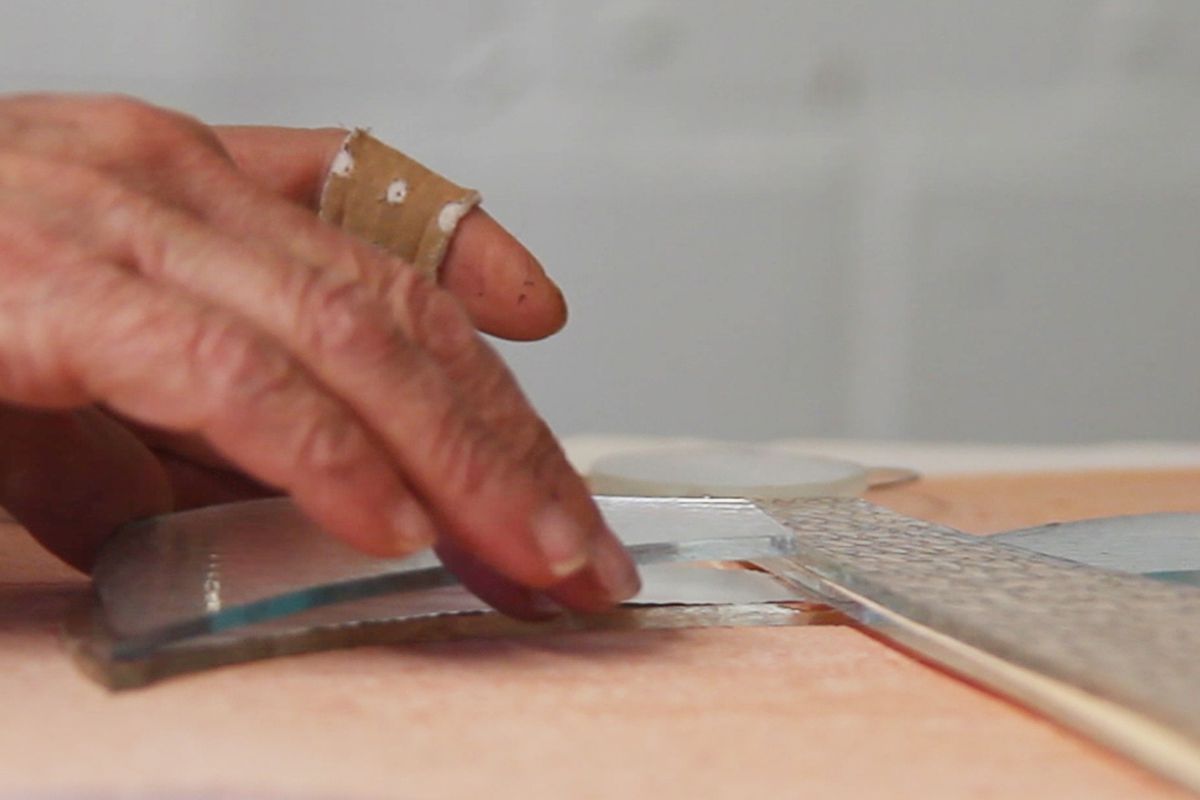
Cut out the shape of the glass. The body consists of 2 layers of 3mm each!
After you have cut out all the glass pieces, place the parts on your sketch and see if everything corresponds to your ideas.
Step 2
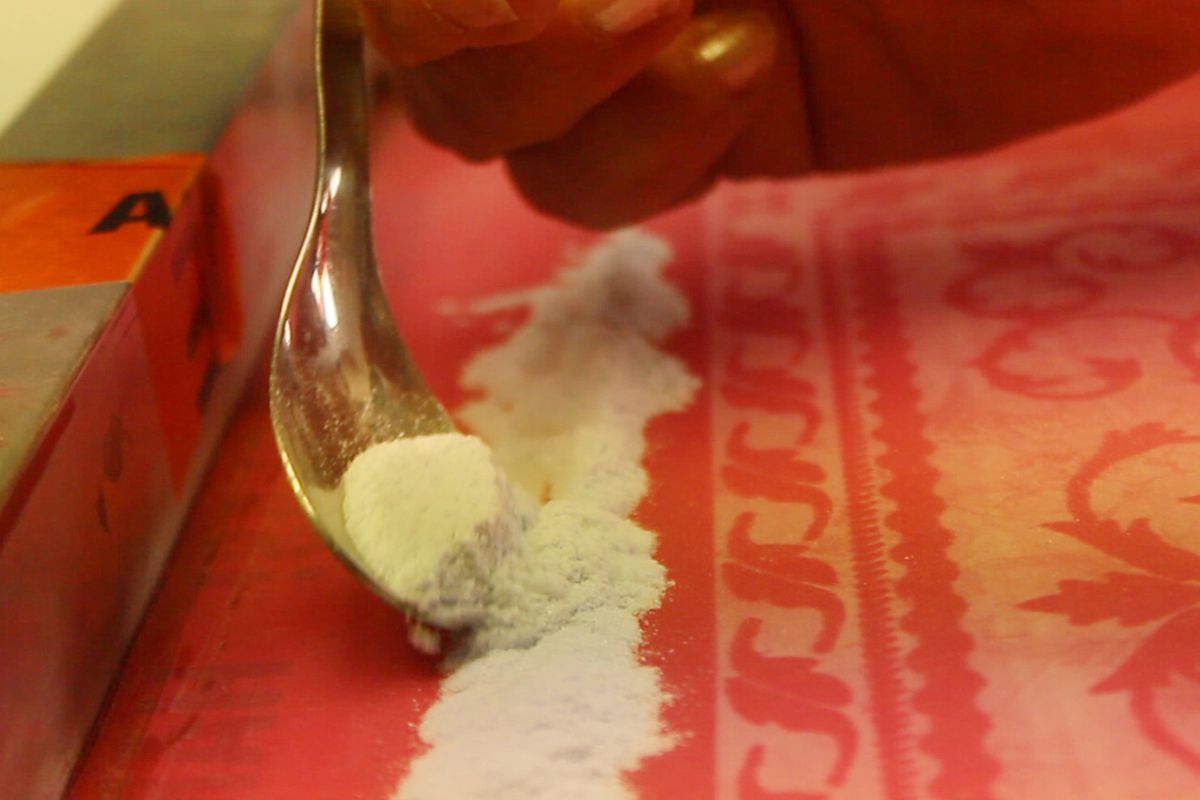
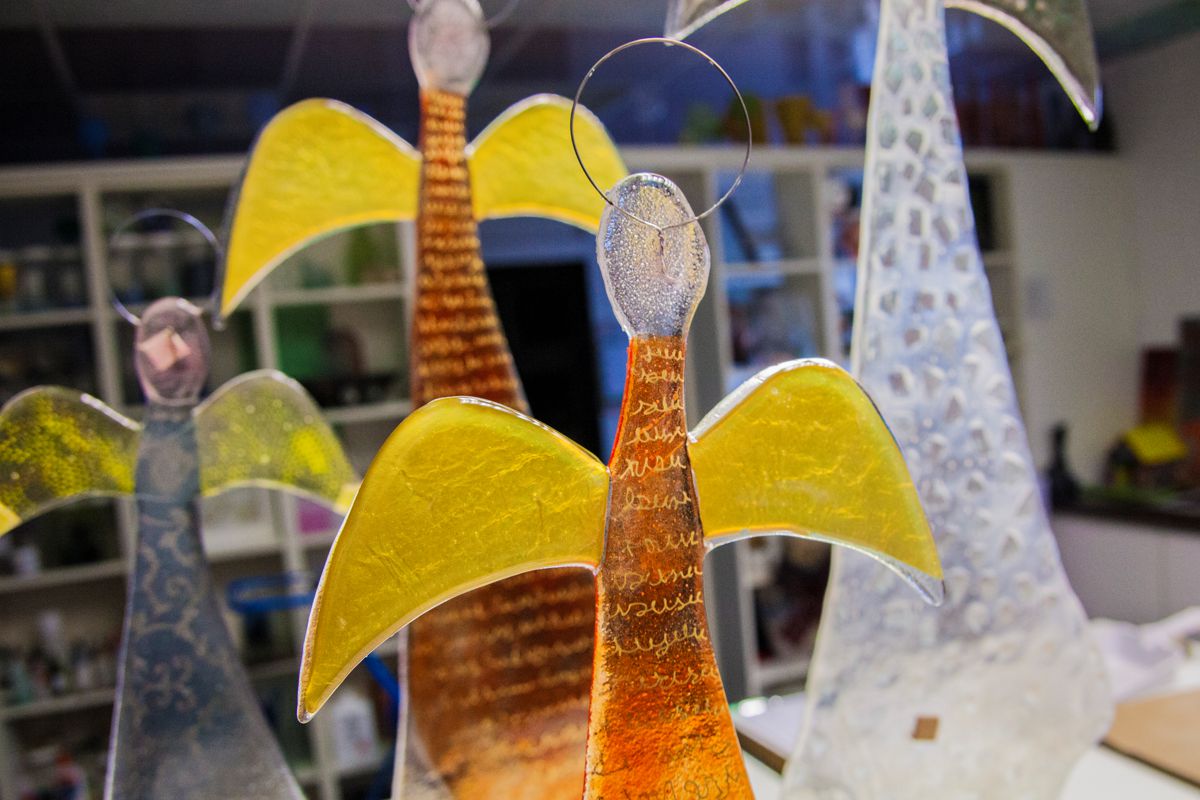
There are many options available for designing the body. We have given you three examples in this impulse.
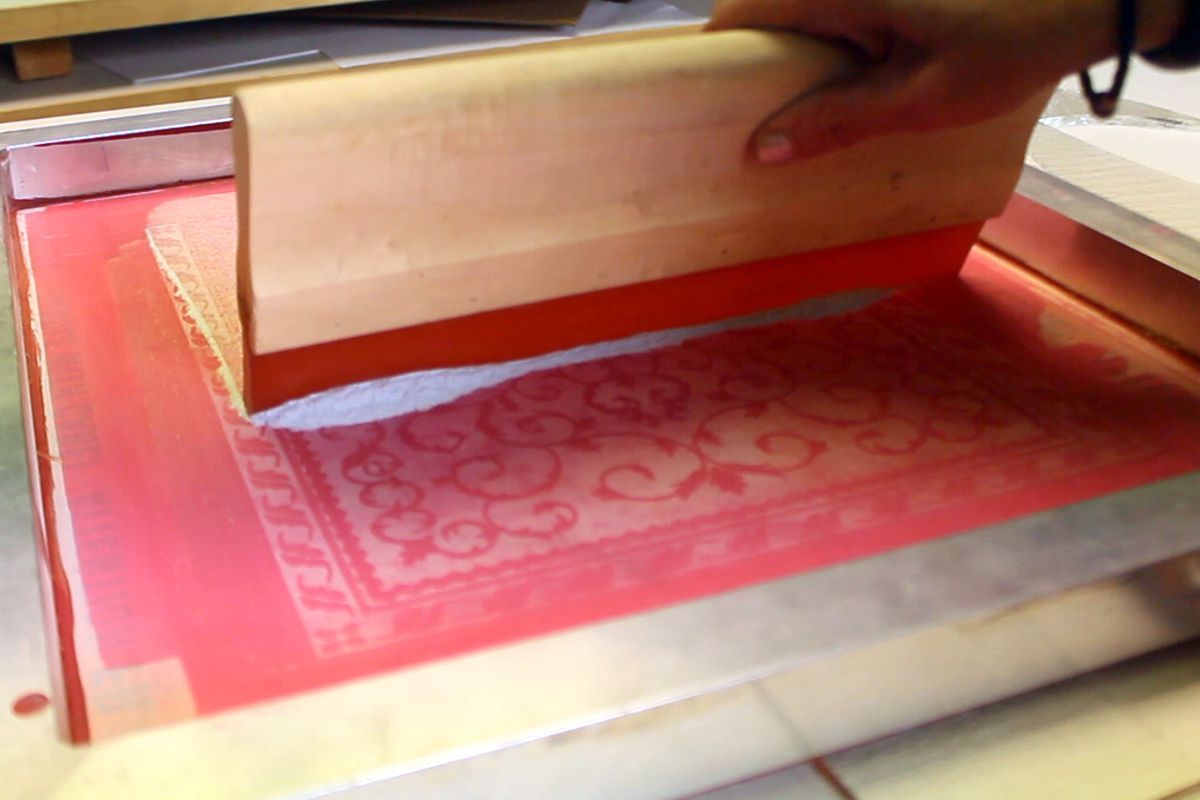
Screen printing / powder printing
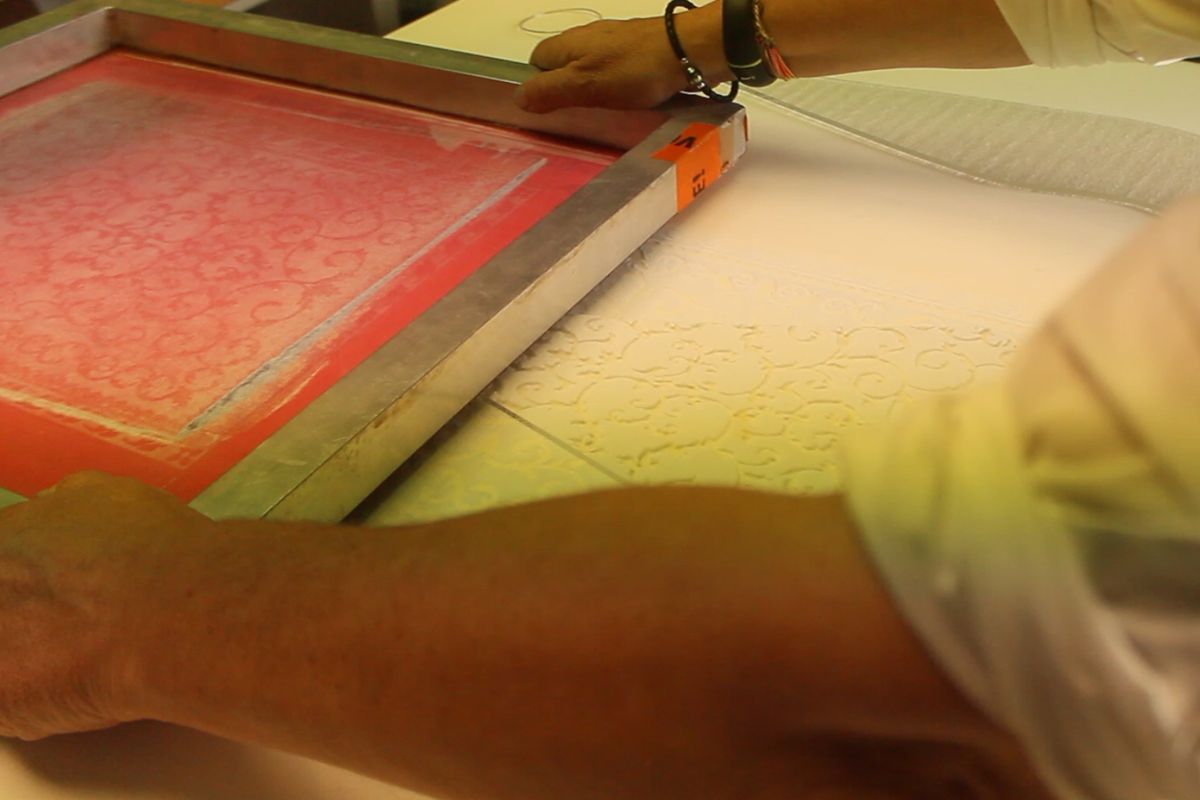
For this we use the technology that is also used in the print sector. However, we use glass powder instead of the printing ink. Place the sieve on the glass with a little space, put the powder on the upper part of the sieve and draw it evenly with the squeegee over the sieve. When removing the sieve, be careful not to blur the pattern.
You can find detailed instructions here: Screen printing
Dichroic
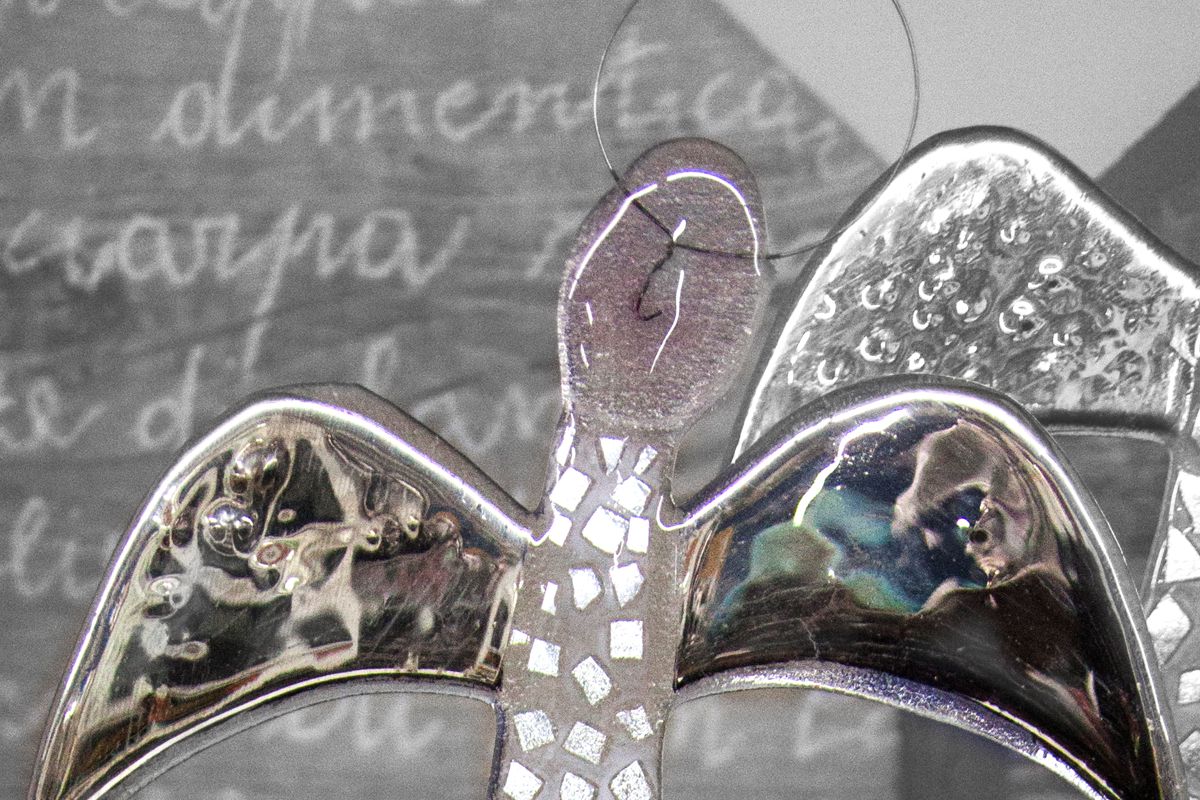
Use Dichroic glass scrap for the design. Spread small Dichroic pieces on the glass and fix them with fusing glue (e.g. Bullseye Glastac Gel 3562802).
You can also combine these materials with glass powder. In this case, generously powder the angel's body and remove the excess powder with a soft brush or a rubber brush (3650020).
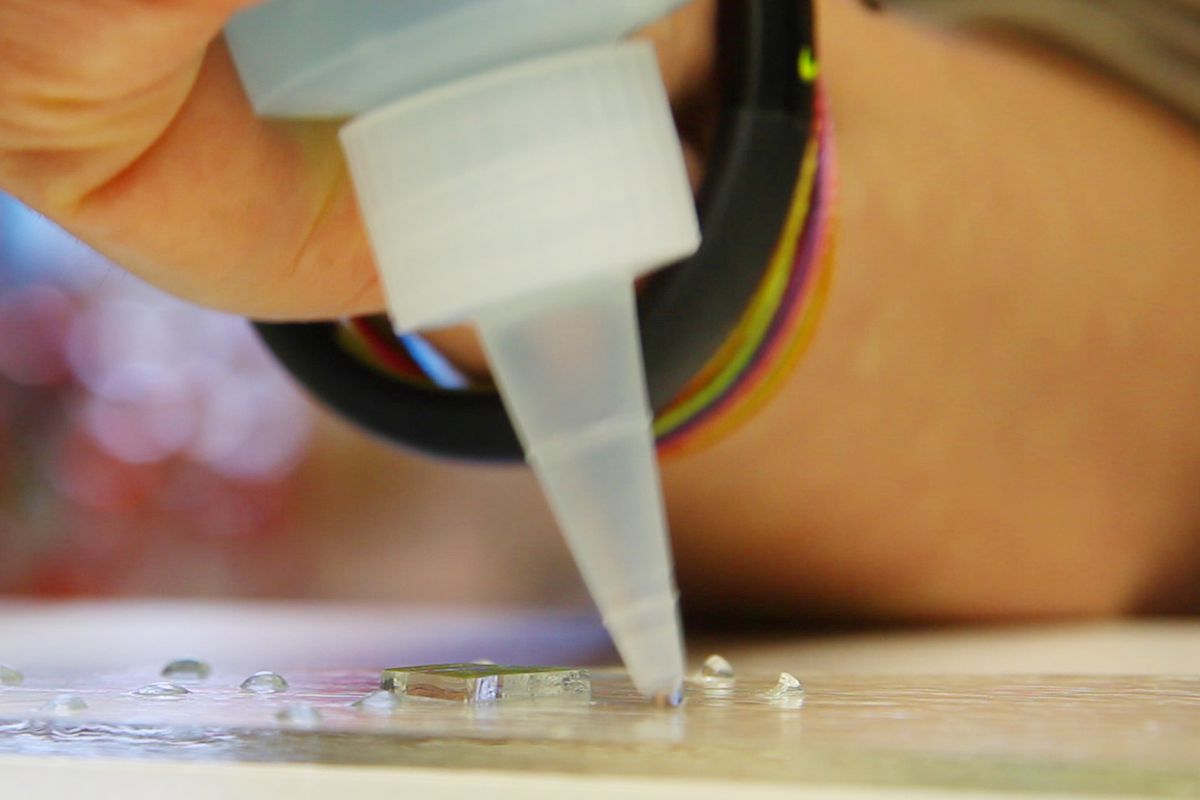
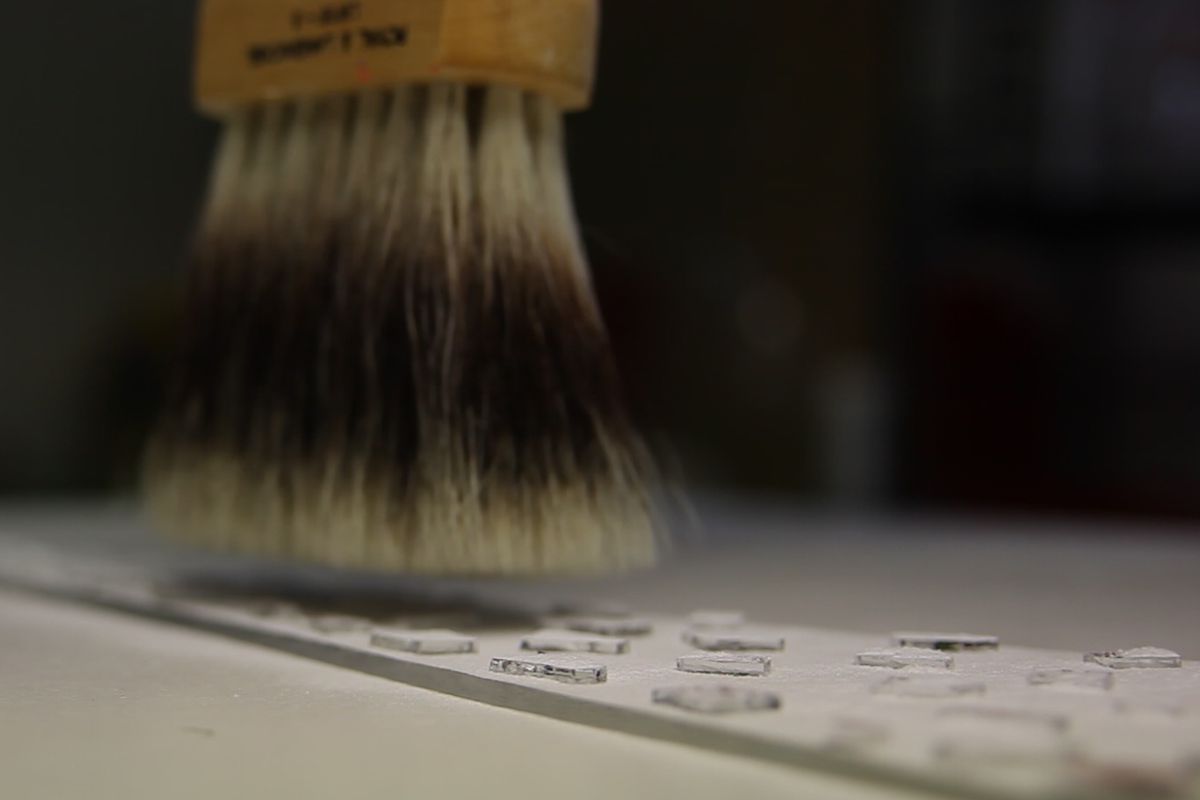
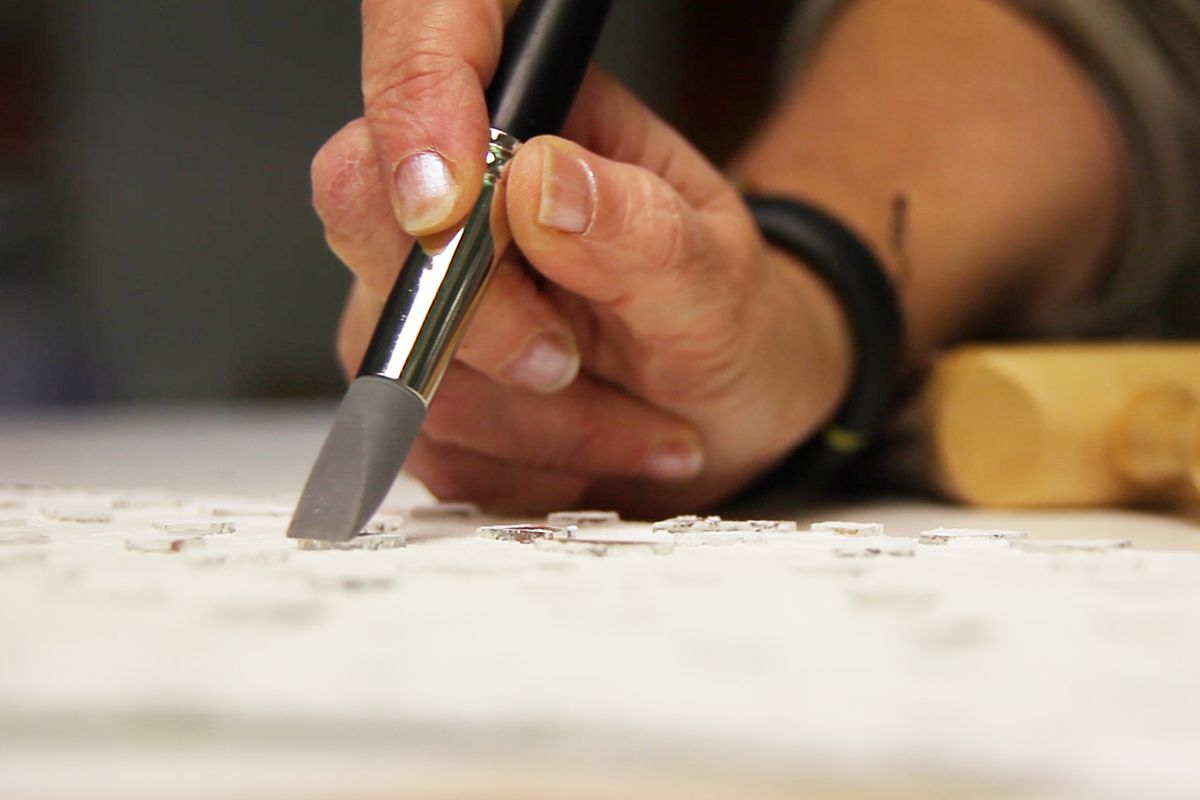
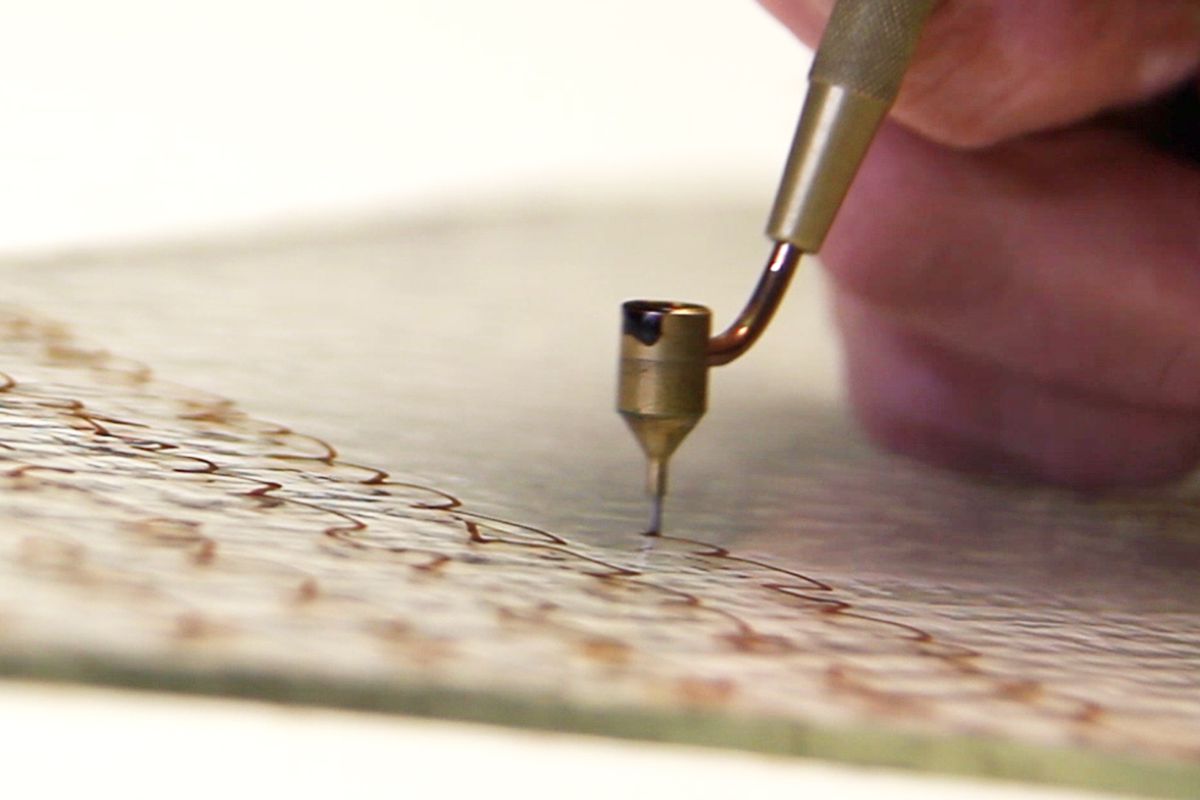
Powder
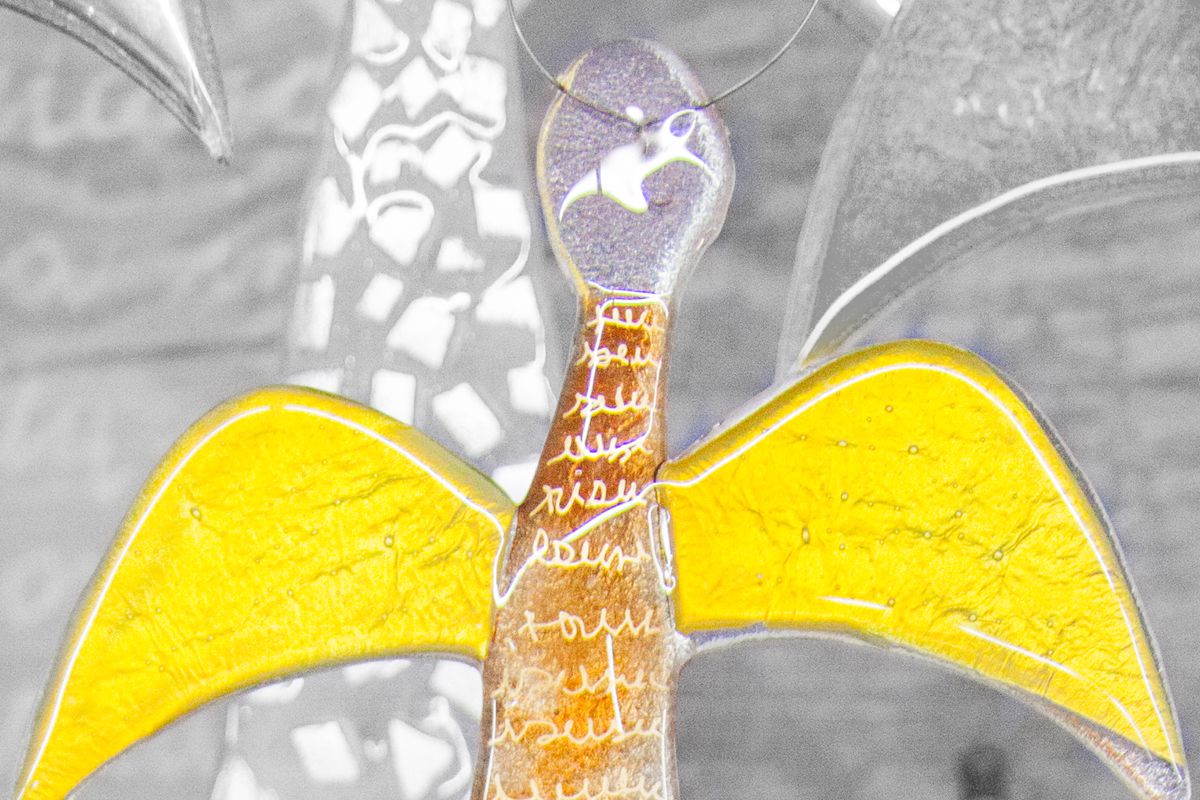
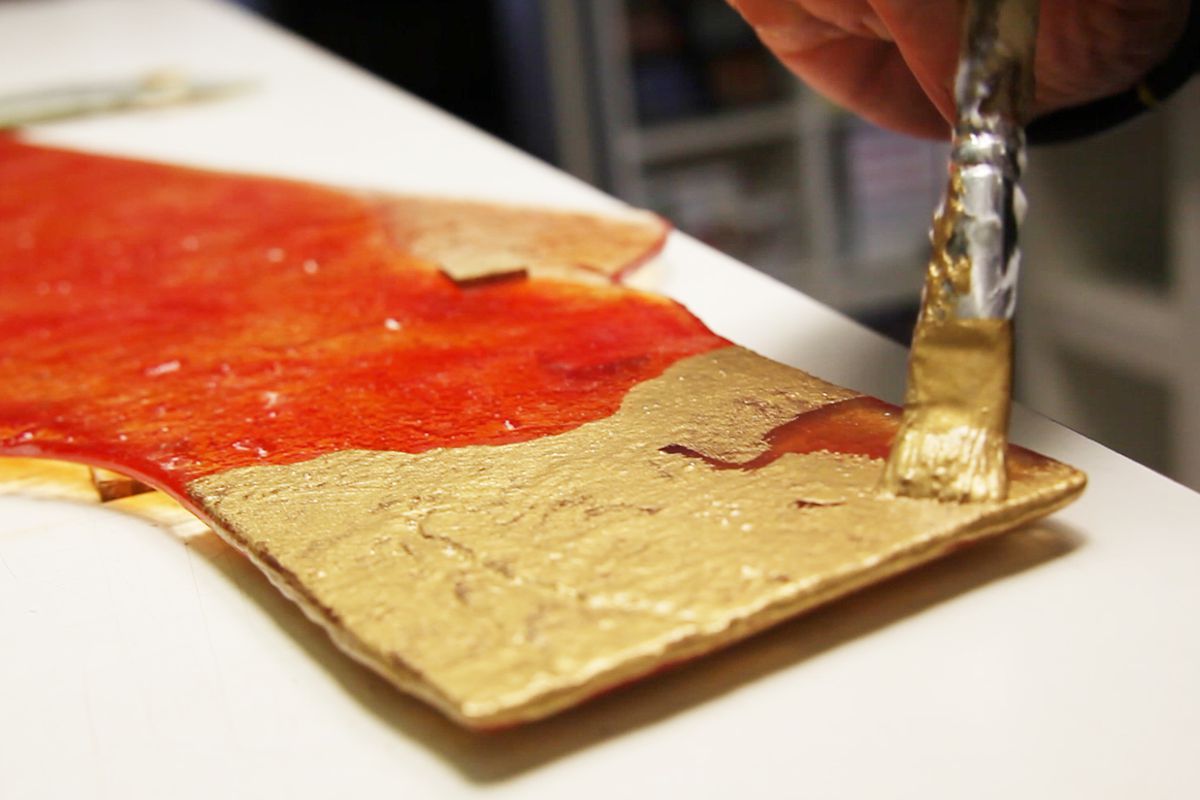
Would you like a little more color? Then powder the colorless, lower glass base with colored glass powder. Place the upper layer on top. This can then be decorated with liquid gold, for example, and the pen for lettering.
Step 3
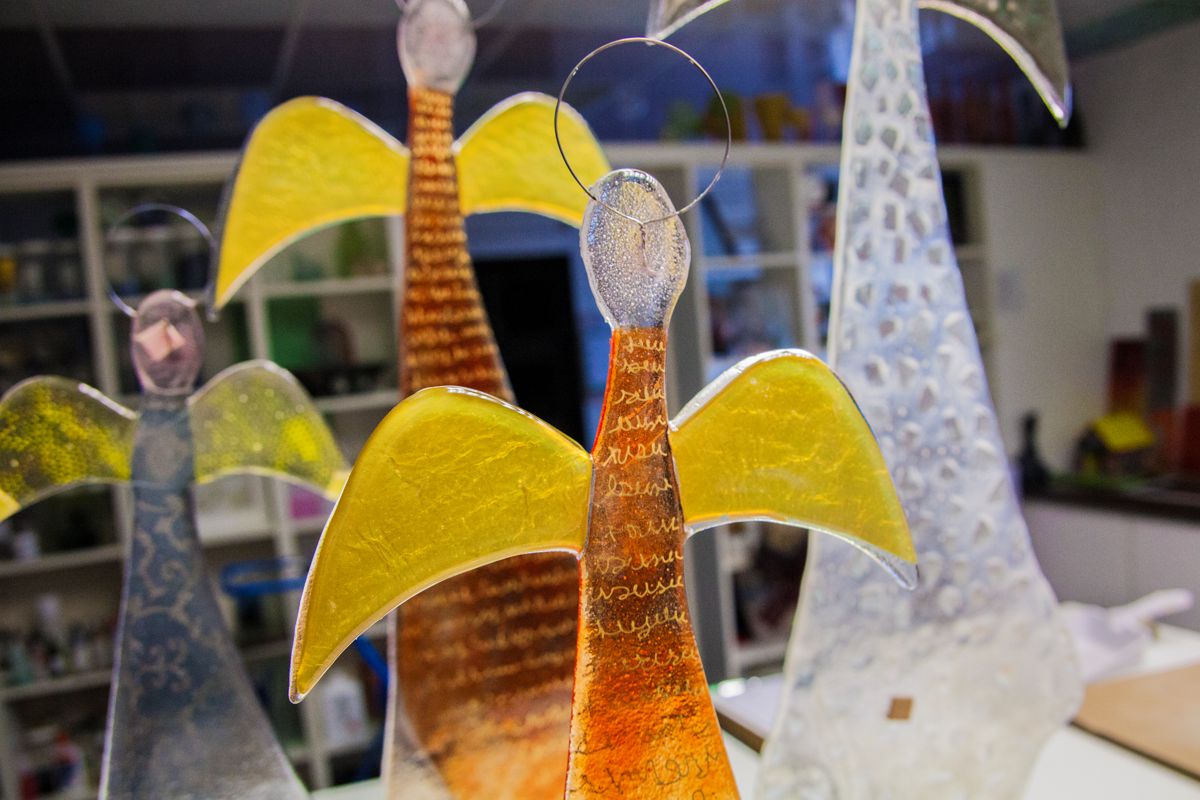
There are also no limits to the wings, you can adesign them freely.
We chose a high-quality precious metal for this angel, the Japanese silver foil. This in combination with the reactive glass 1015-30F on the surface results in the great gold tone!
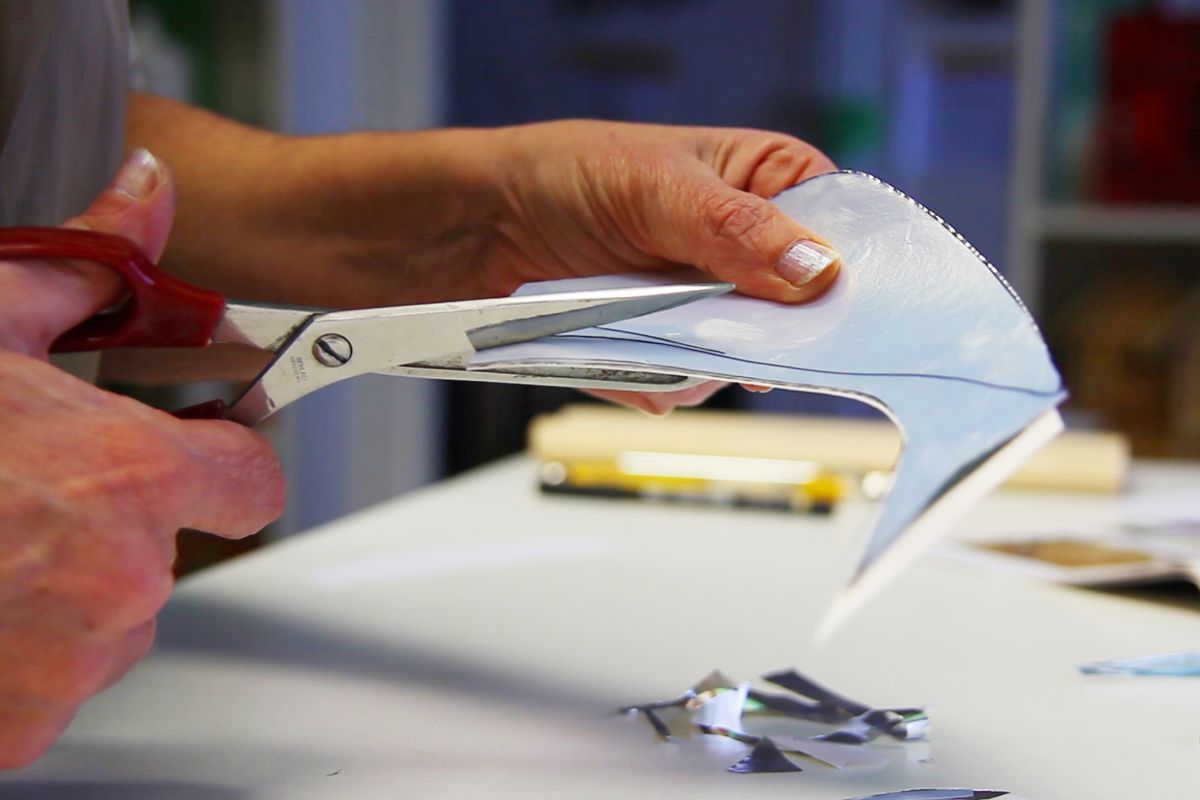
Cut a suitable shape from the silver foil to match the pairs of wings. The silver foil is melted in sandwich.
Tip:
Gold and silver foil can be easily cut with a sharp cutter knife or scissors. Place the foil between 2 sheets of paper and then cut out the foil in combination with the paper. You simply remove the foil with tweezers.
Step 4
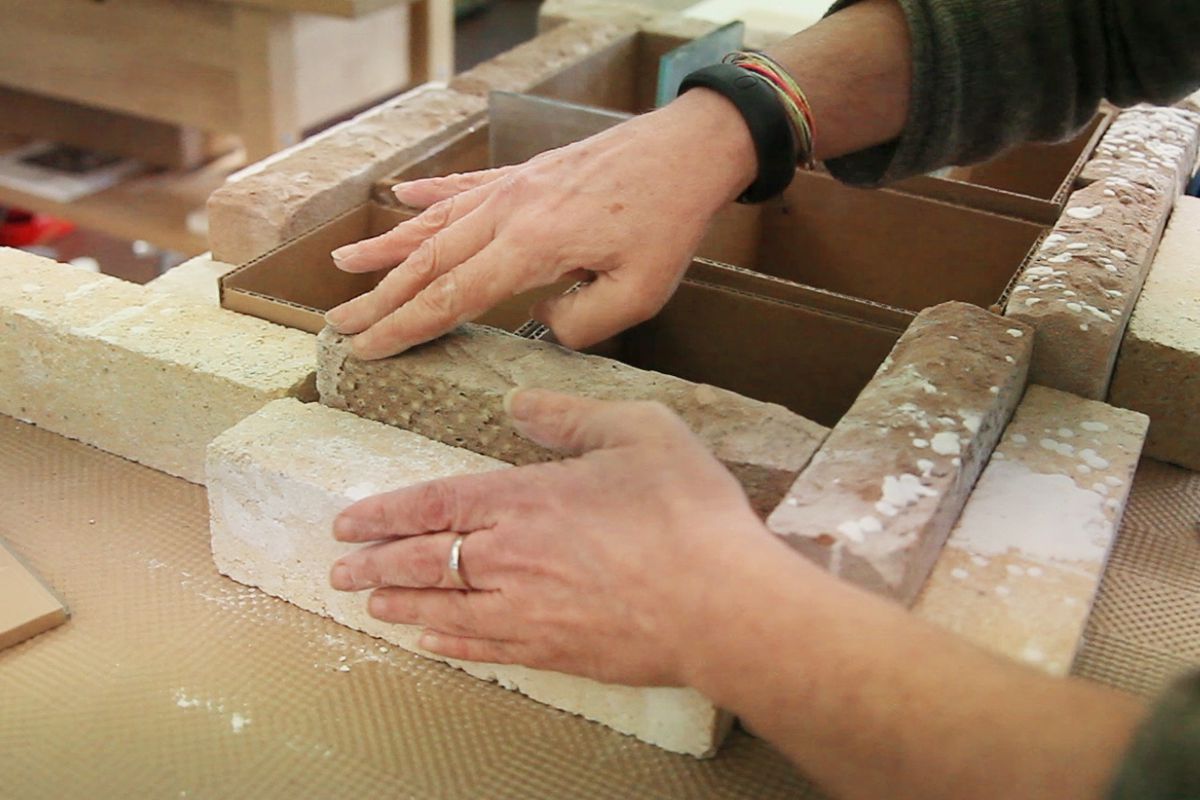
Build a cardboard mold for the feet and support the sides with bricks so that the cement can't run out of the mold.
Make sure that the pieces are centered and straight. A later correction of the cement is no longer possible. Fix the glass pieces with tape to the bottom of the mold.
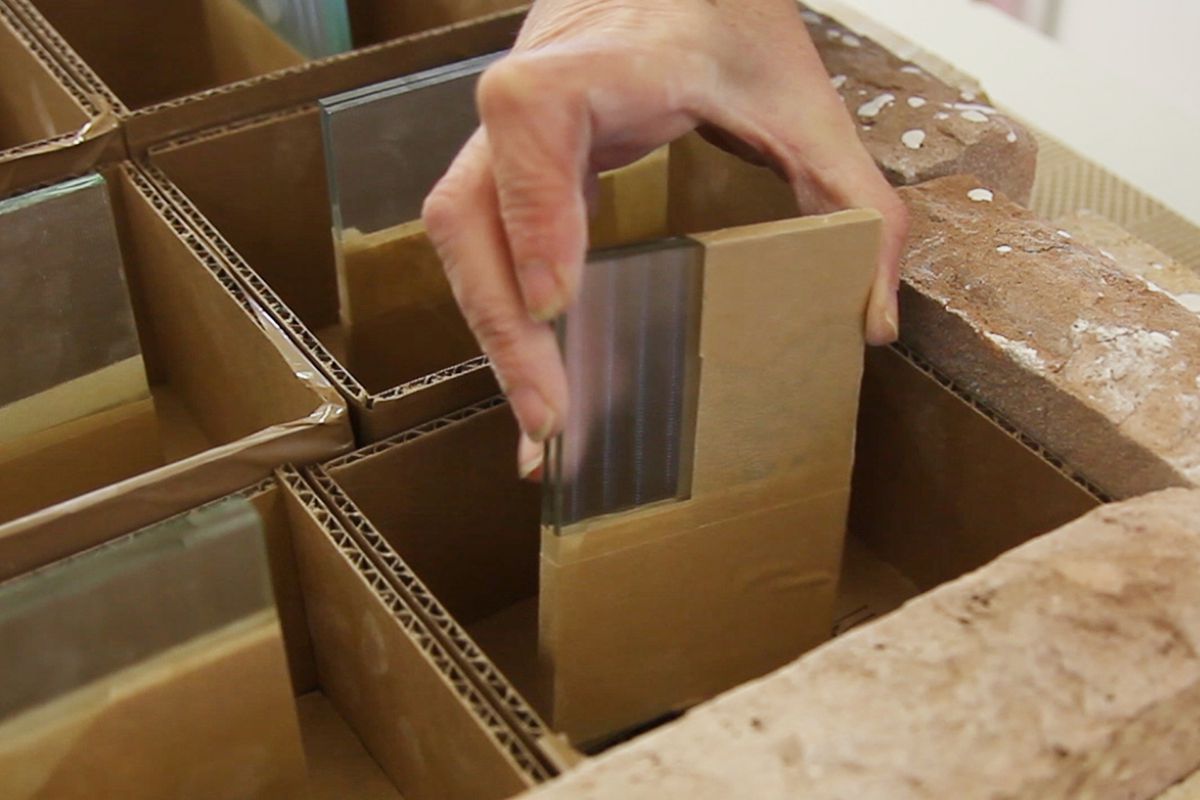
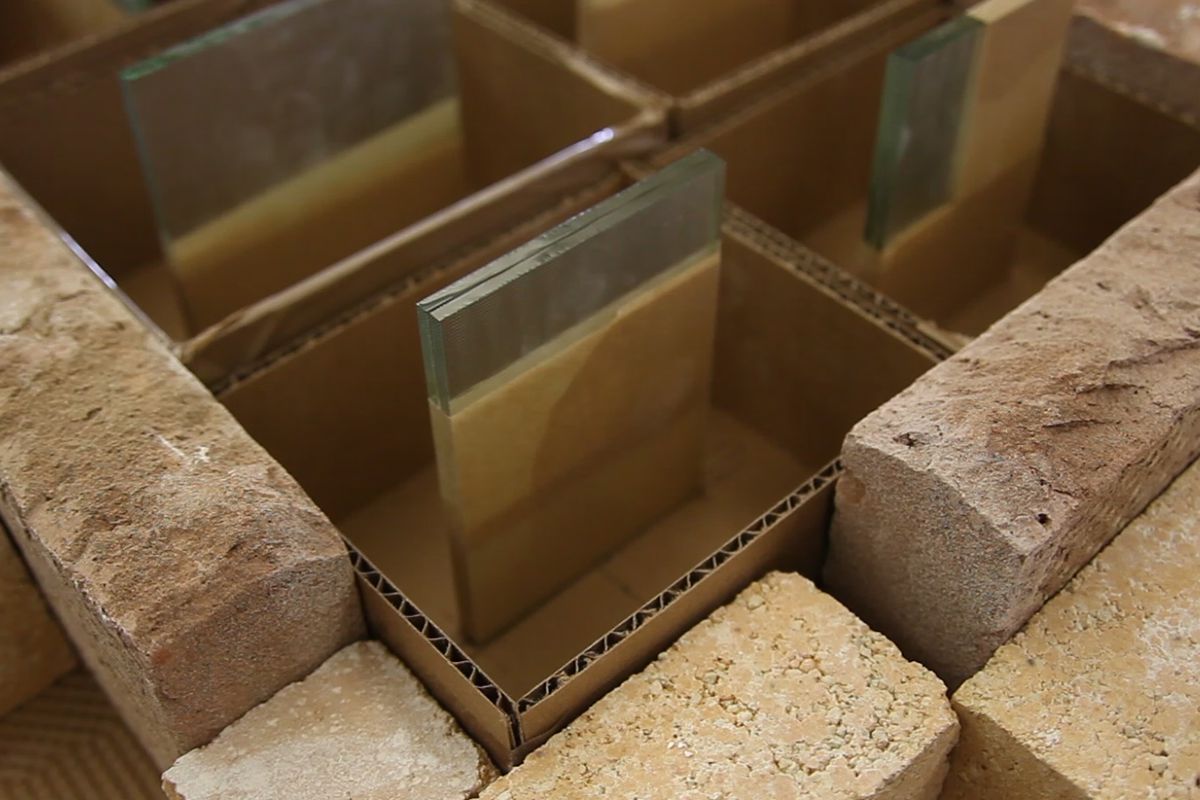
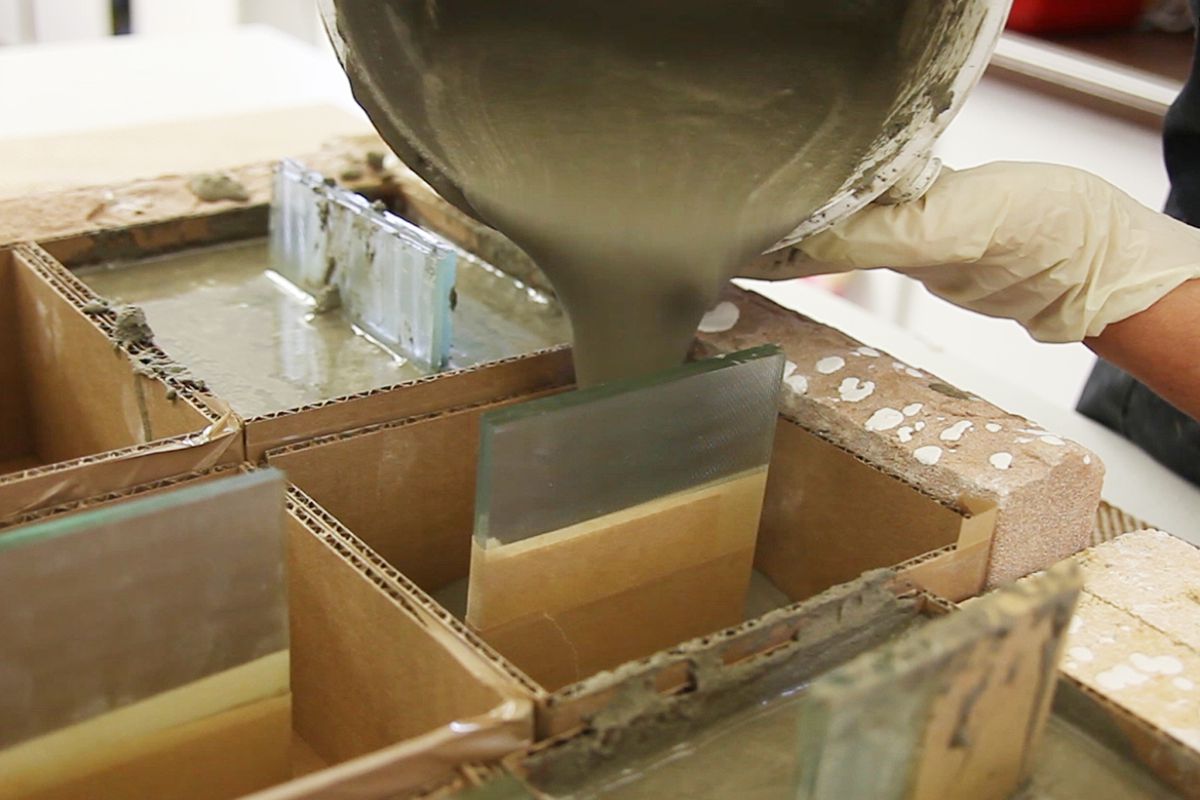
Now carefully pour the cement into the mold. Make sure that it is evenly distributed.
Let the foot harden for 24 hours. Attention! The sand in the cement mixture should not be too fine.
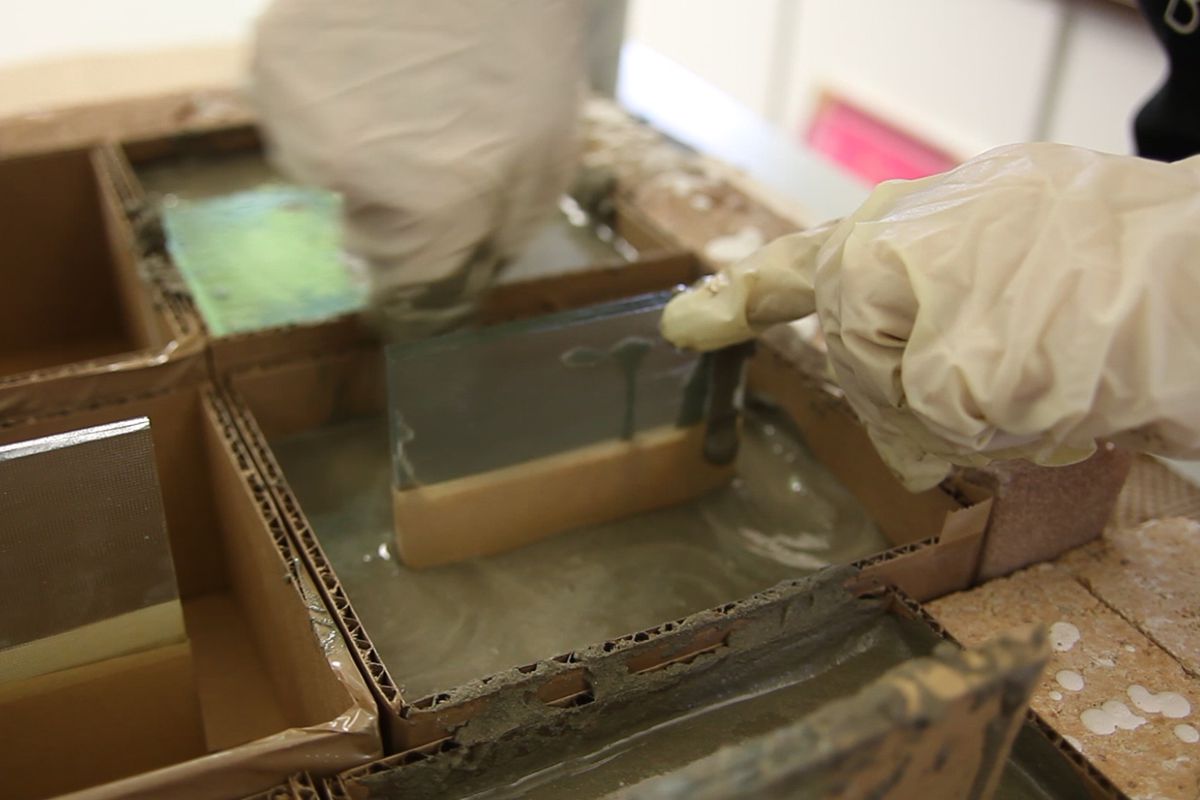
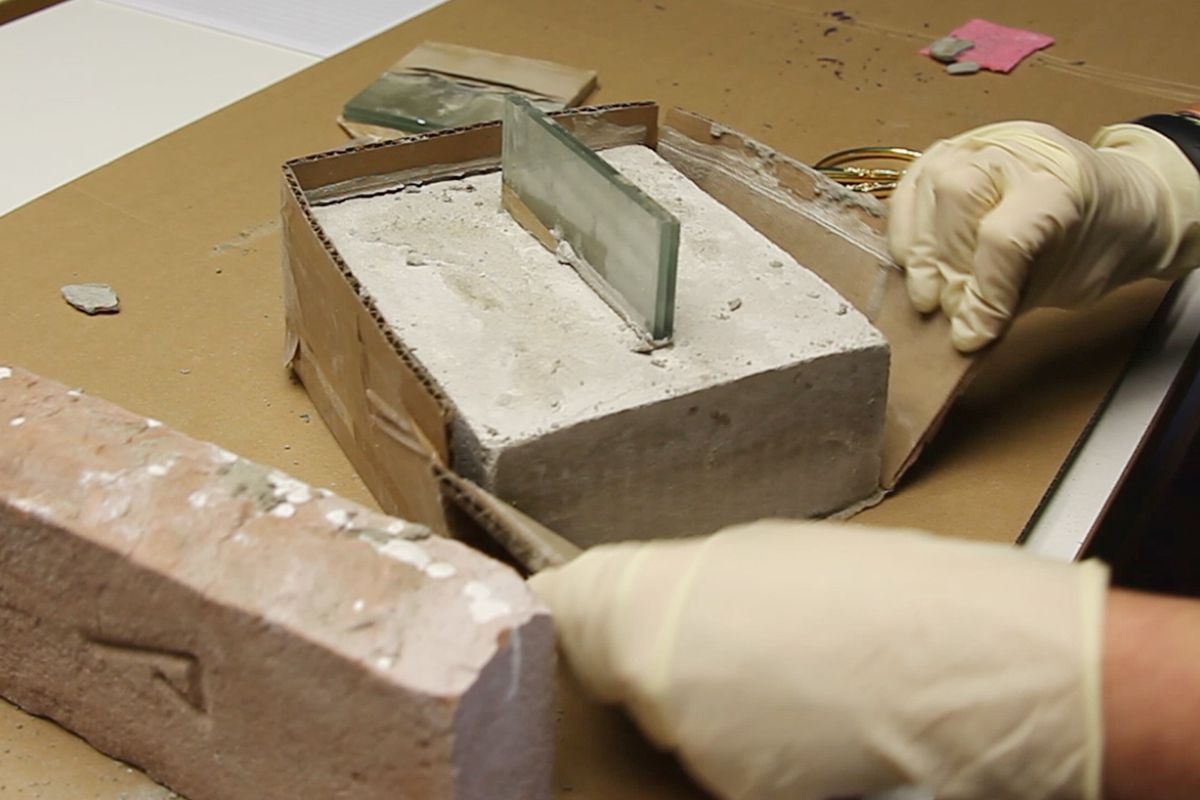
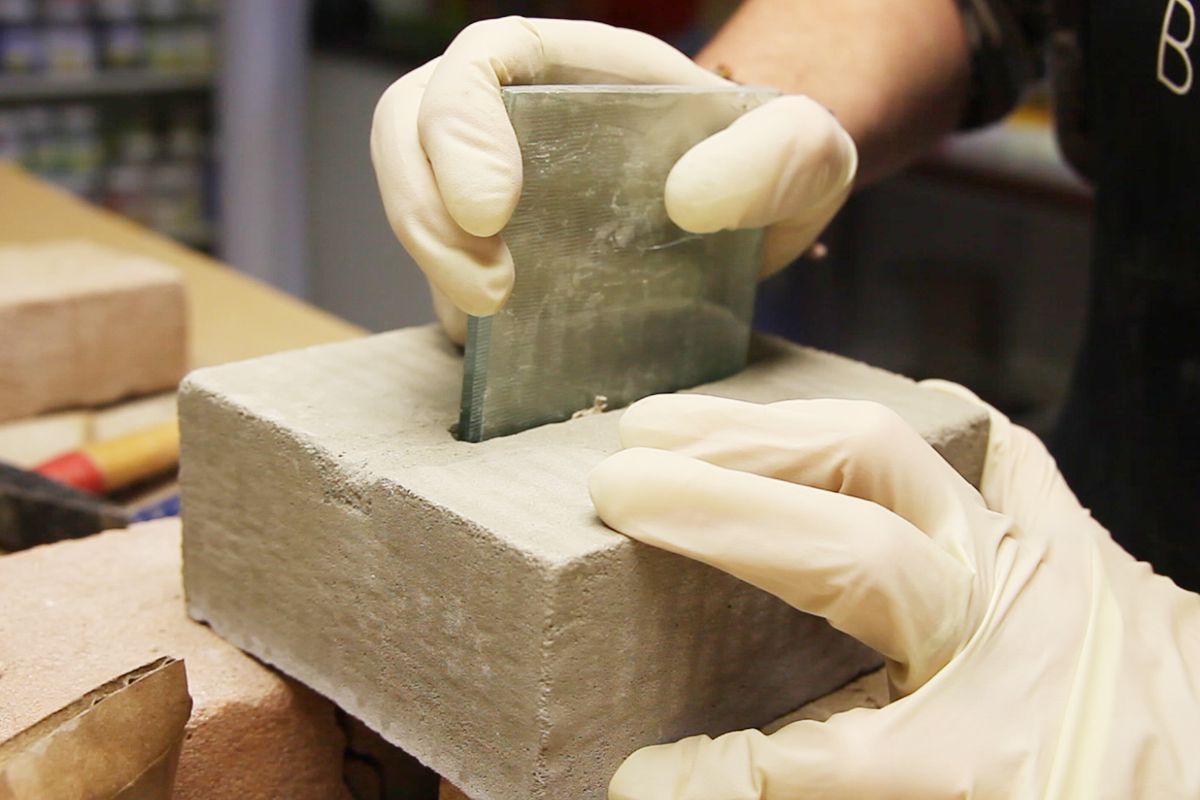
When the cement has dried, remove the cardboard and the visible tape.
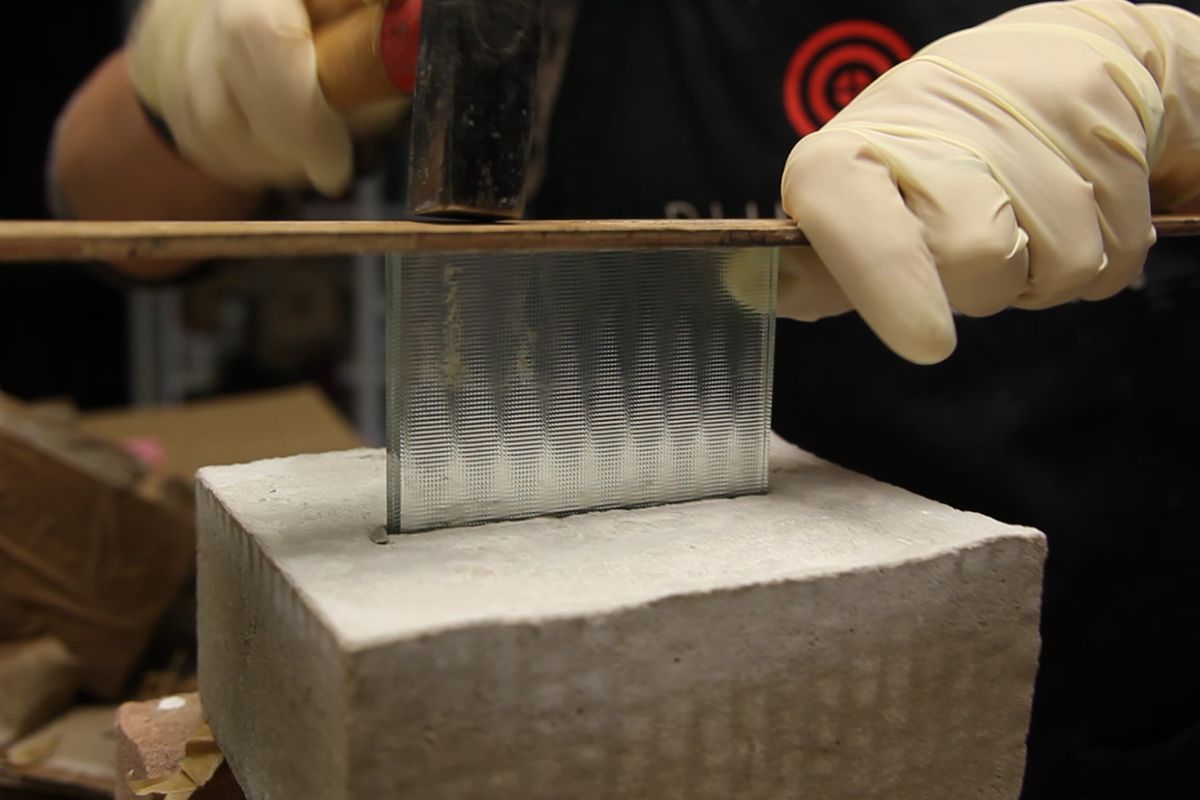
Then carefully push the glass in the block out of the cement. To do this, place a piece of wood on the glass edge and tap the edge with a hammer. Turn the block over and over again and hammer from the other side. This will release the adhesive tape from the cement and you can carefully pull out the glass. Do not try forcefully - the glass could shatter or the cement block could break.
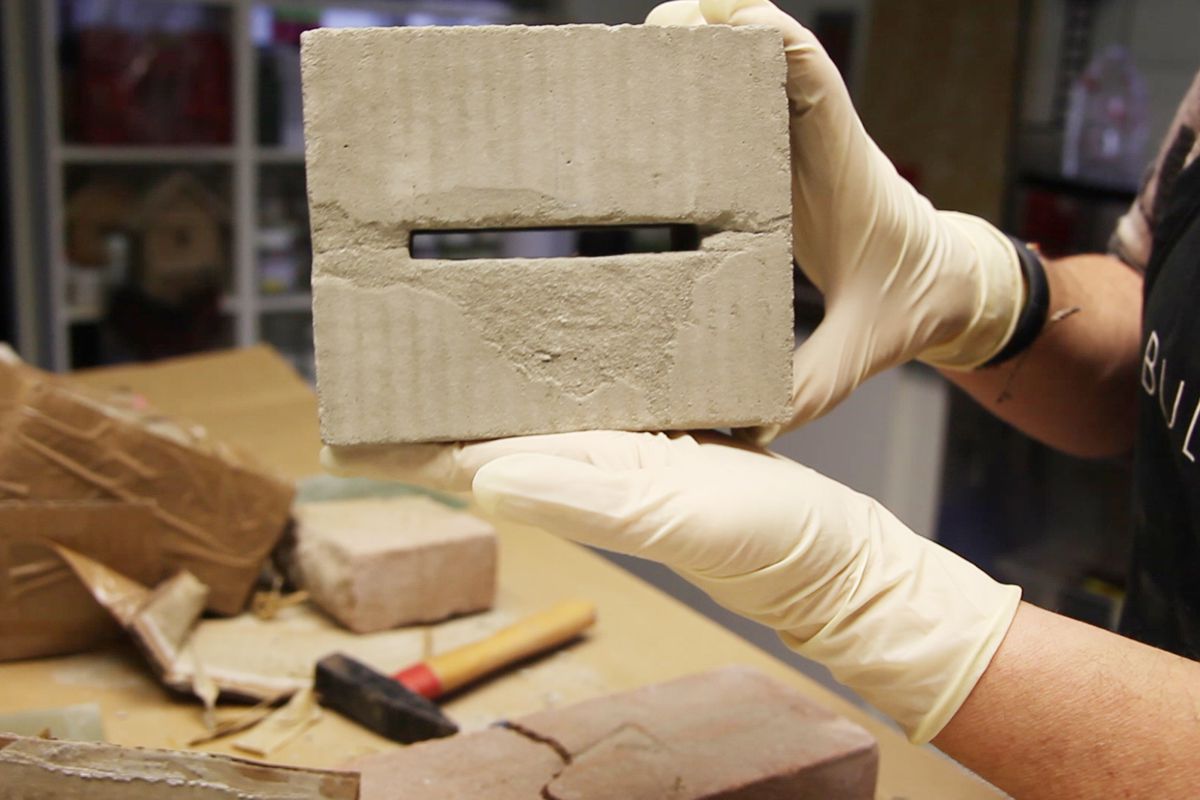
Step 5
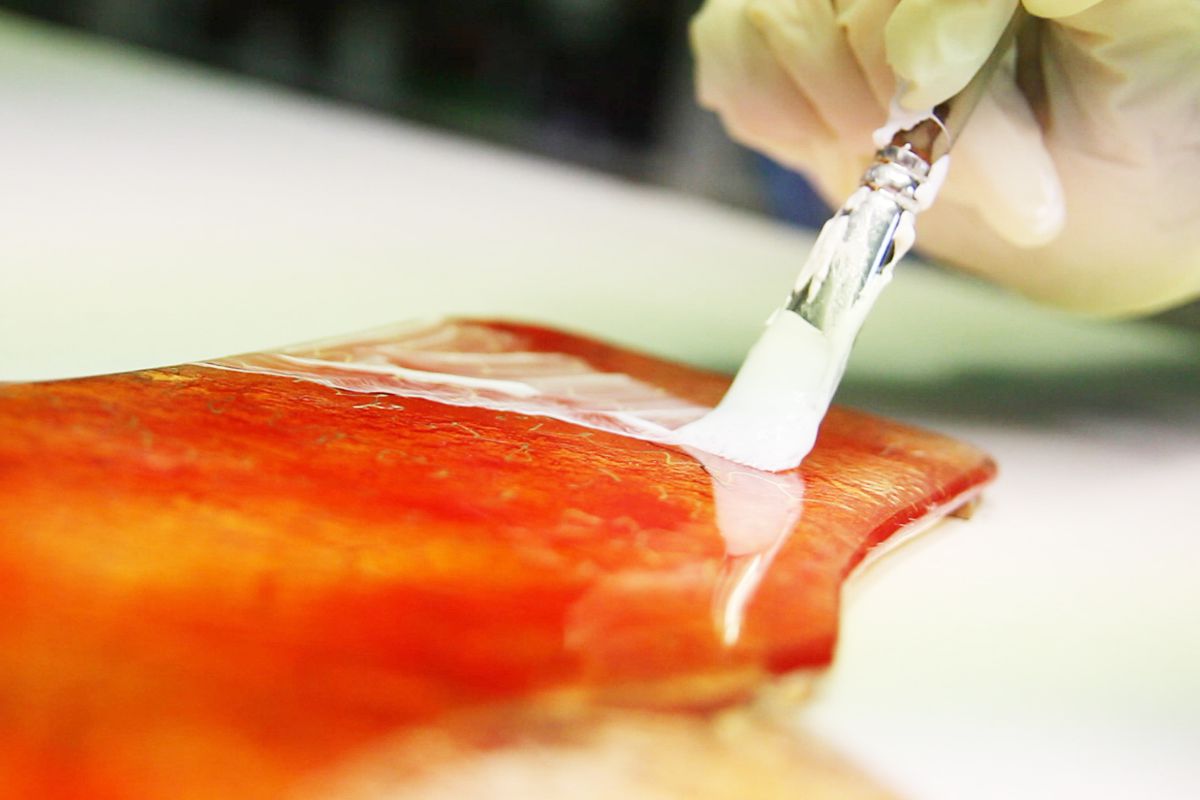
You can now further refine the finished foot. We offer an extensive range of products related to metal oxidation (the complete overview can be found here).
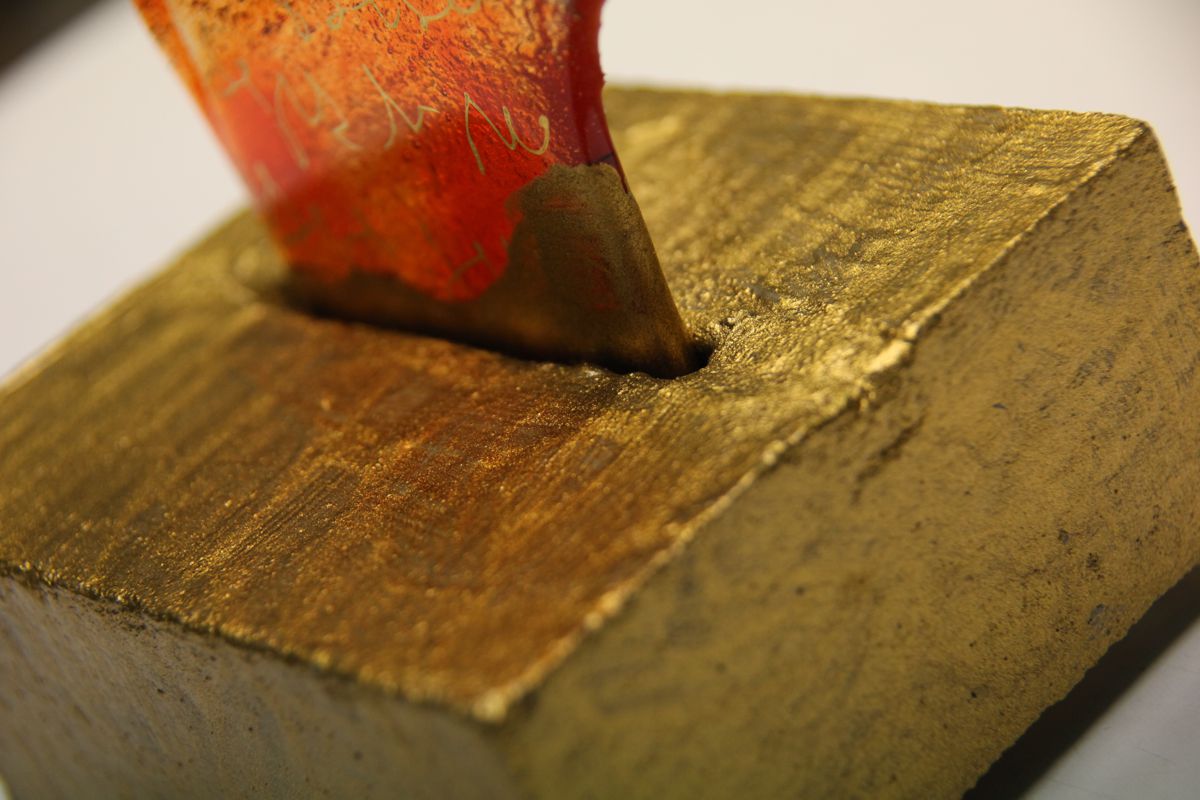
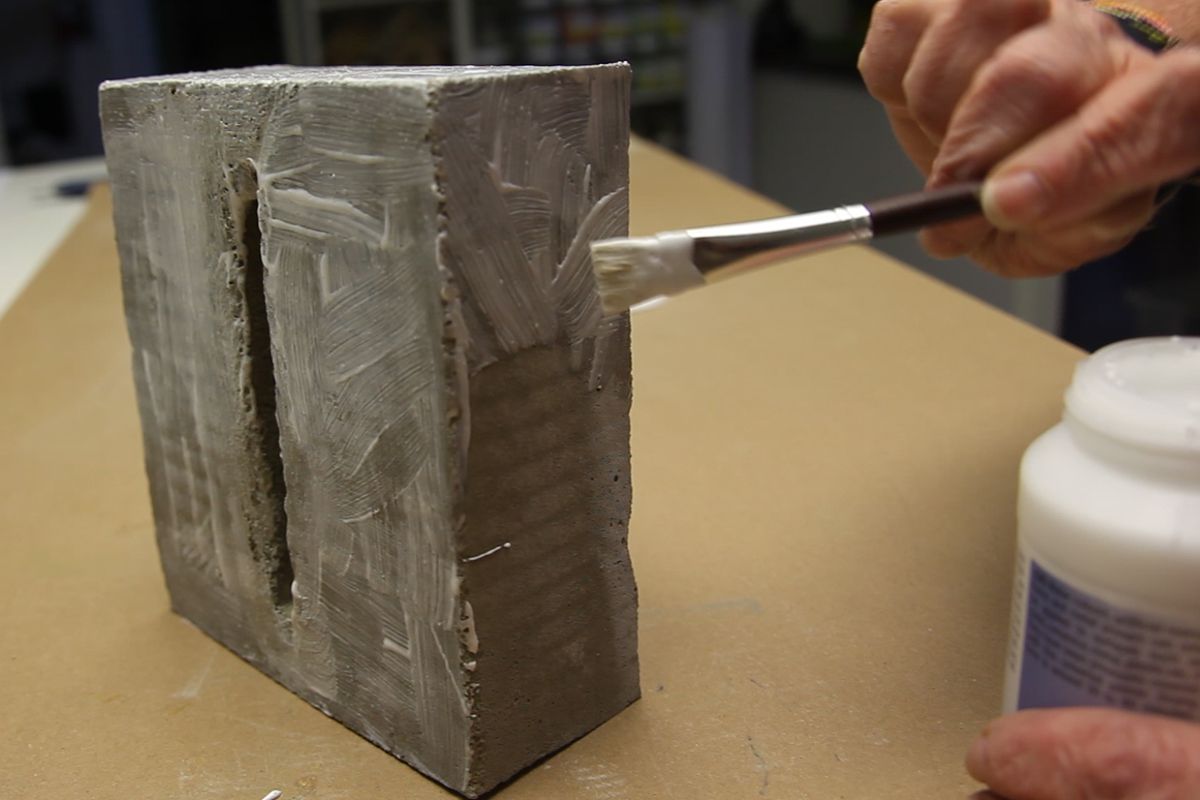
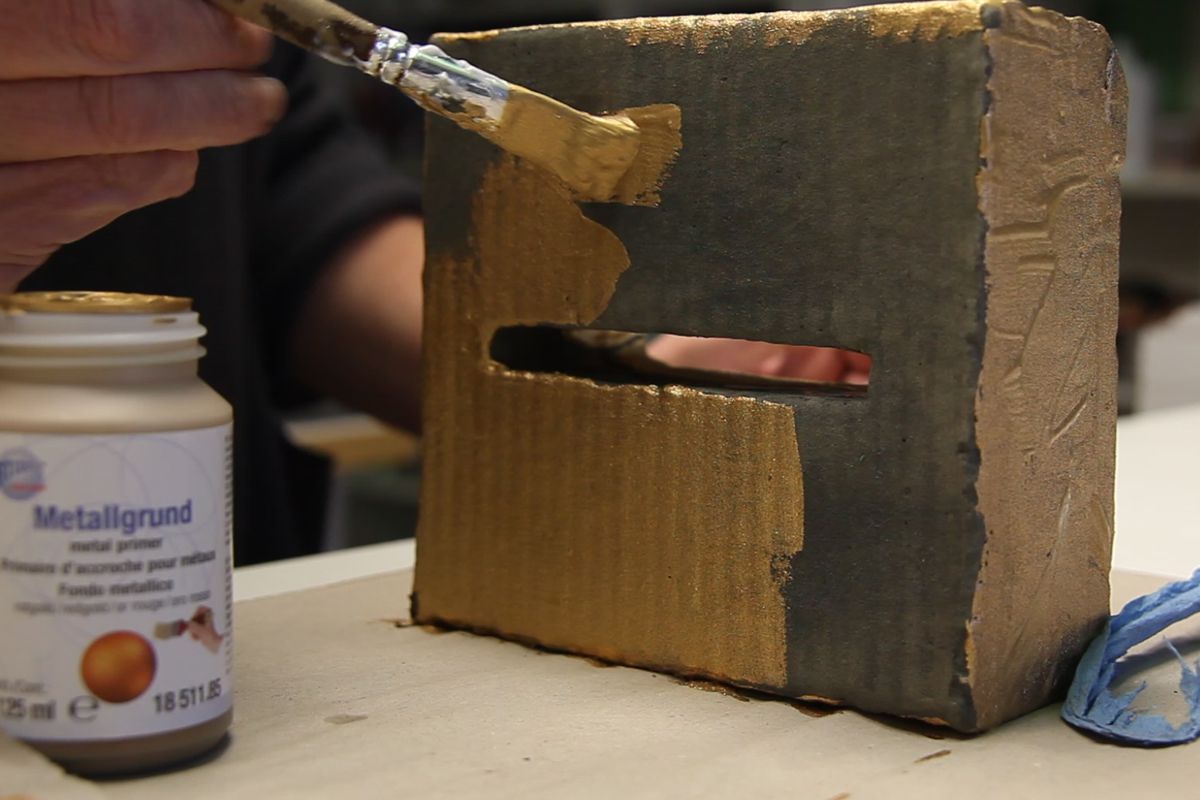
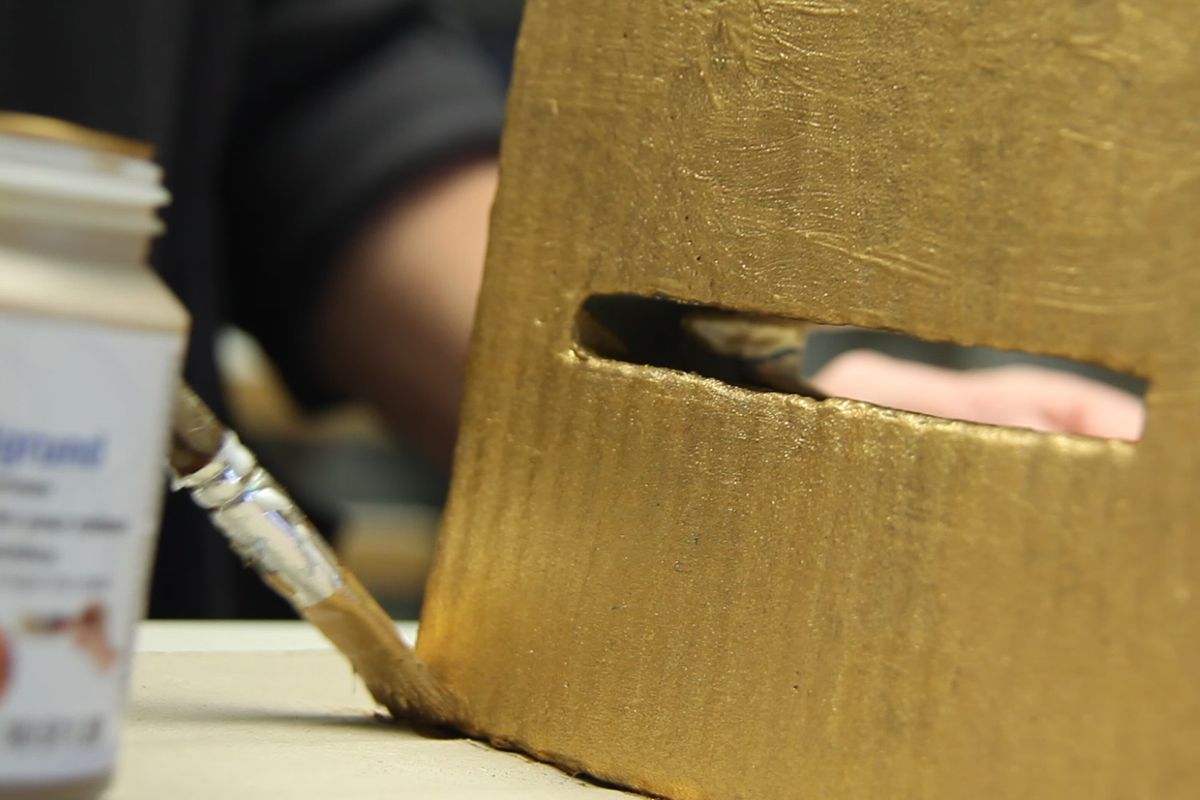
Brush the cement with the primer and let it dry well. In the next step, apply the iron base or a metal base gold - silver. These metallic substrates will later be used as the basis for the oxidation effects.
Tip:
The metal bases can also be used for an appealing transition from the glass angel to the cement foot.
Step 6
When the foot and the angel have dried, you can place it anywhere and put the angel in the cement foot.
